Sculpture Creation Technology: From Concept to Finish
A comprehensive technical guide detailing the professional workflow for creating durable, lightweight outdoor sculptures using a polystyrene core, metal mesh reinforcement, and cement-sand mortar layers.
Concept & Hand Graphics
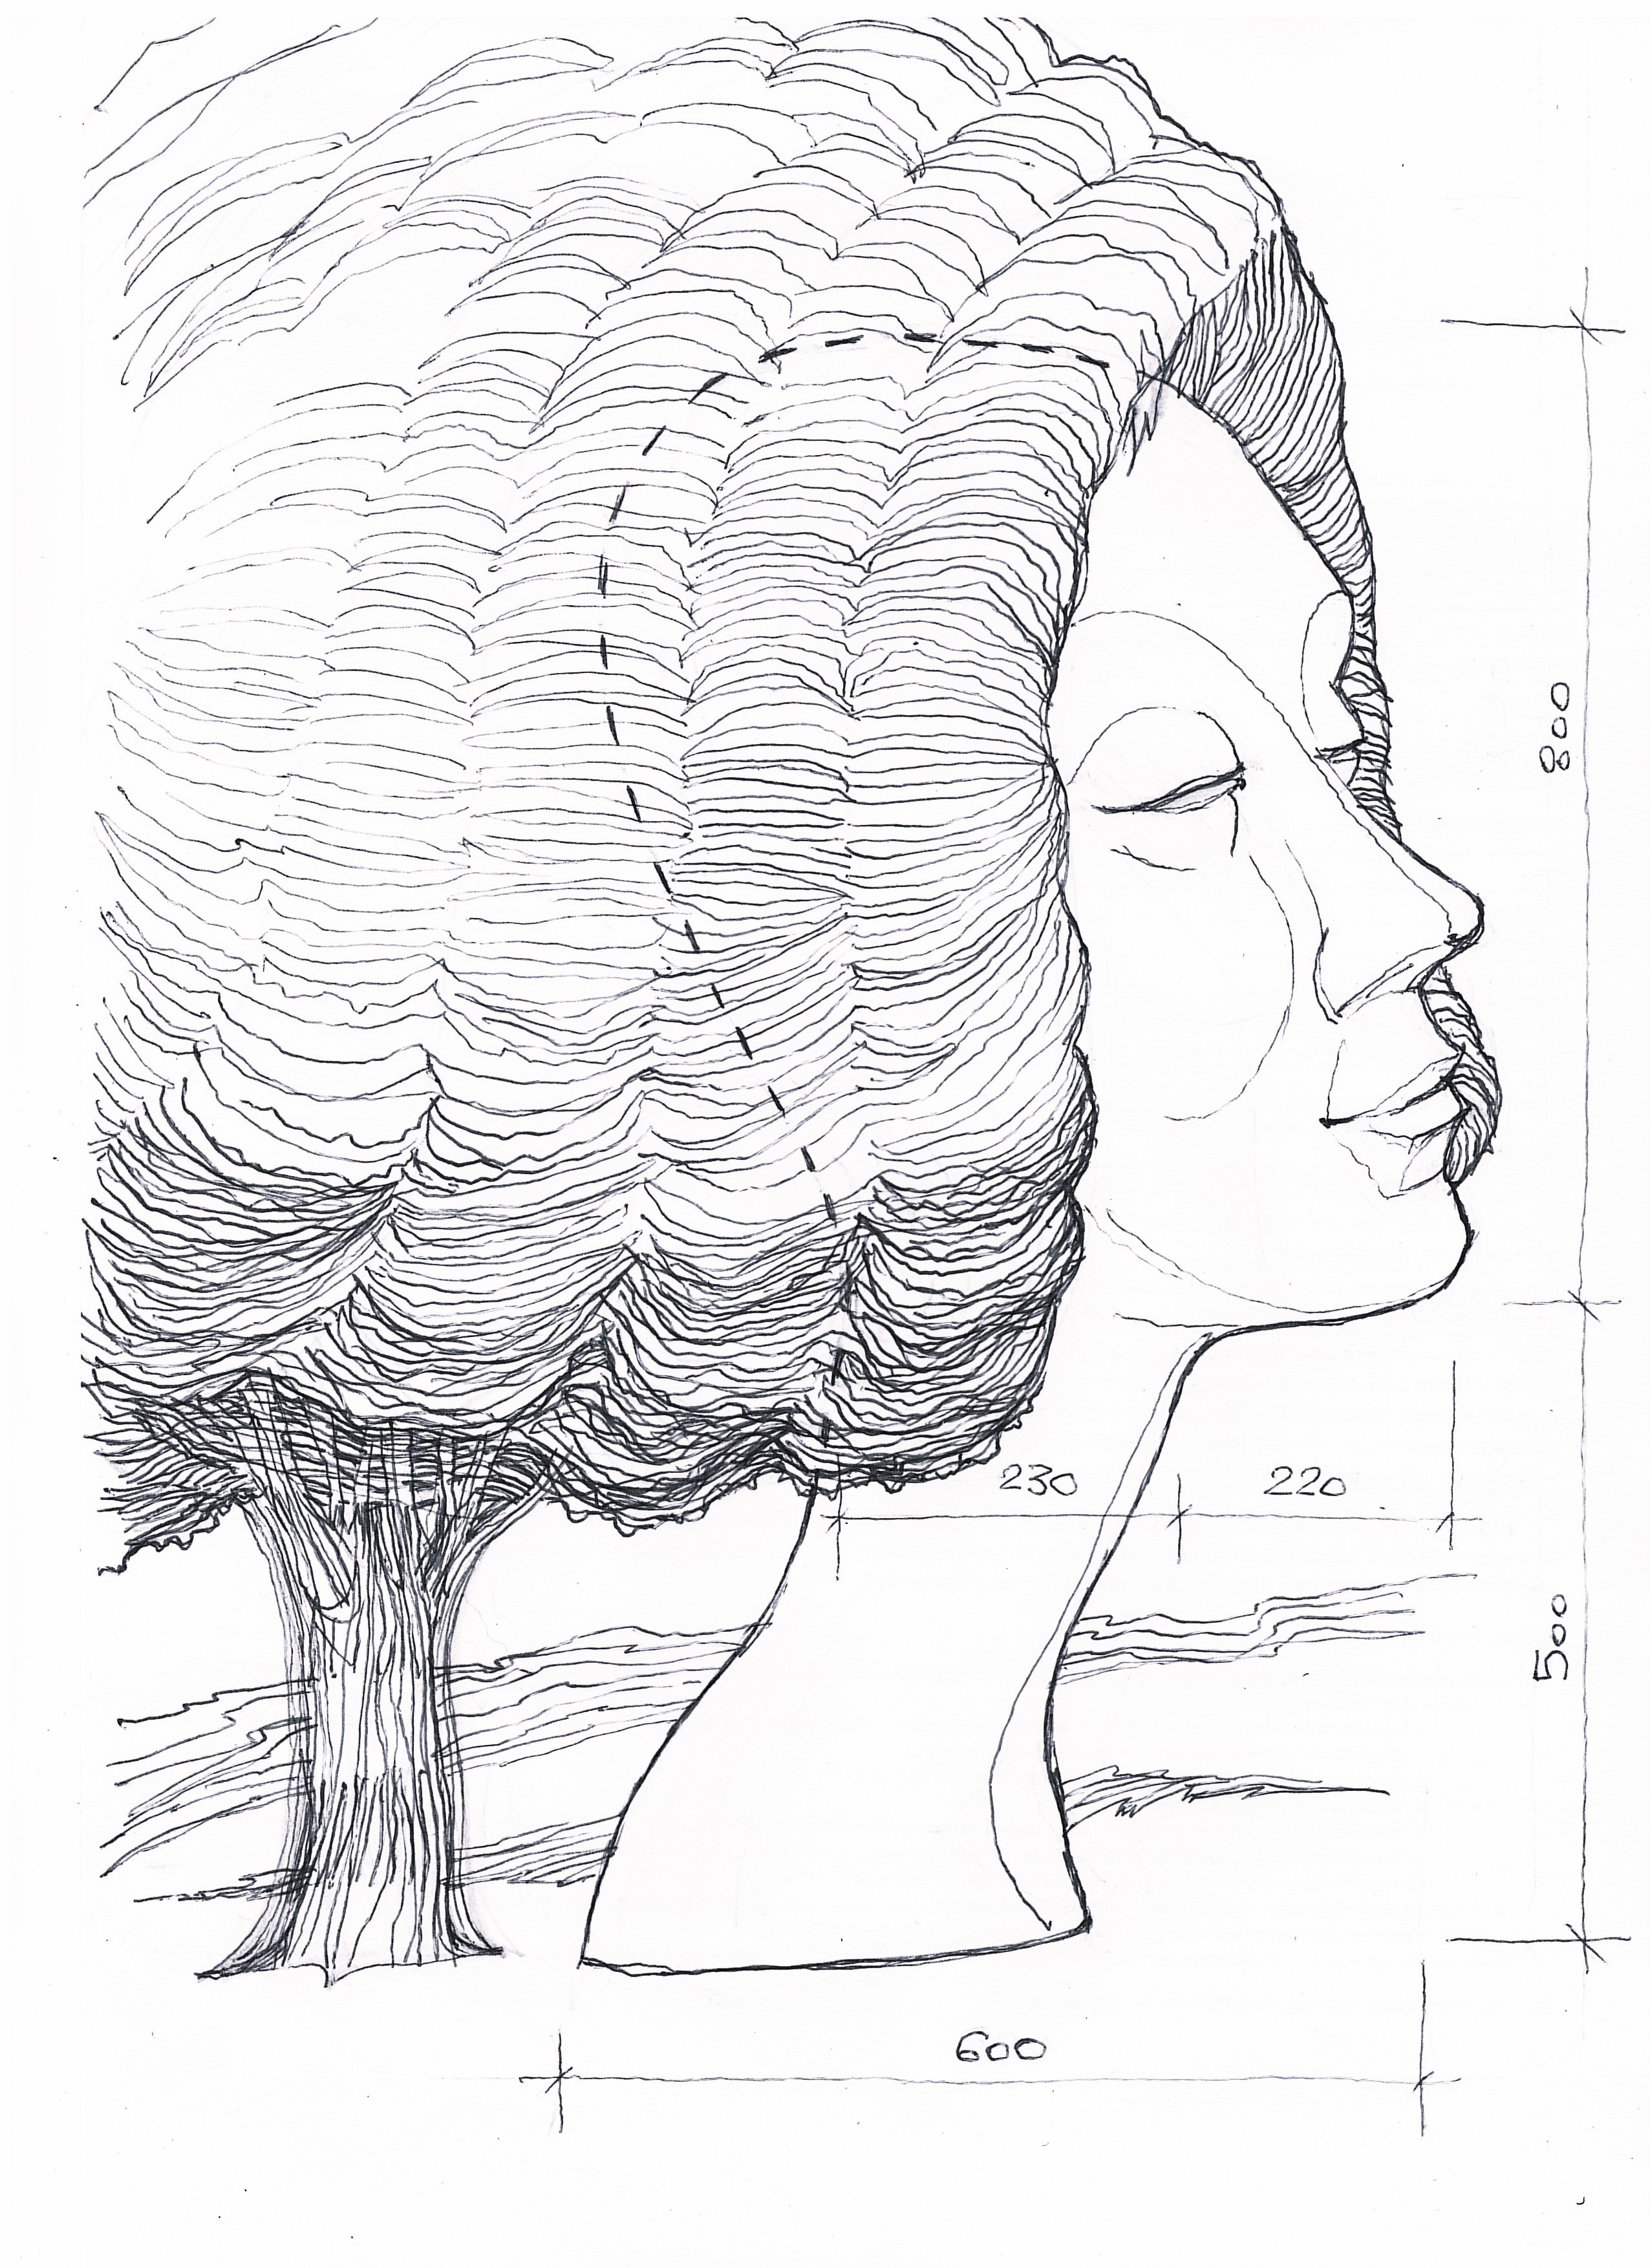
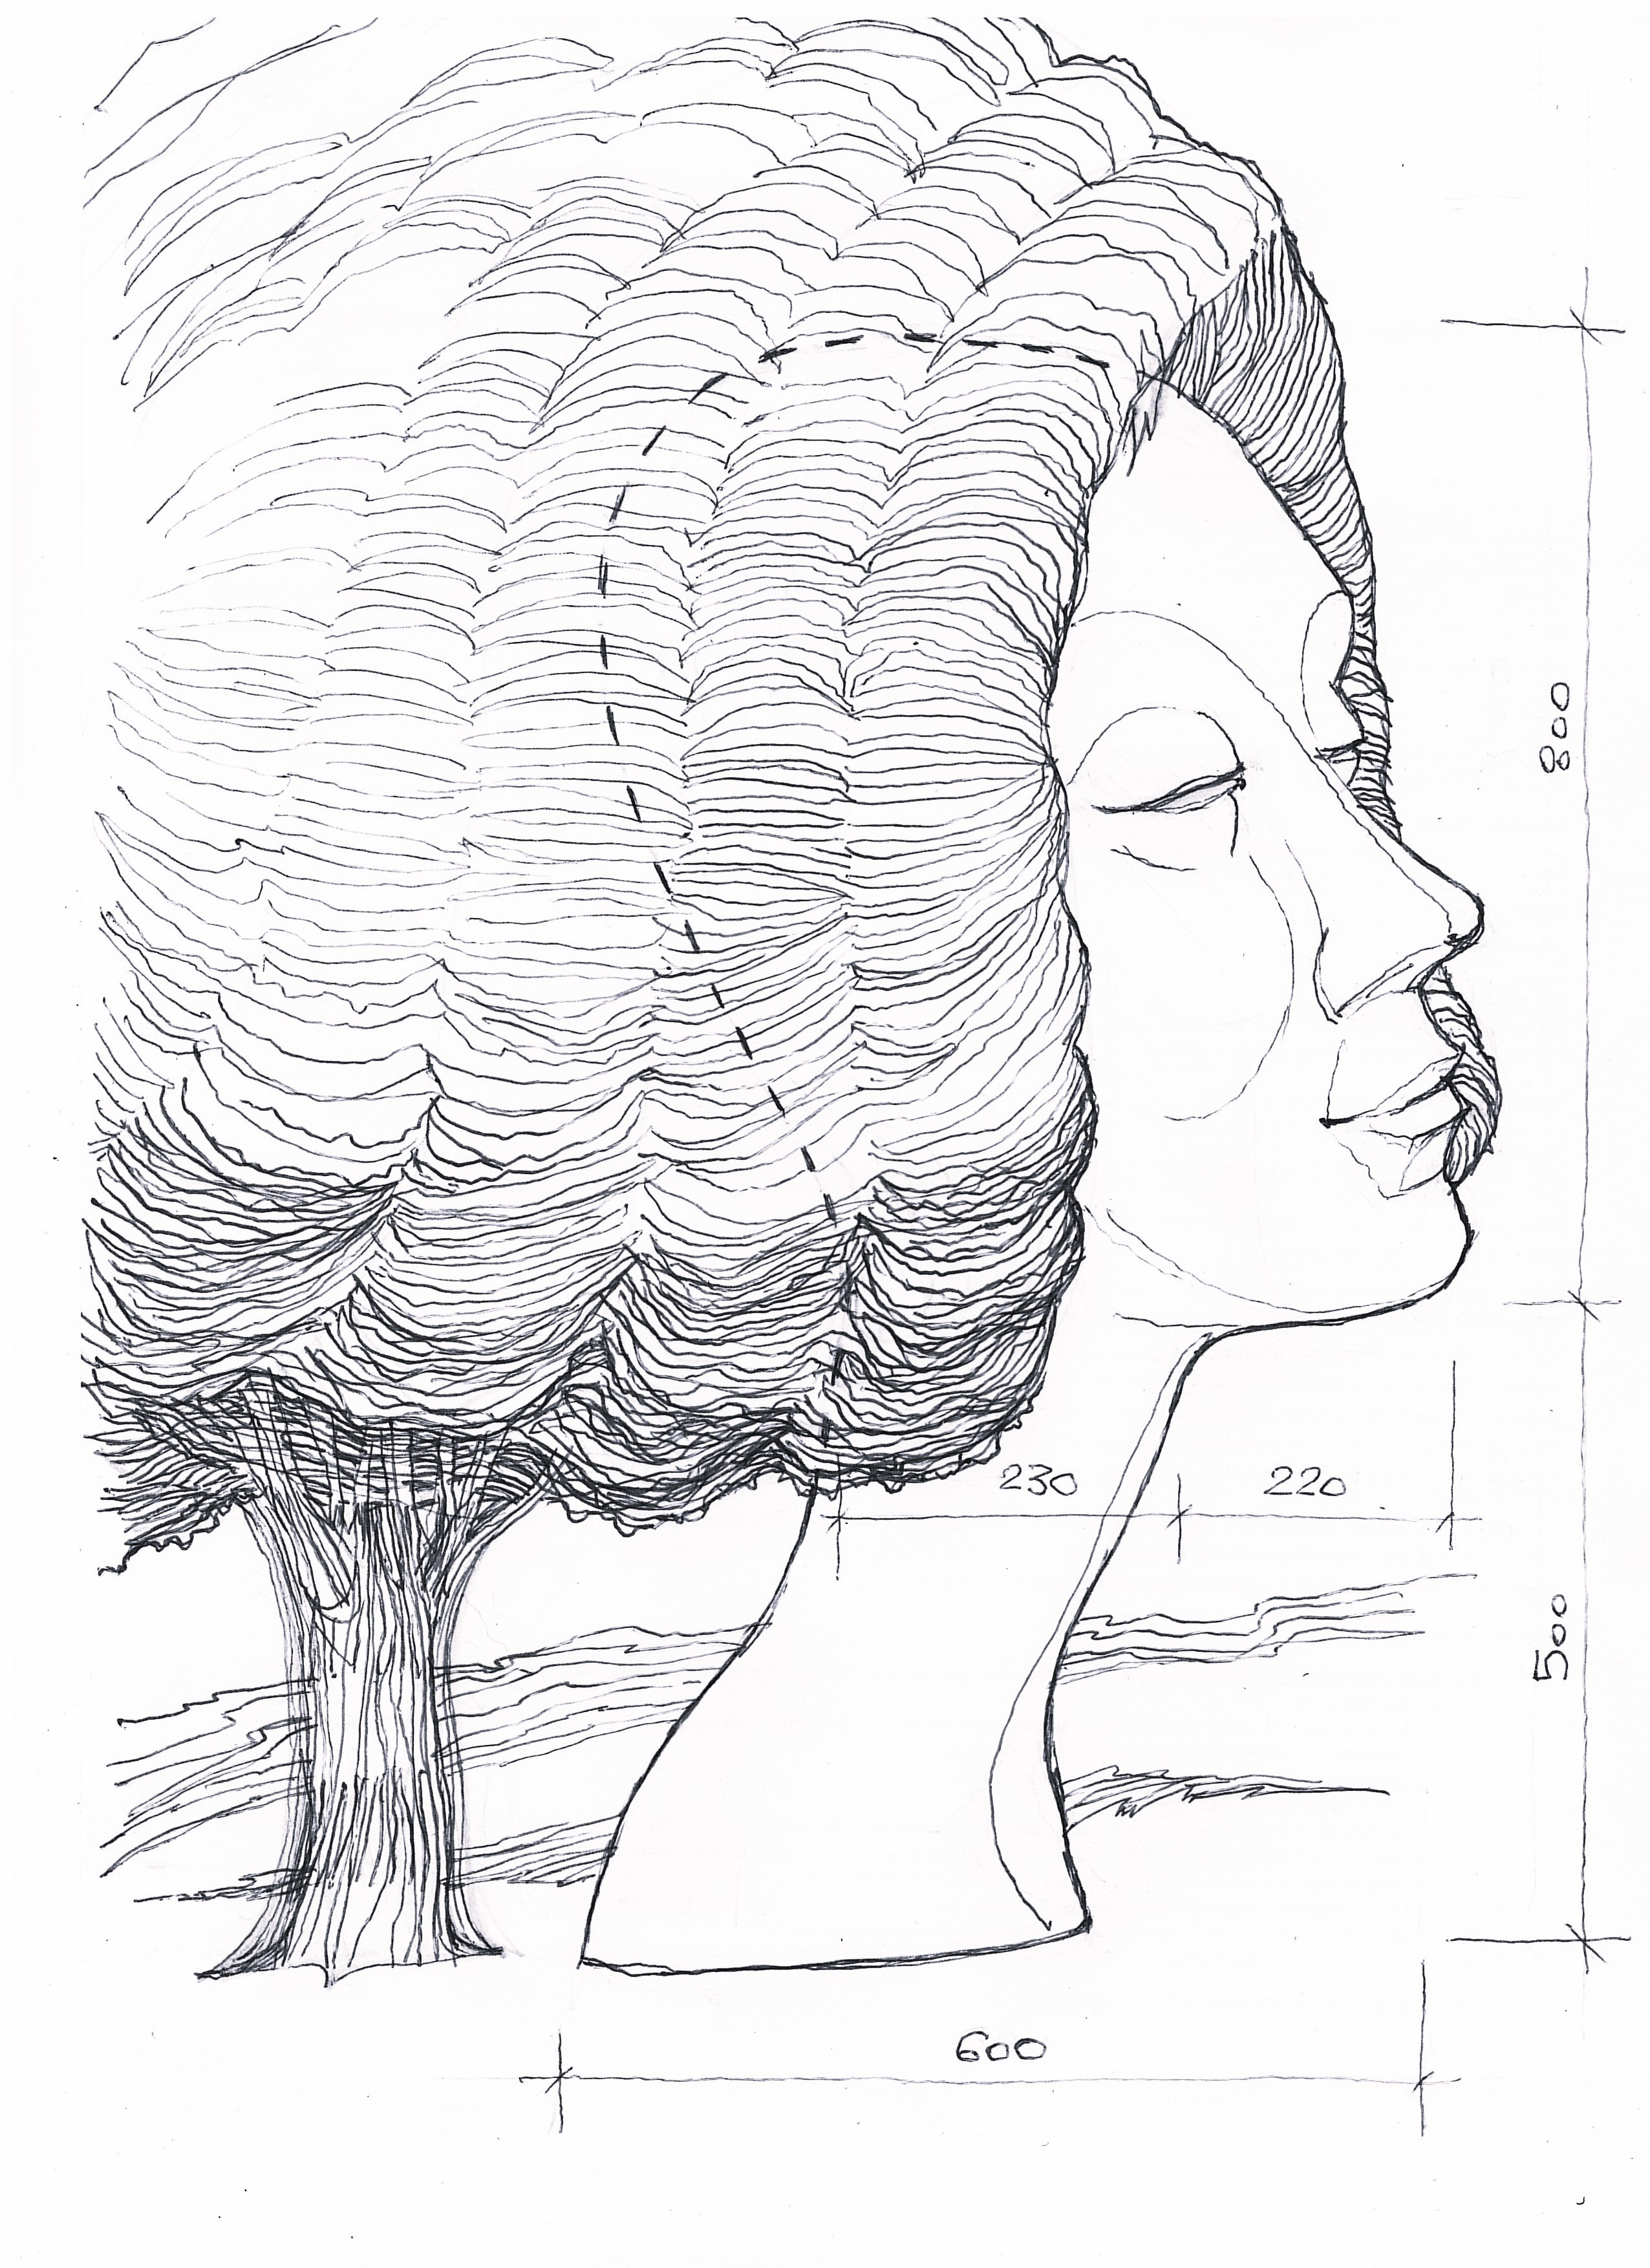
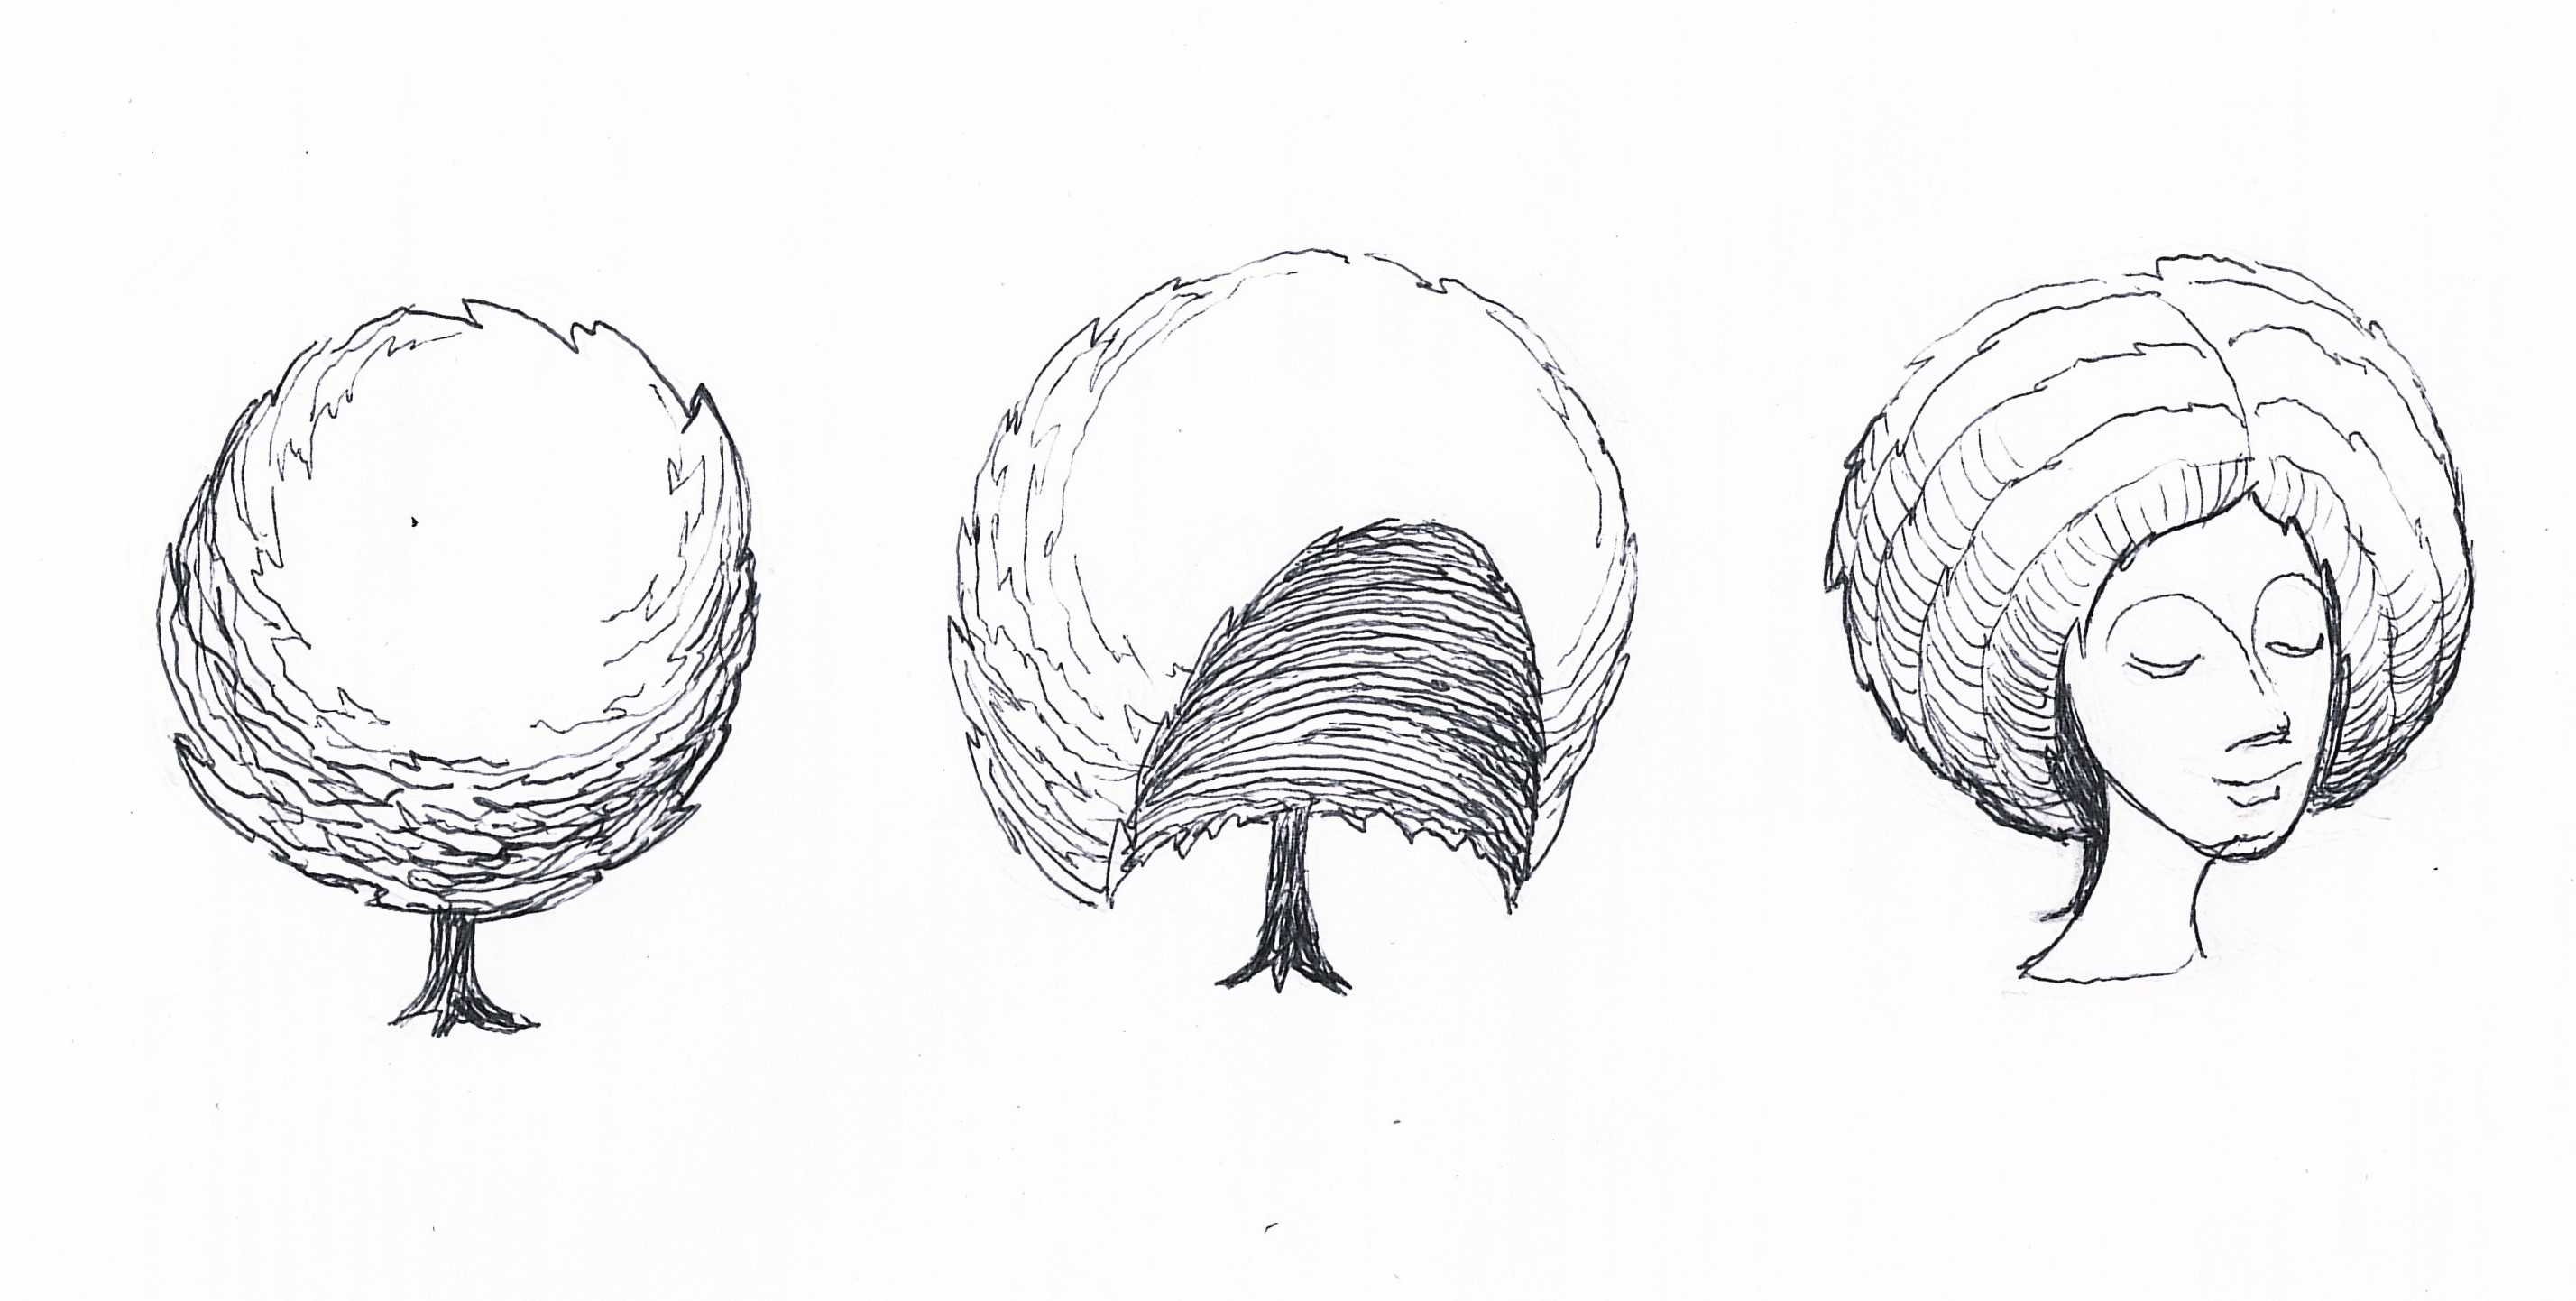
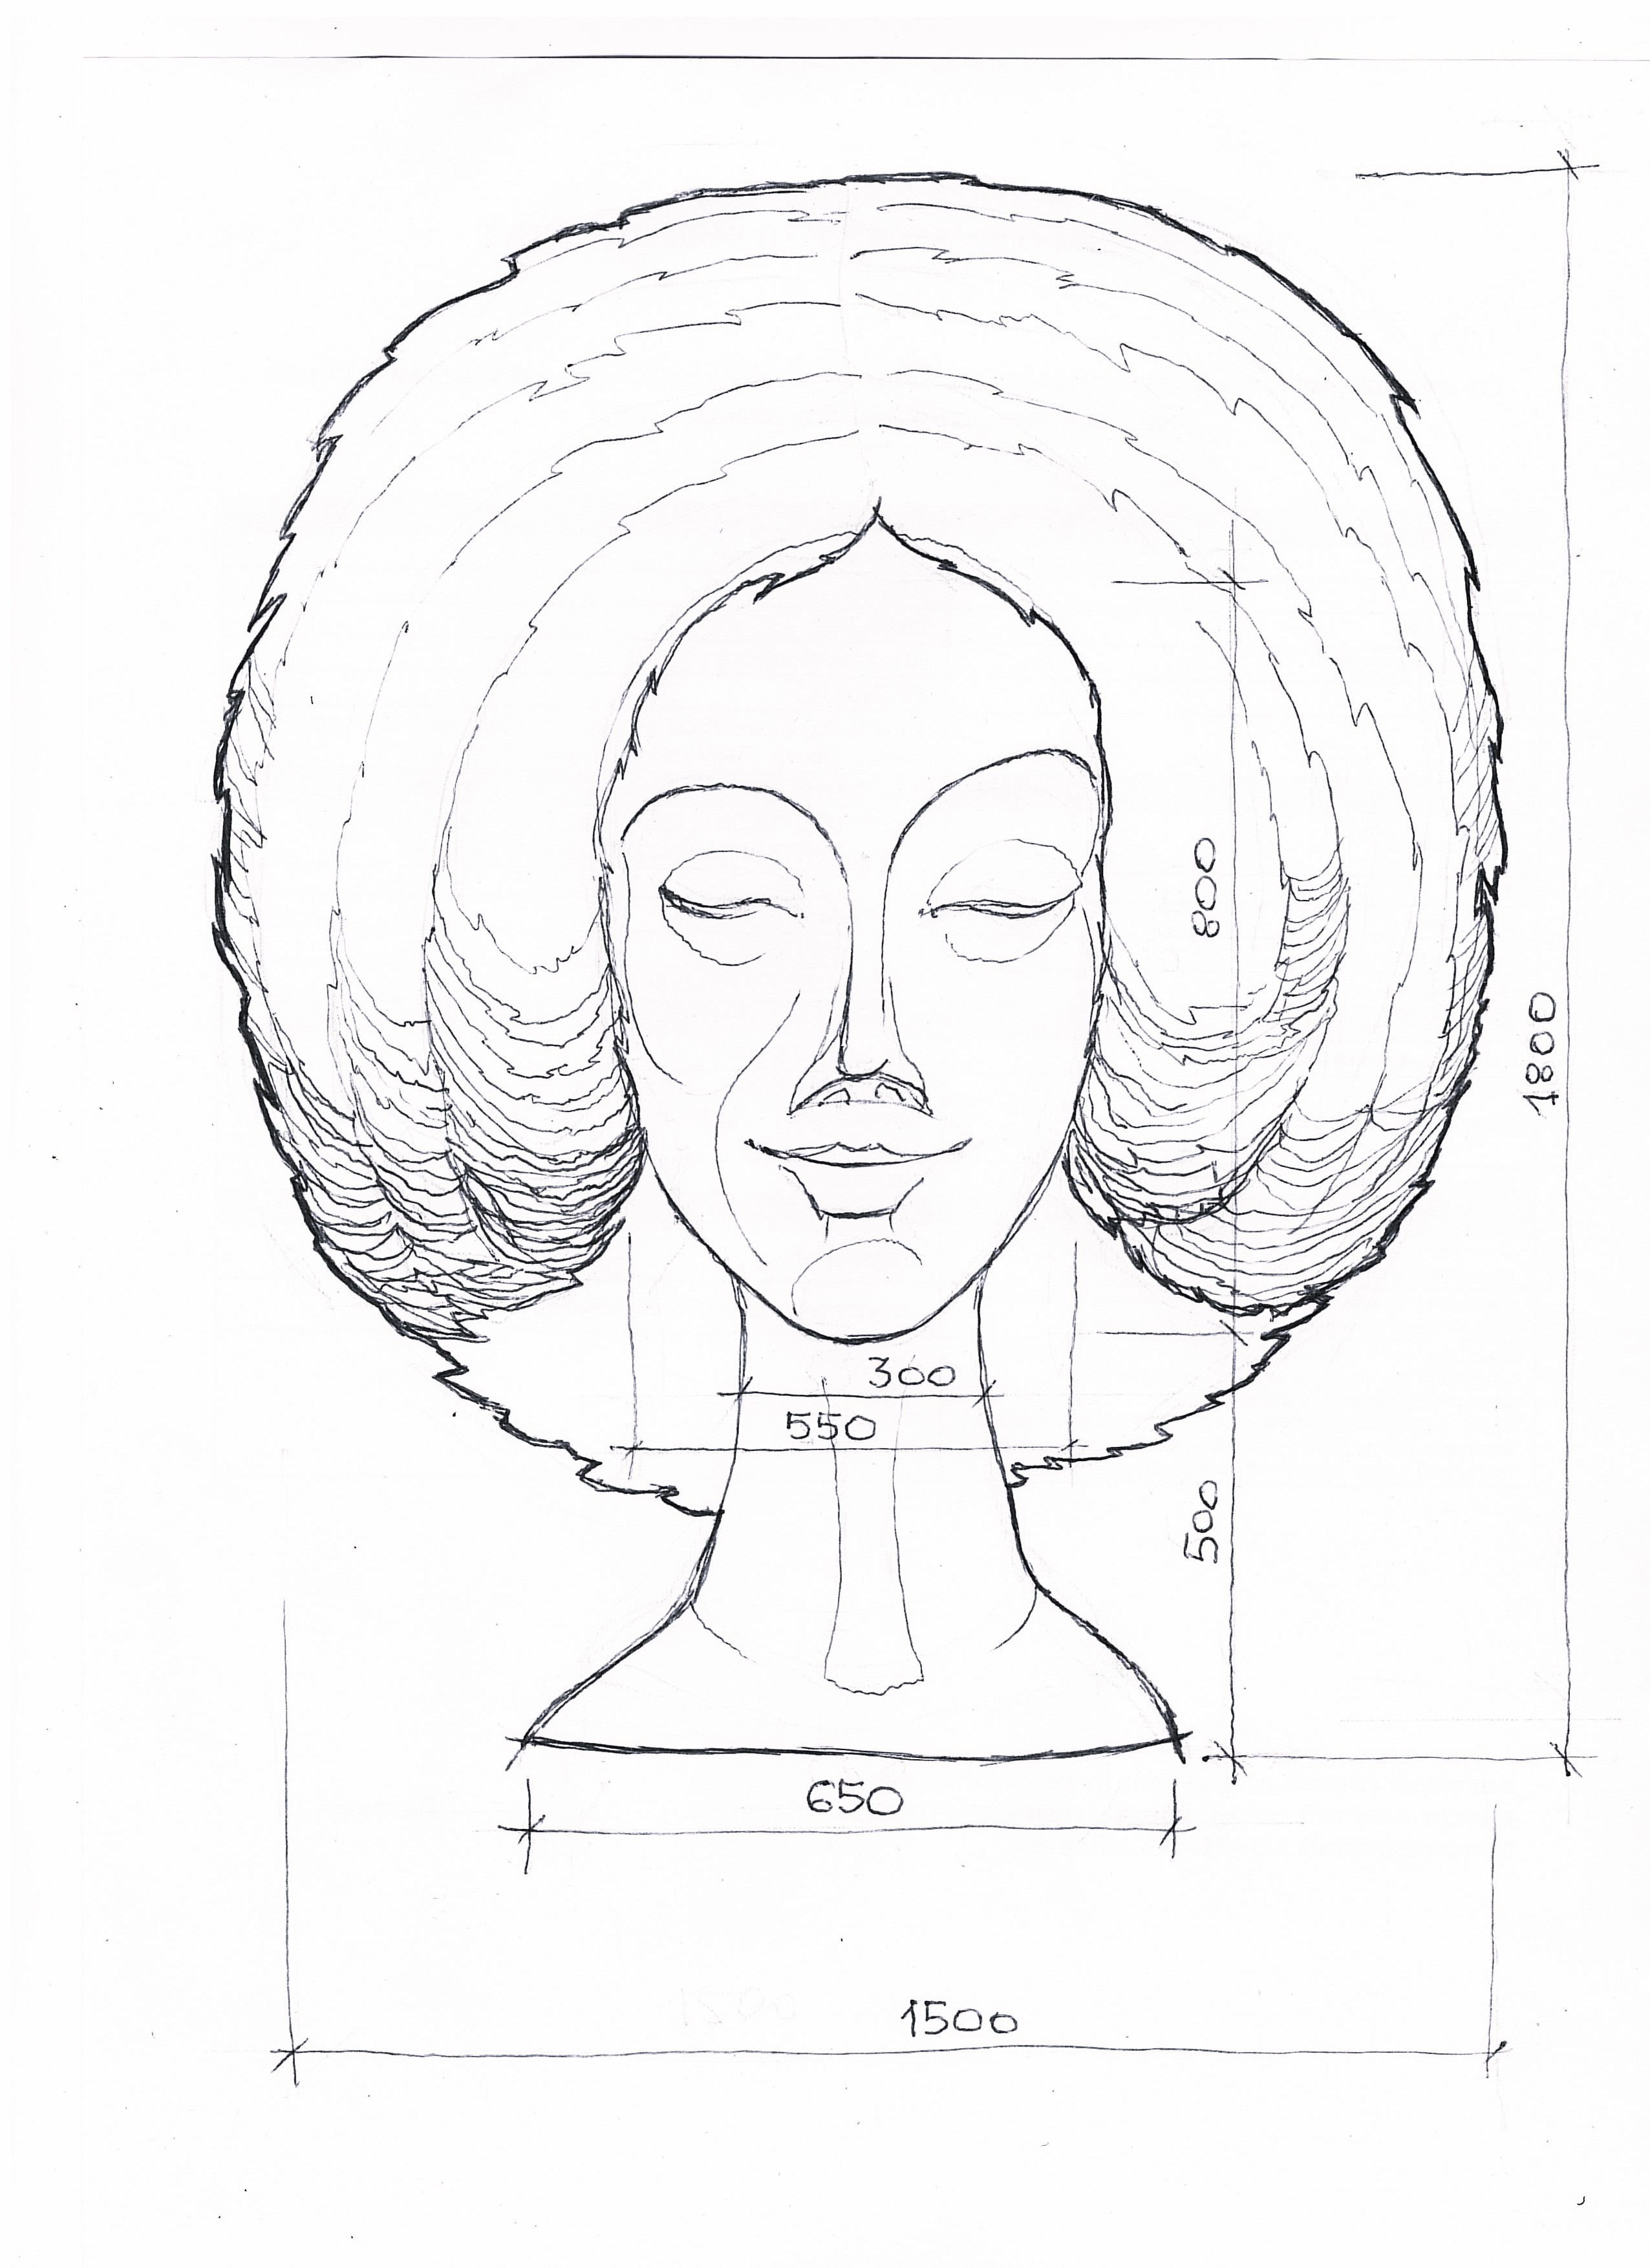
Foundational Design: Creation of initial hand-drawn sketches and conceptual drawings. This crucial phase establishes primary proportions, fluid plastic volumes, character expressions, and overall artistic intent before materializing physical masses.
Want to bring your project to life? Order a custom architectural or sculptural concept directly through our studio.
Base Blocks Cutting & Assembly
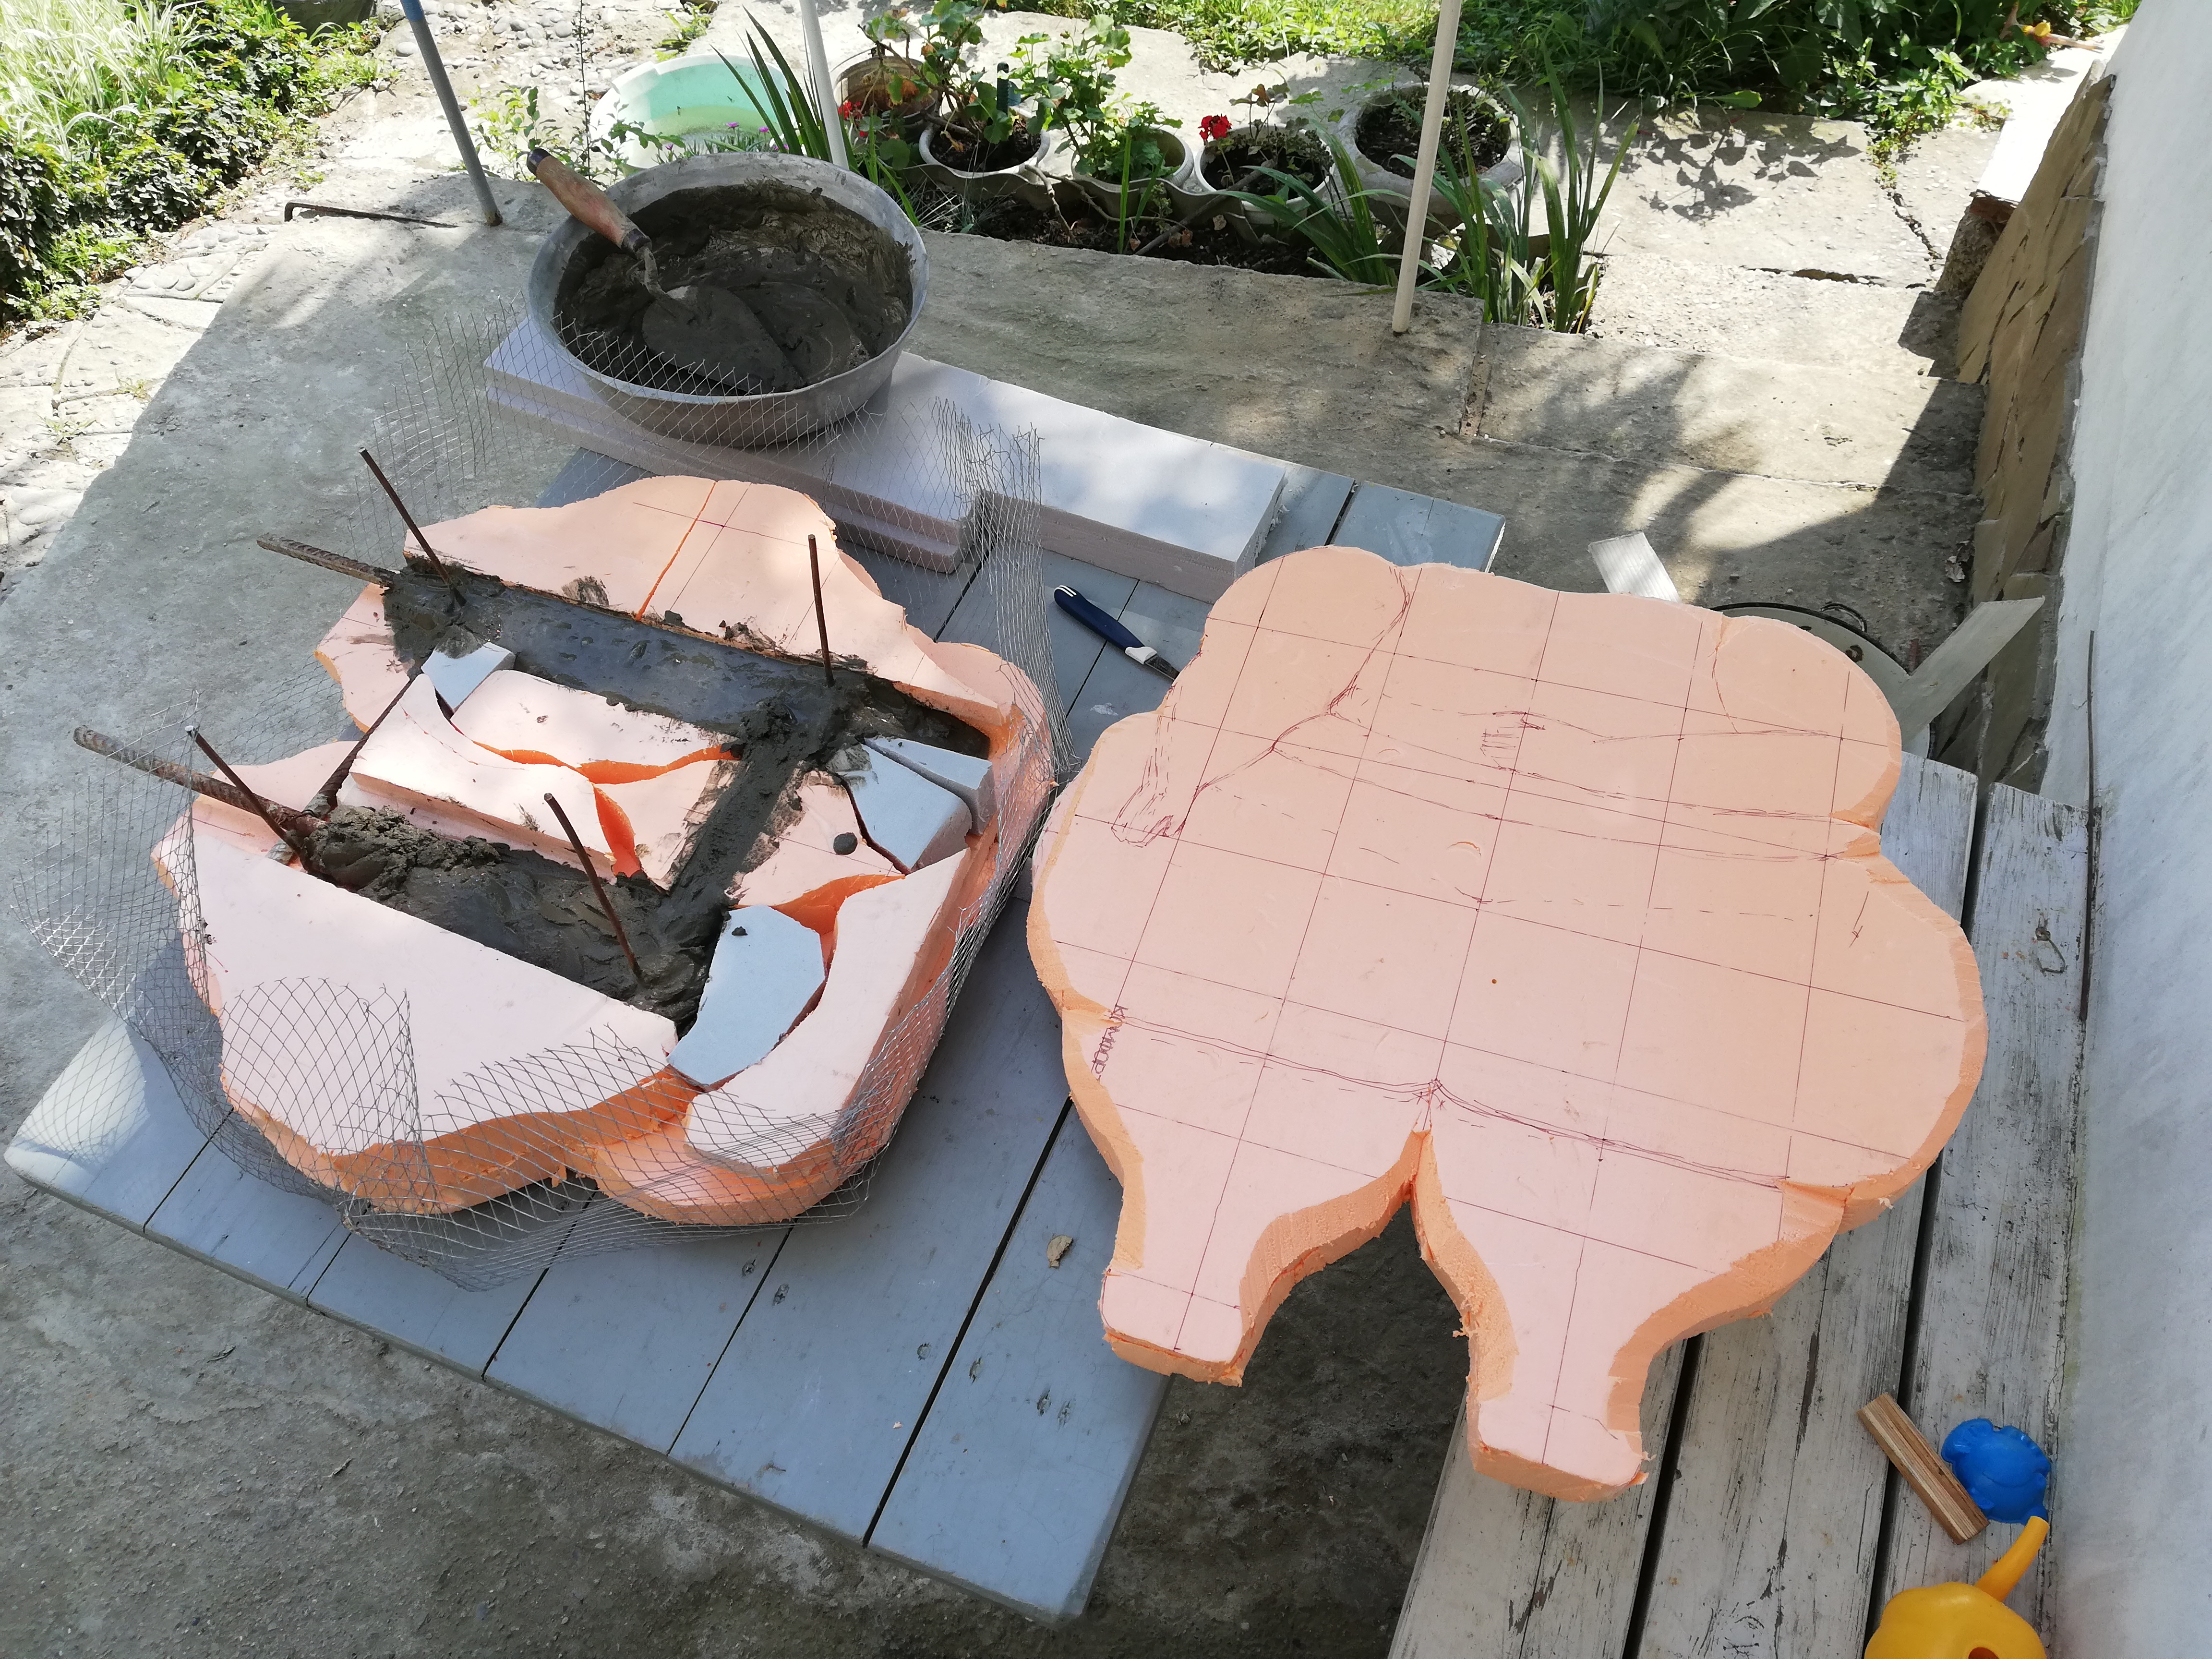
Selection and preparation of rigid architectural polystyrene (foam) blocks. Blocks are accurately cut, bonded together with structural adhesives, and assembled to form the initial lightweight volumetric core that minimizes heavy dead loads.
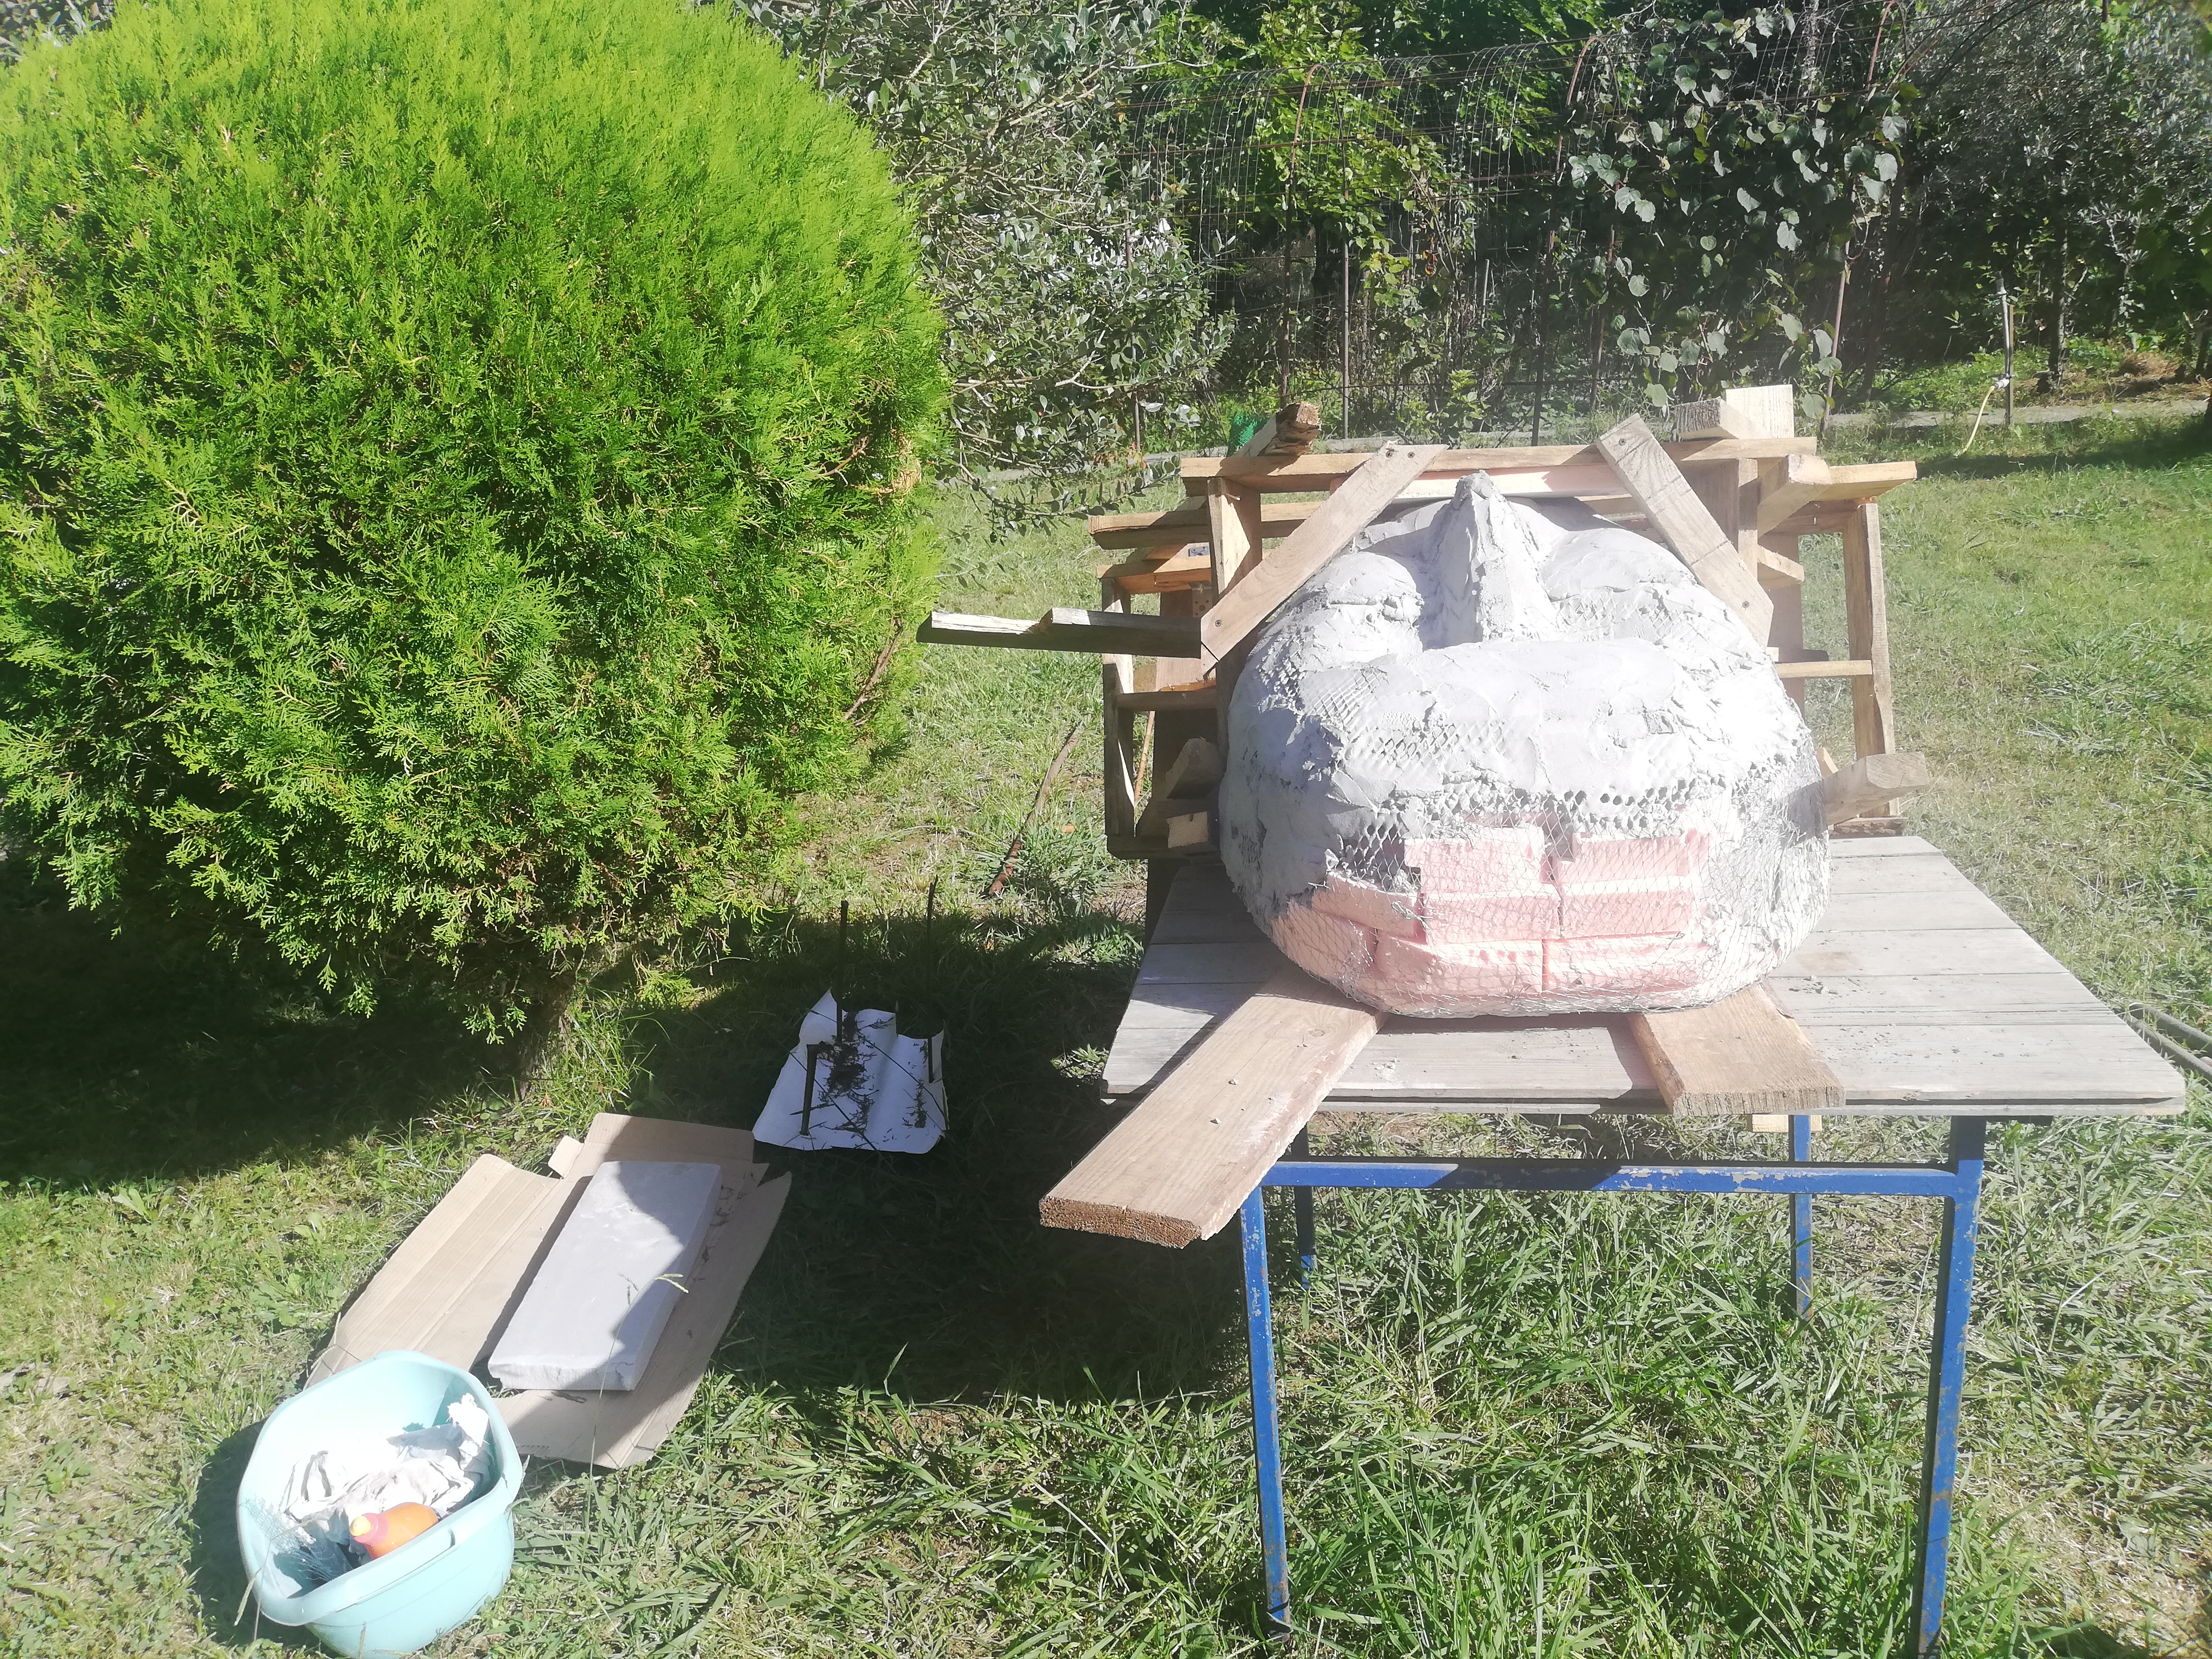
Mass Shaping & Mesh Reinforcement
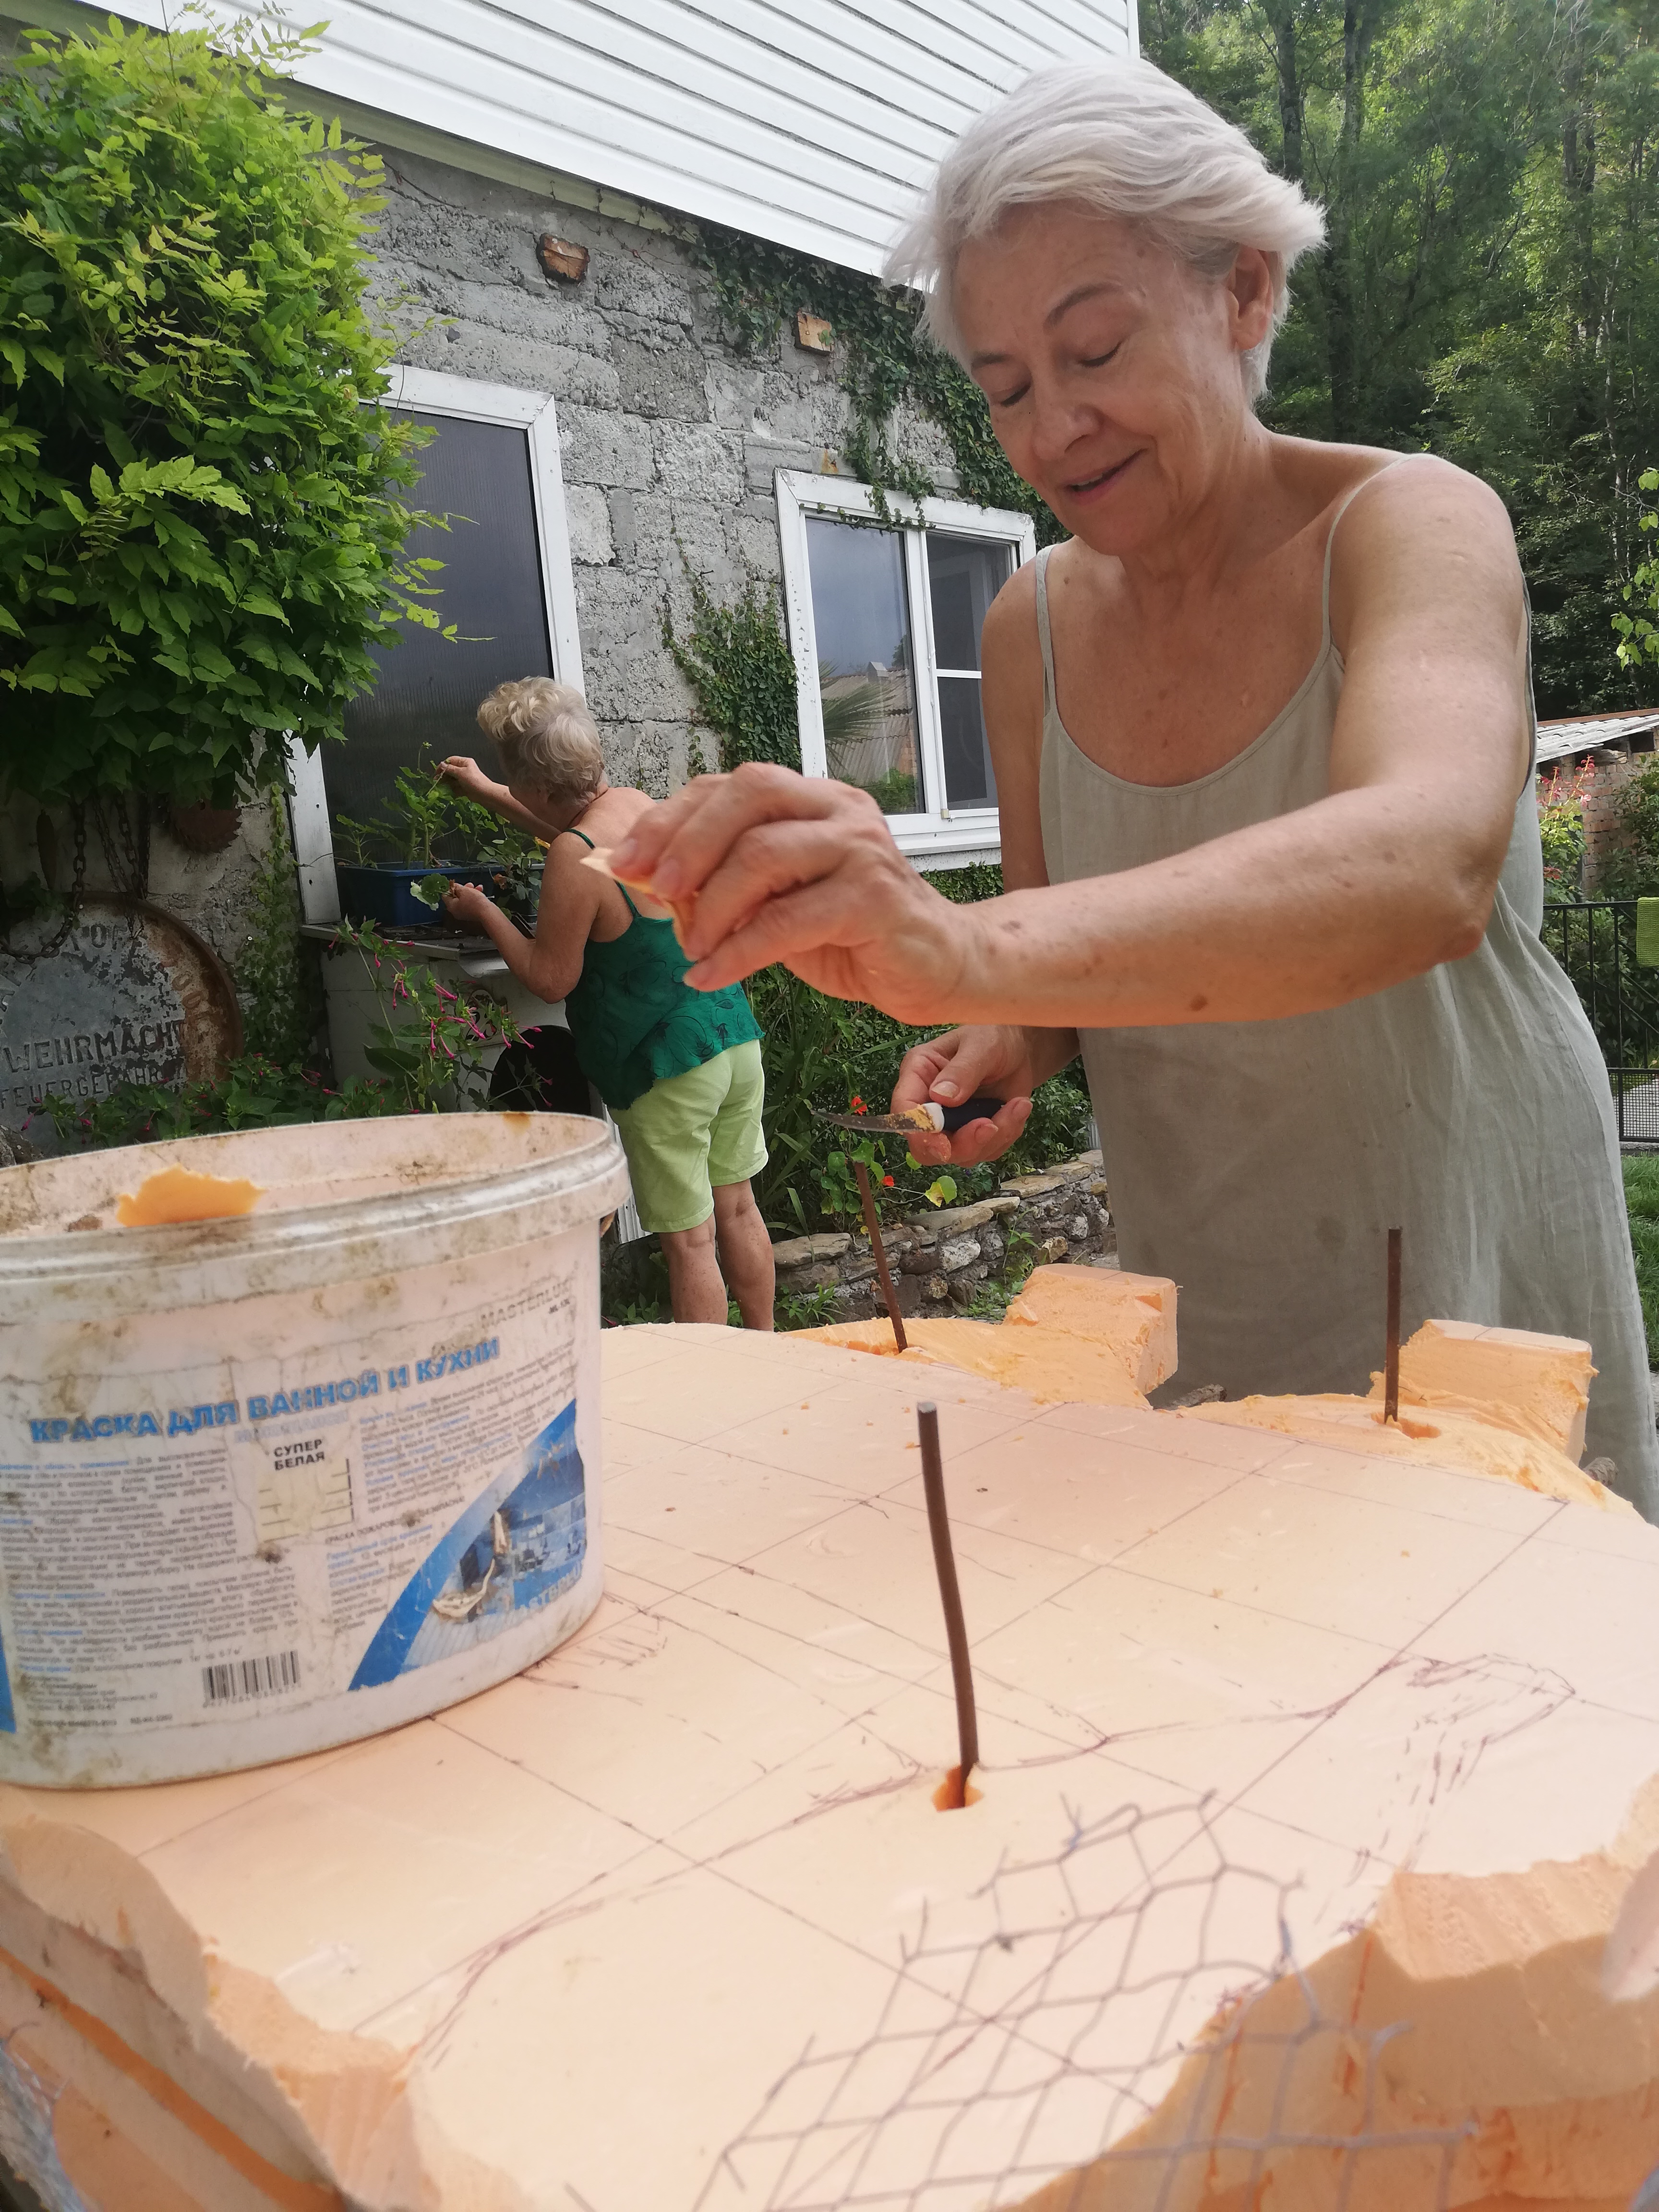
Rough trimming and carving of the foam silhouette. The carved core is then completely wrapped in fine-mesh metal netting, physically beaten and fitted to contour closely to the volume, providing a solid mechanical key for subsequent mortar layers.
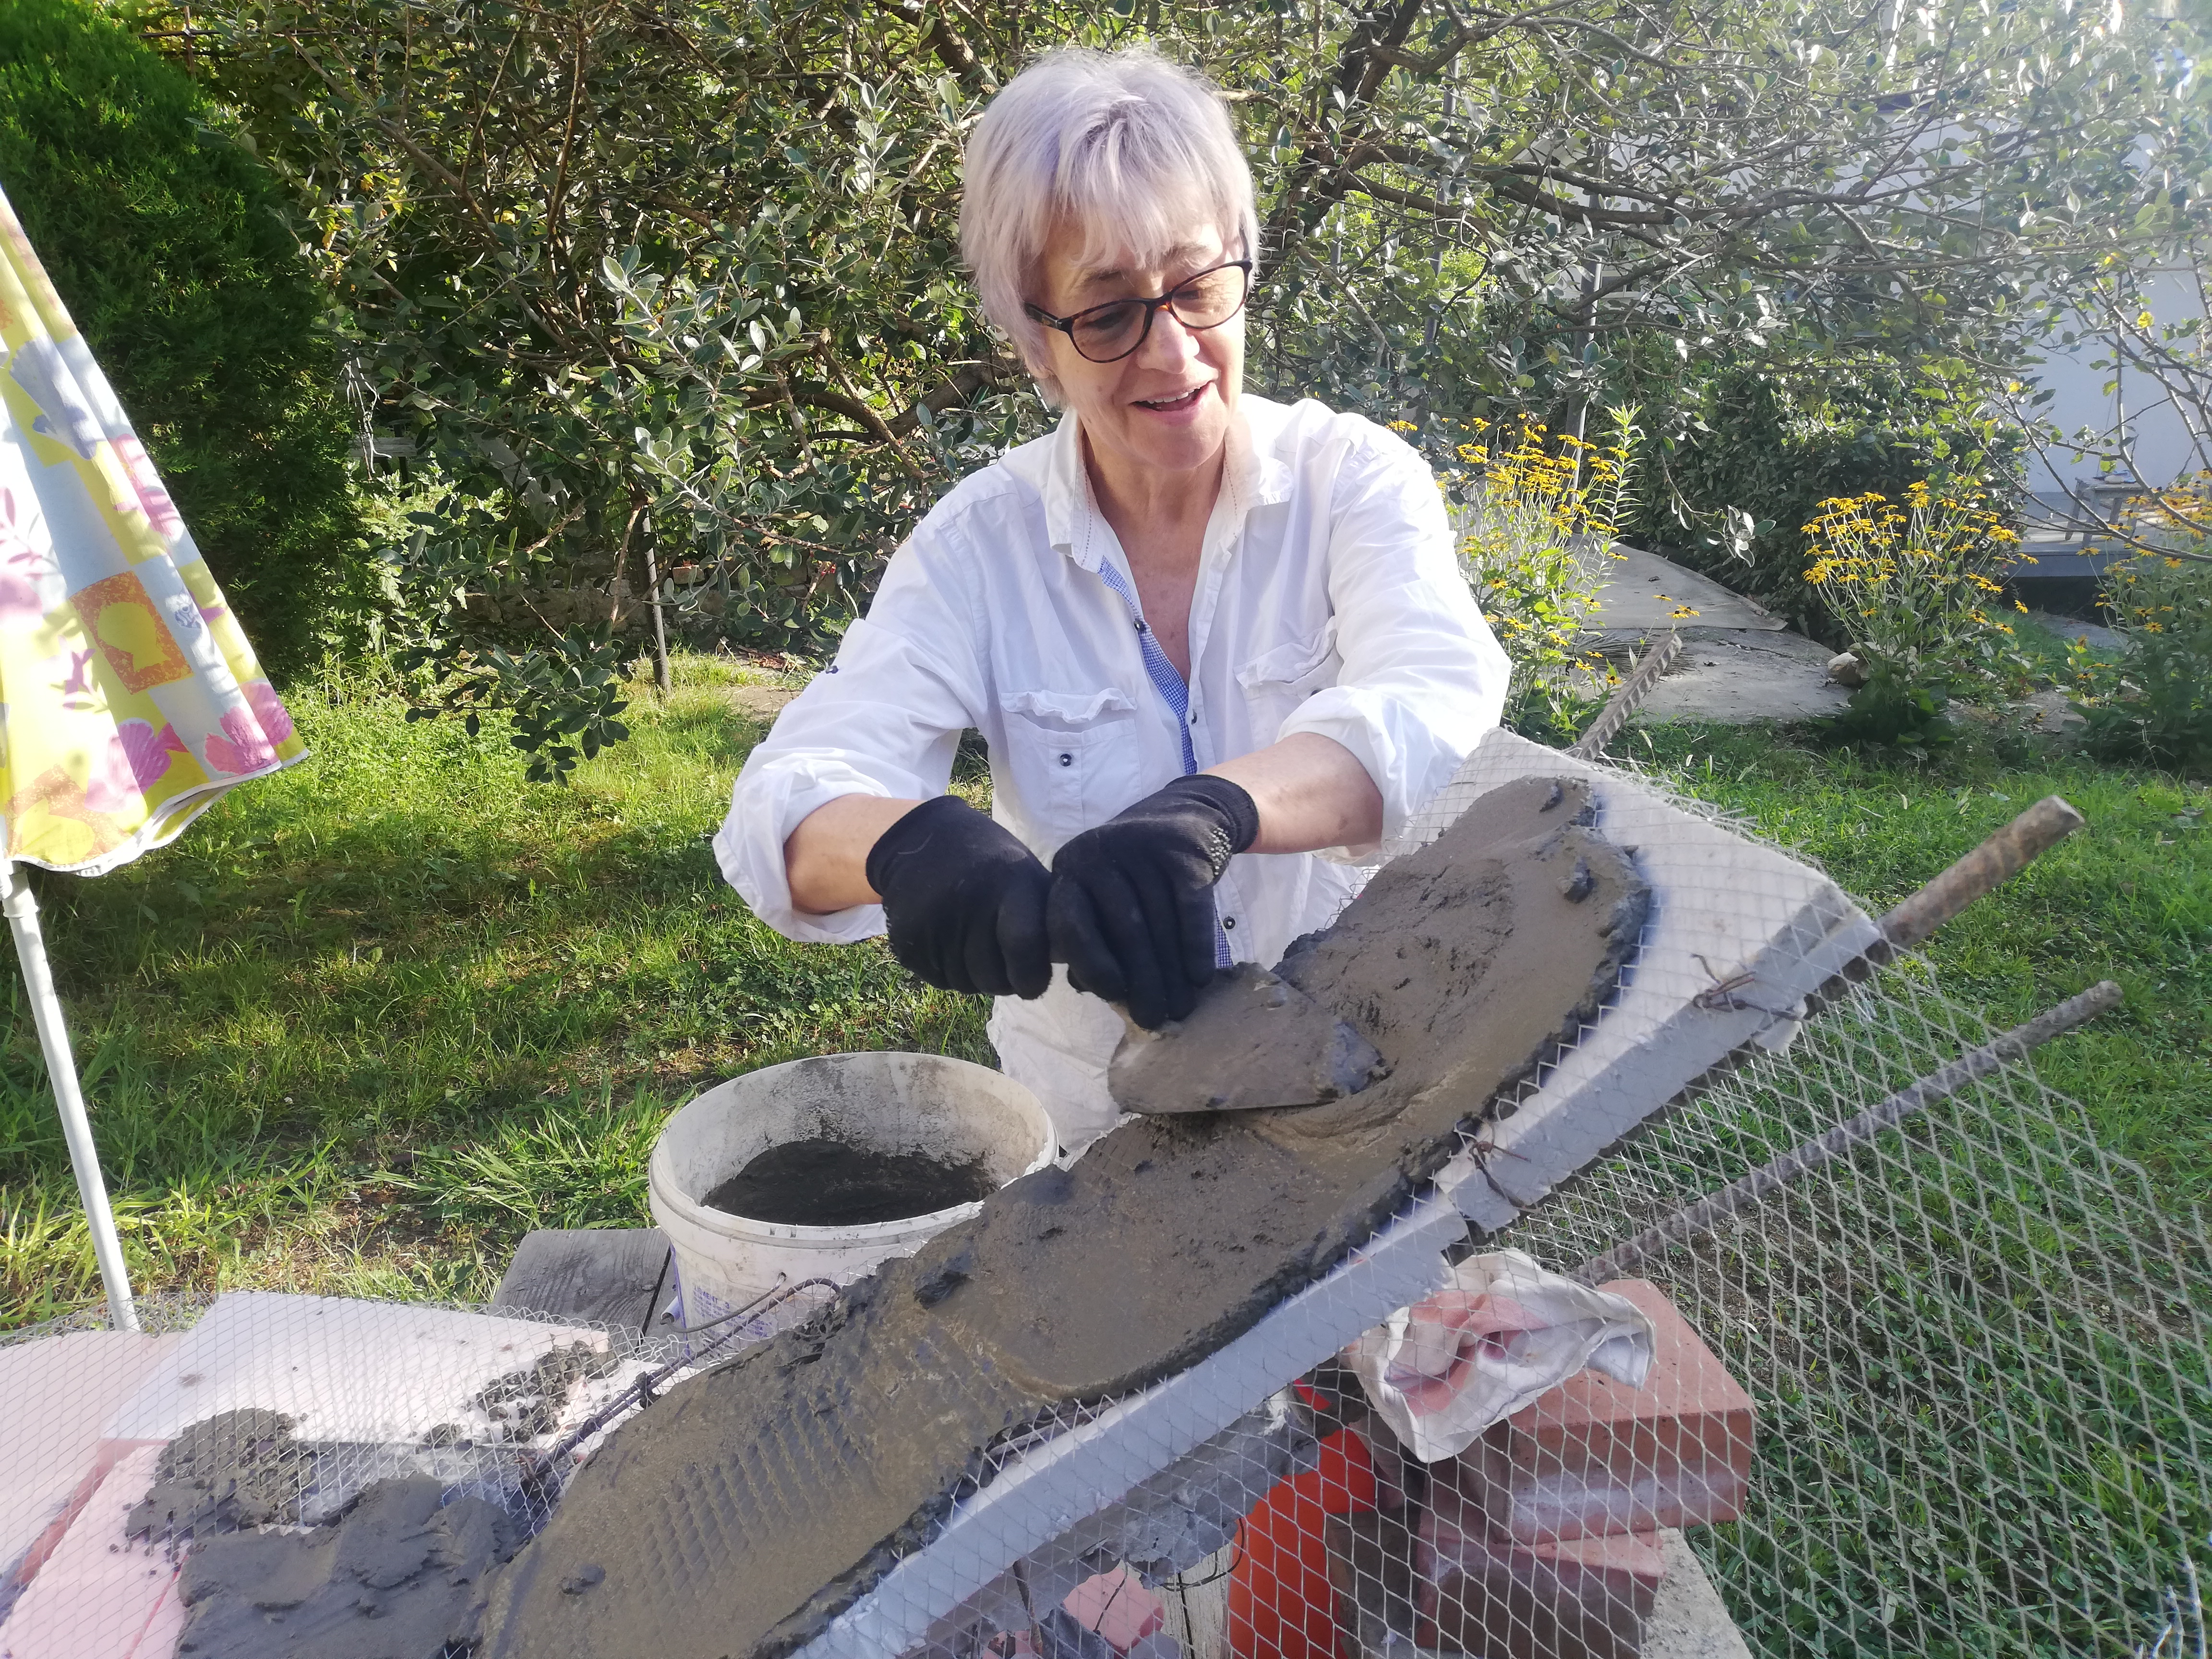
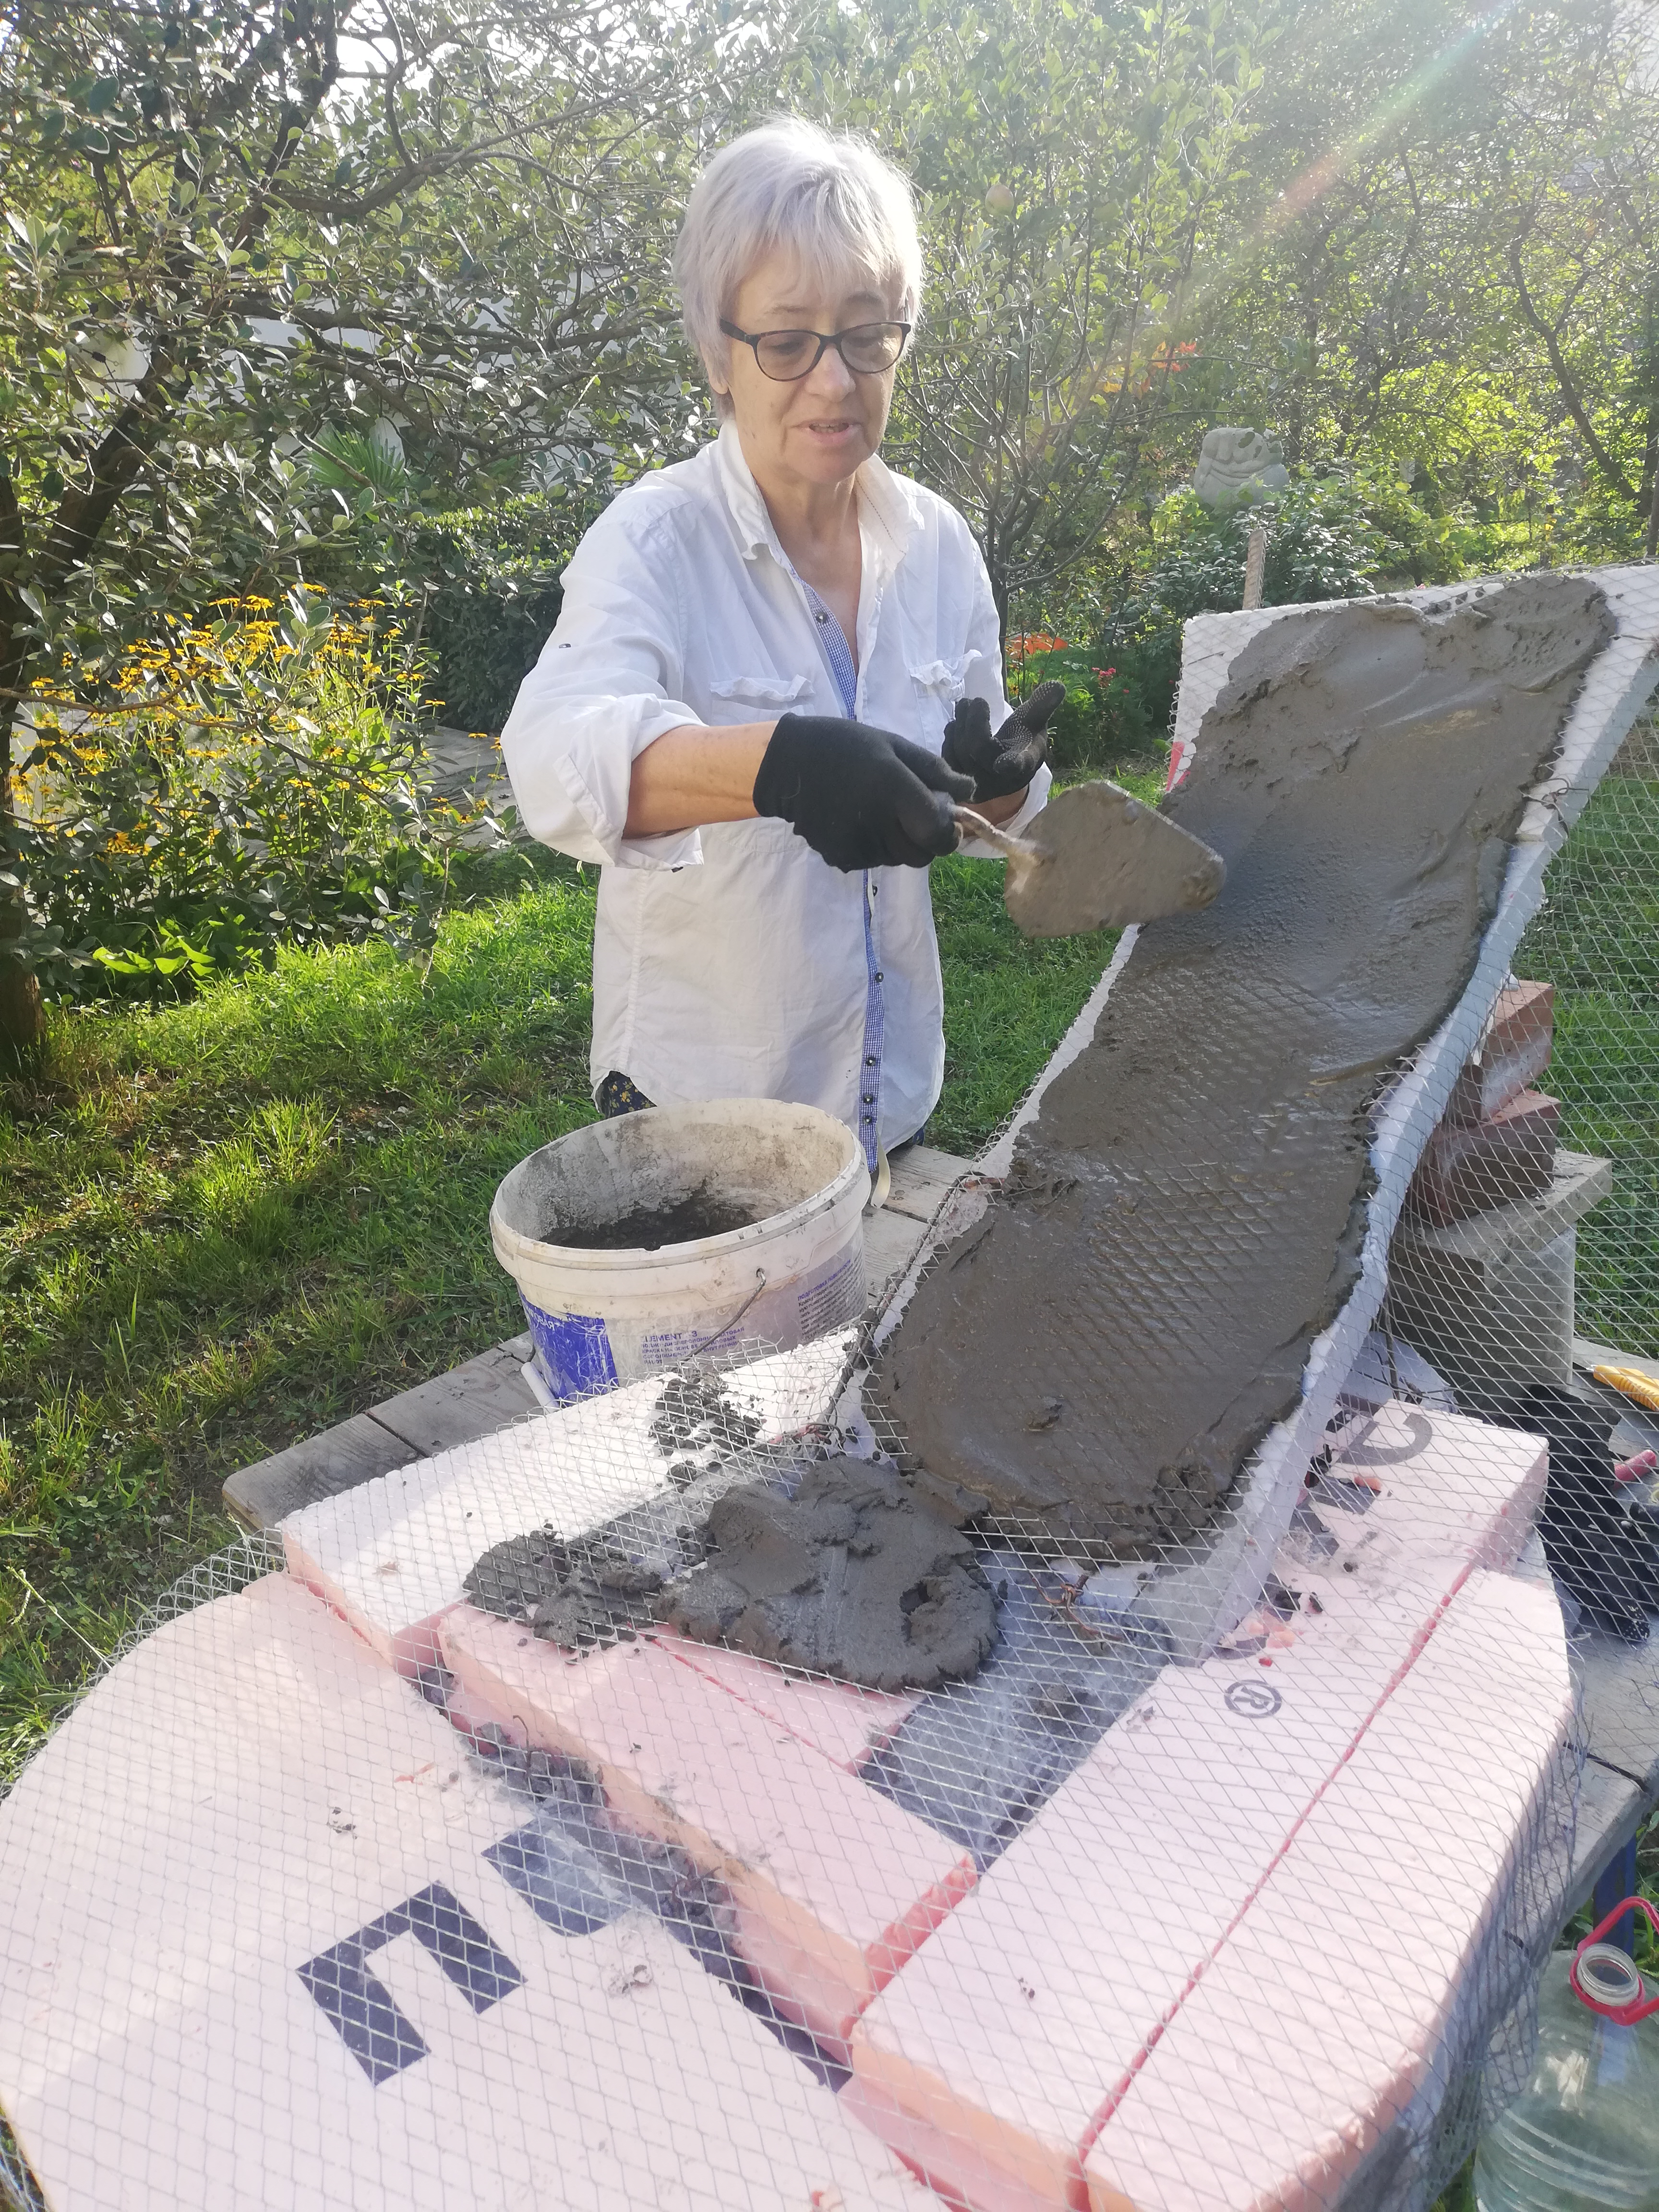
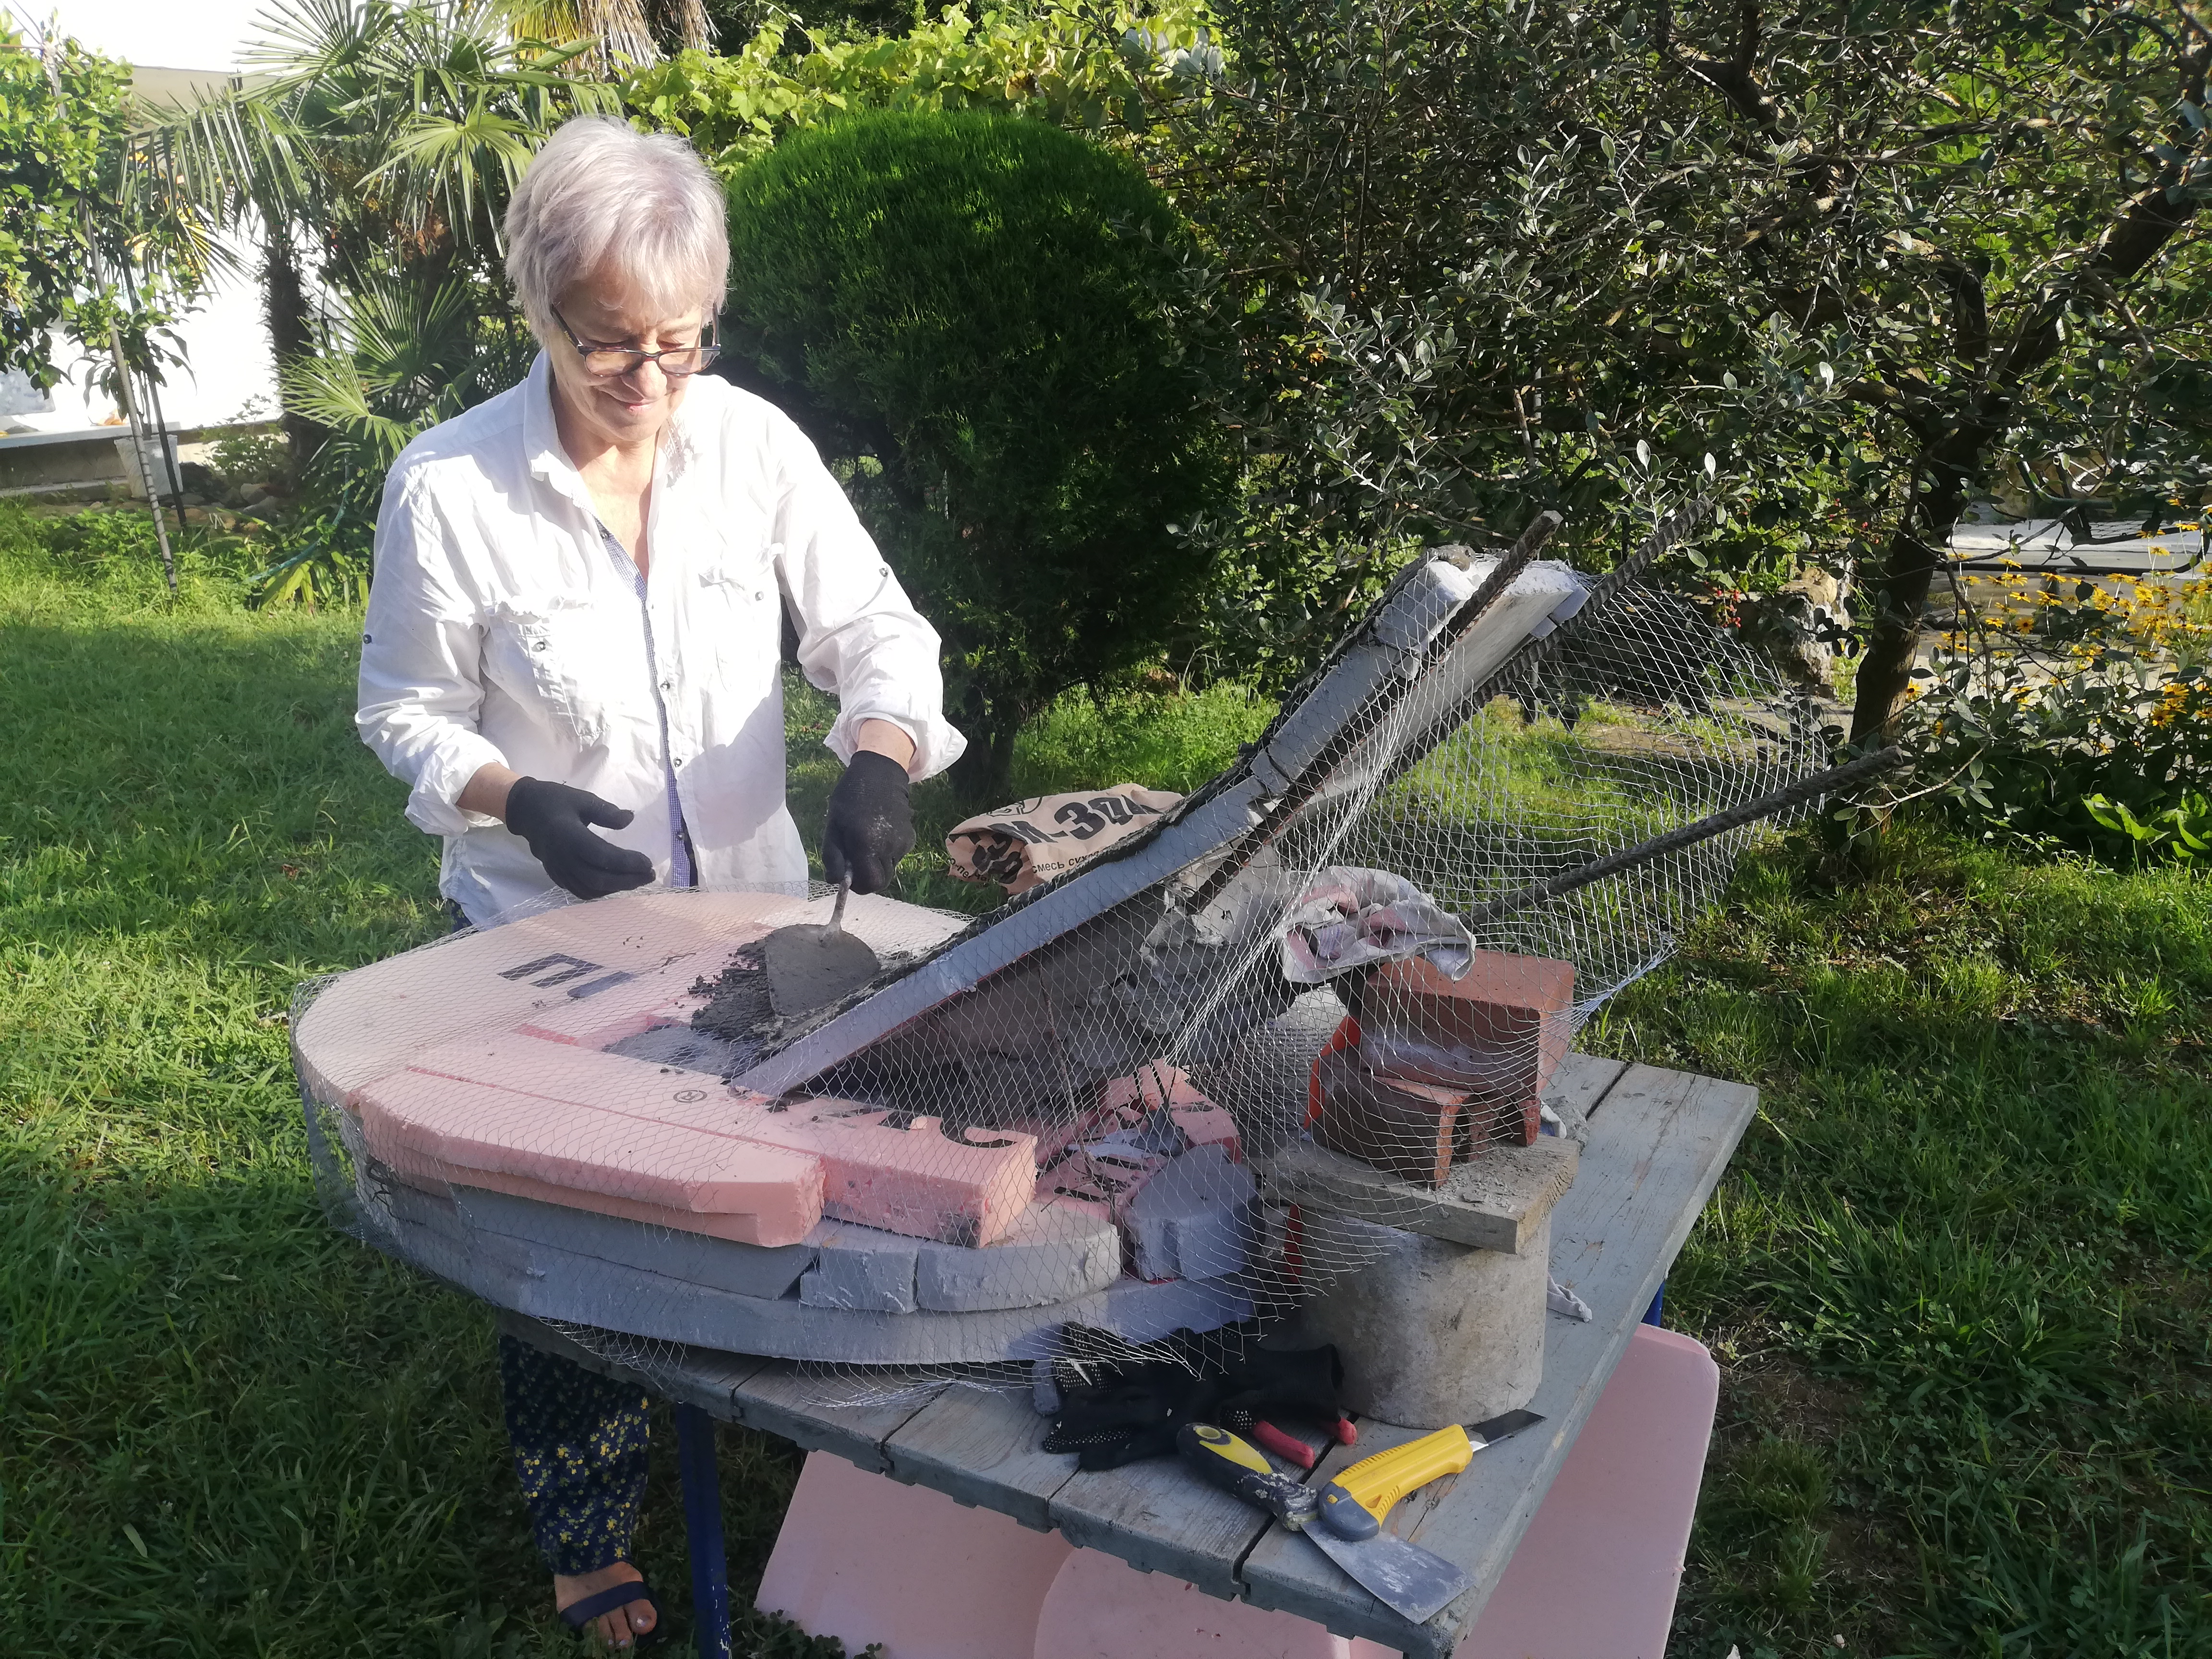
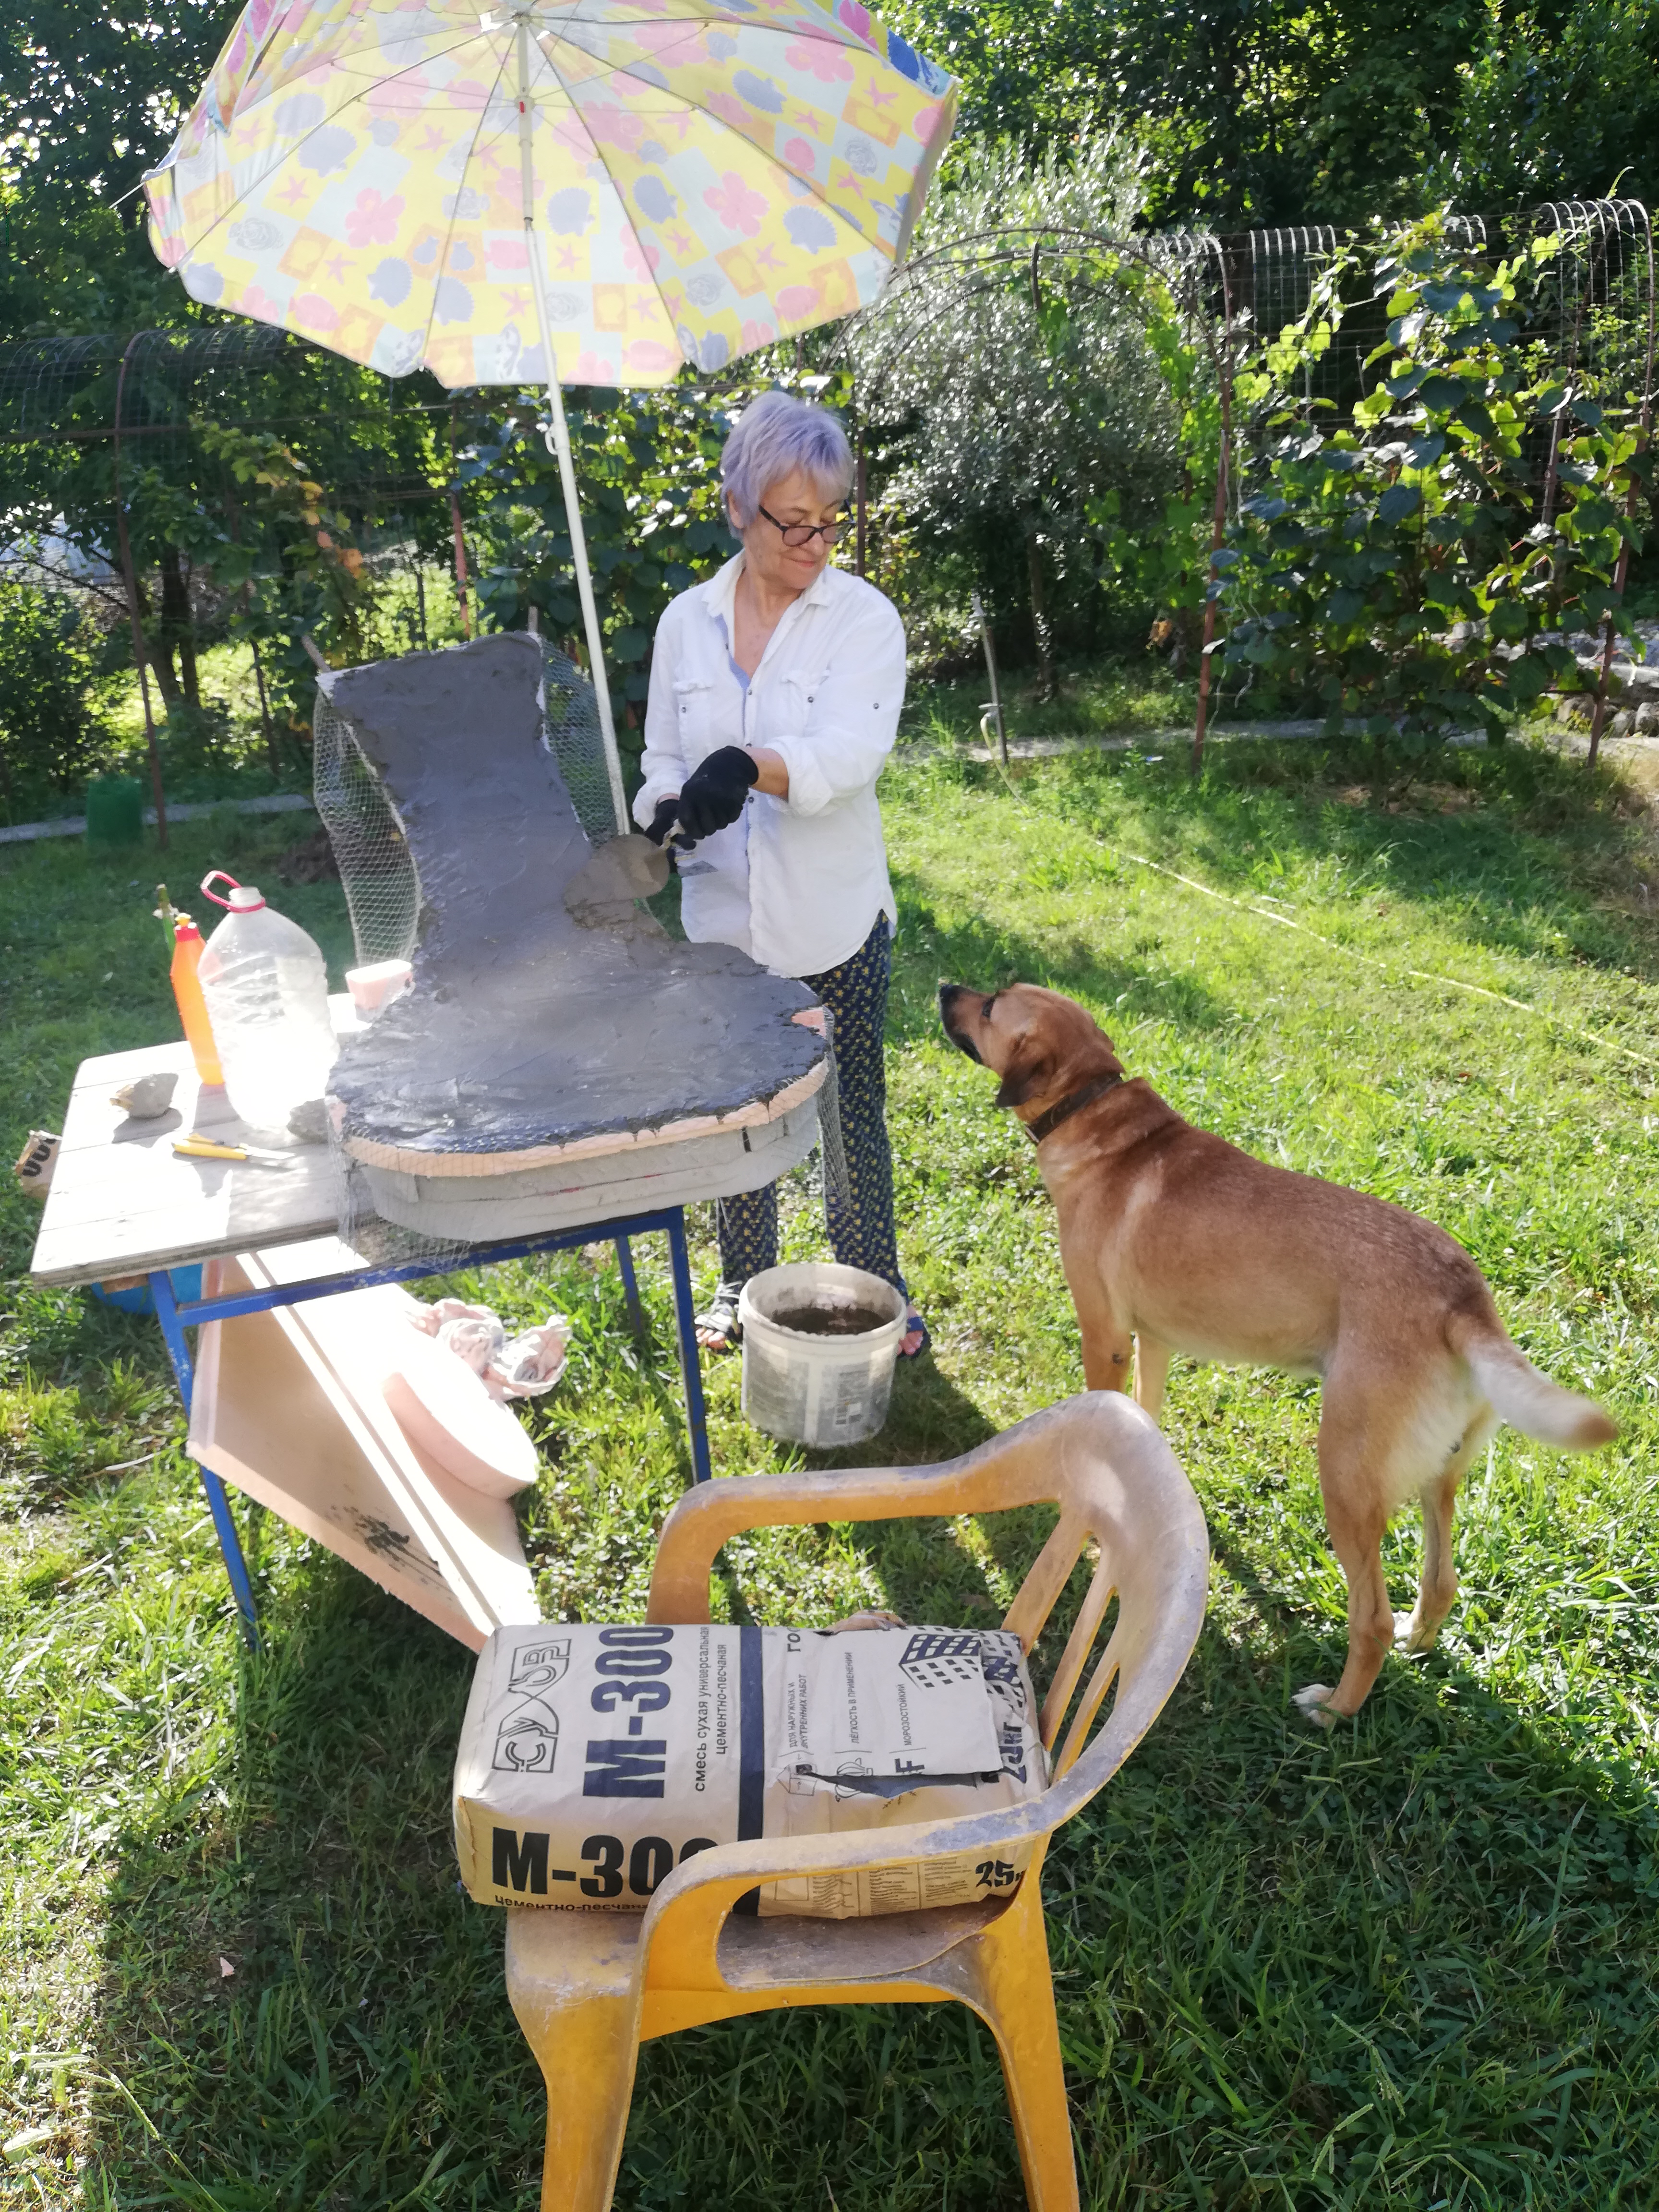
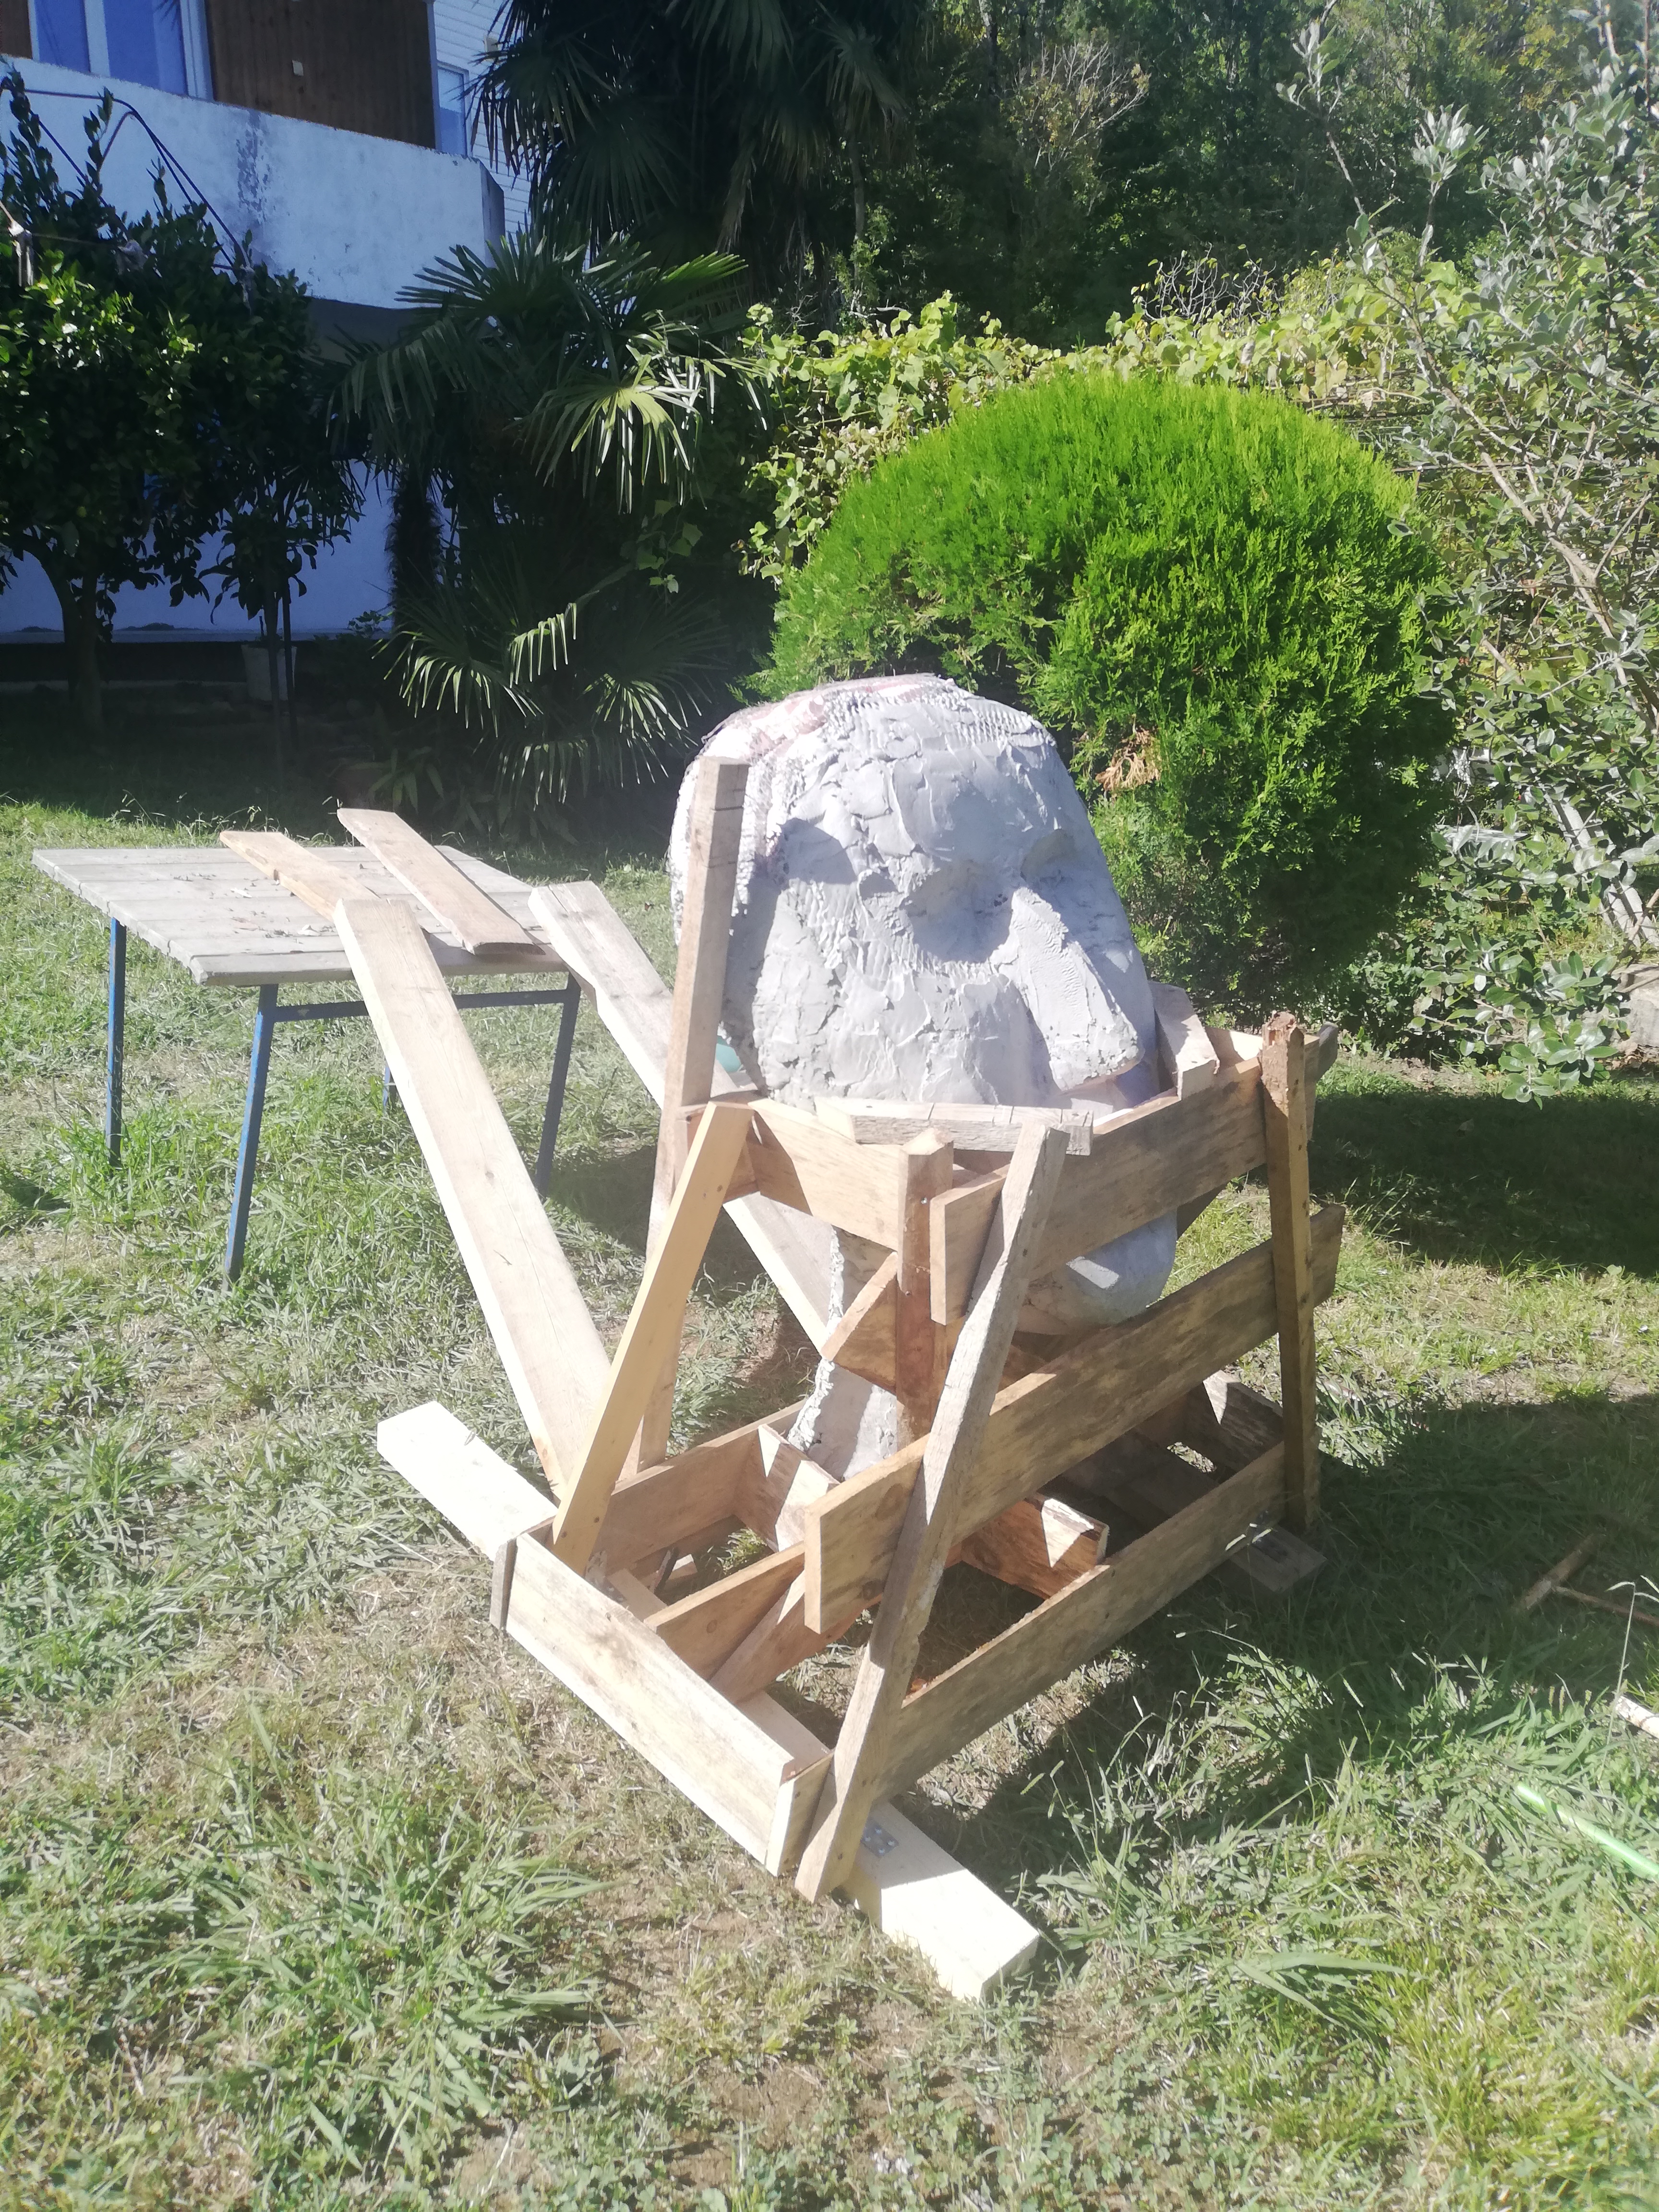
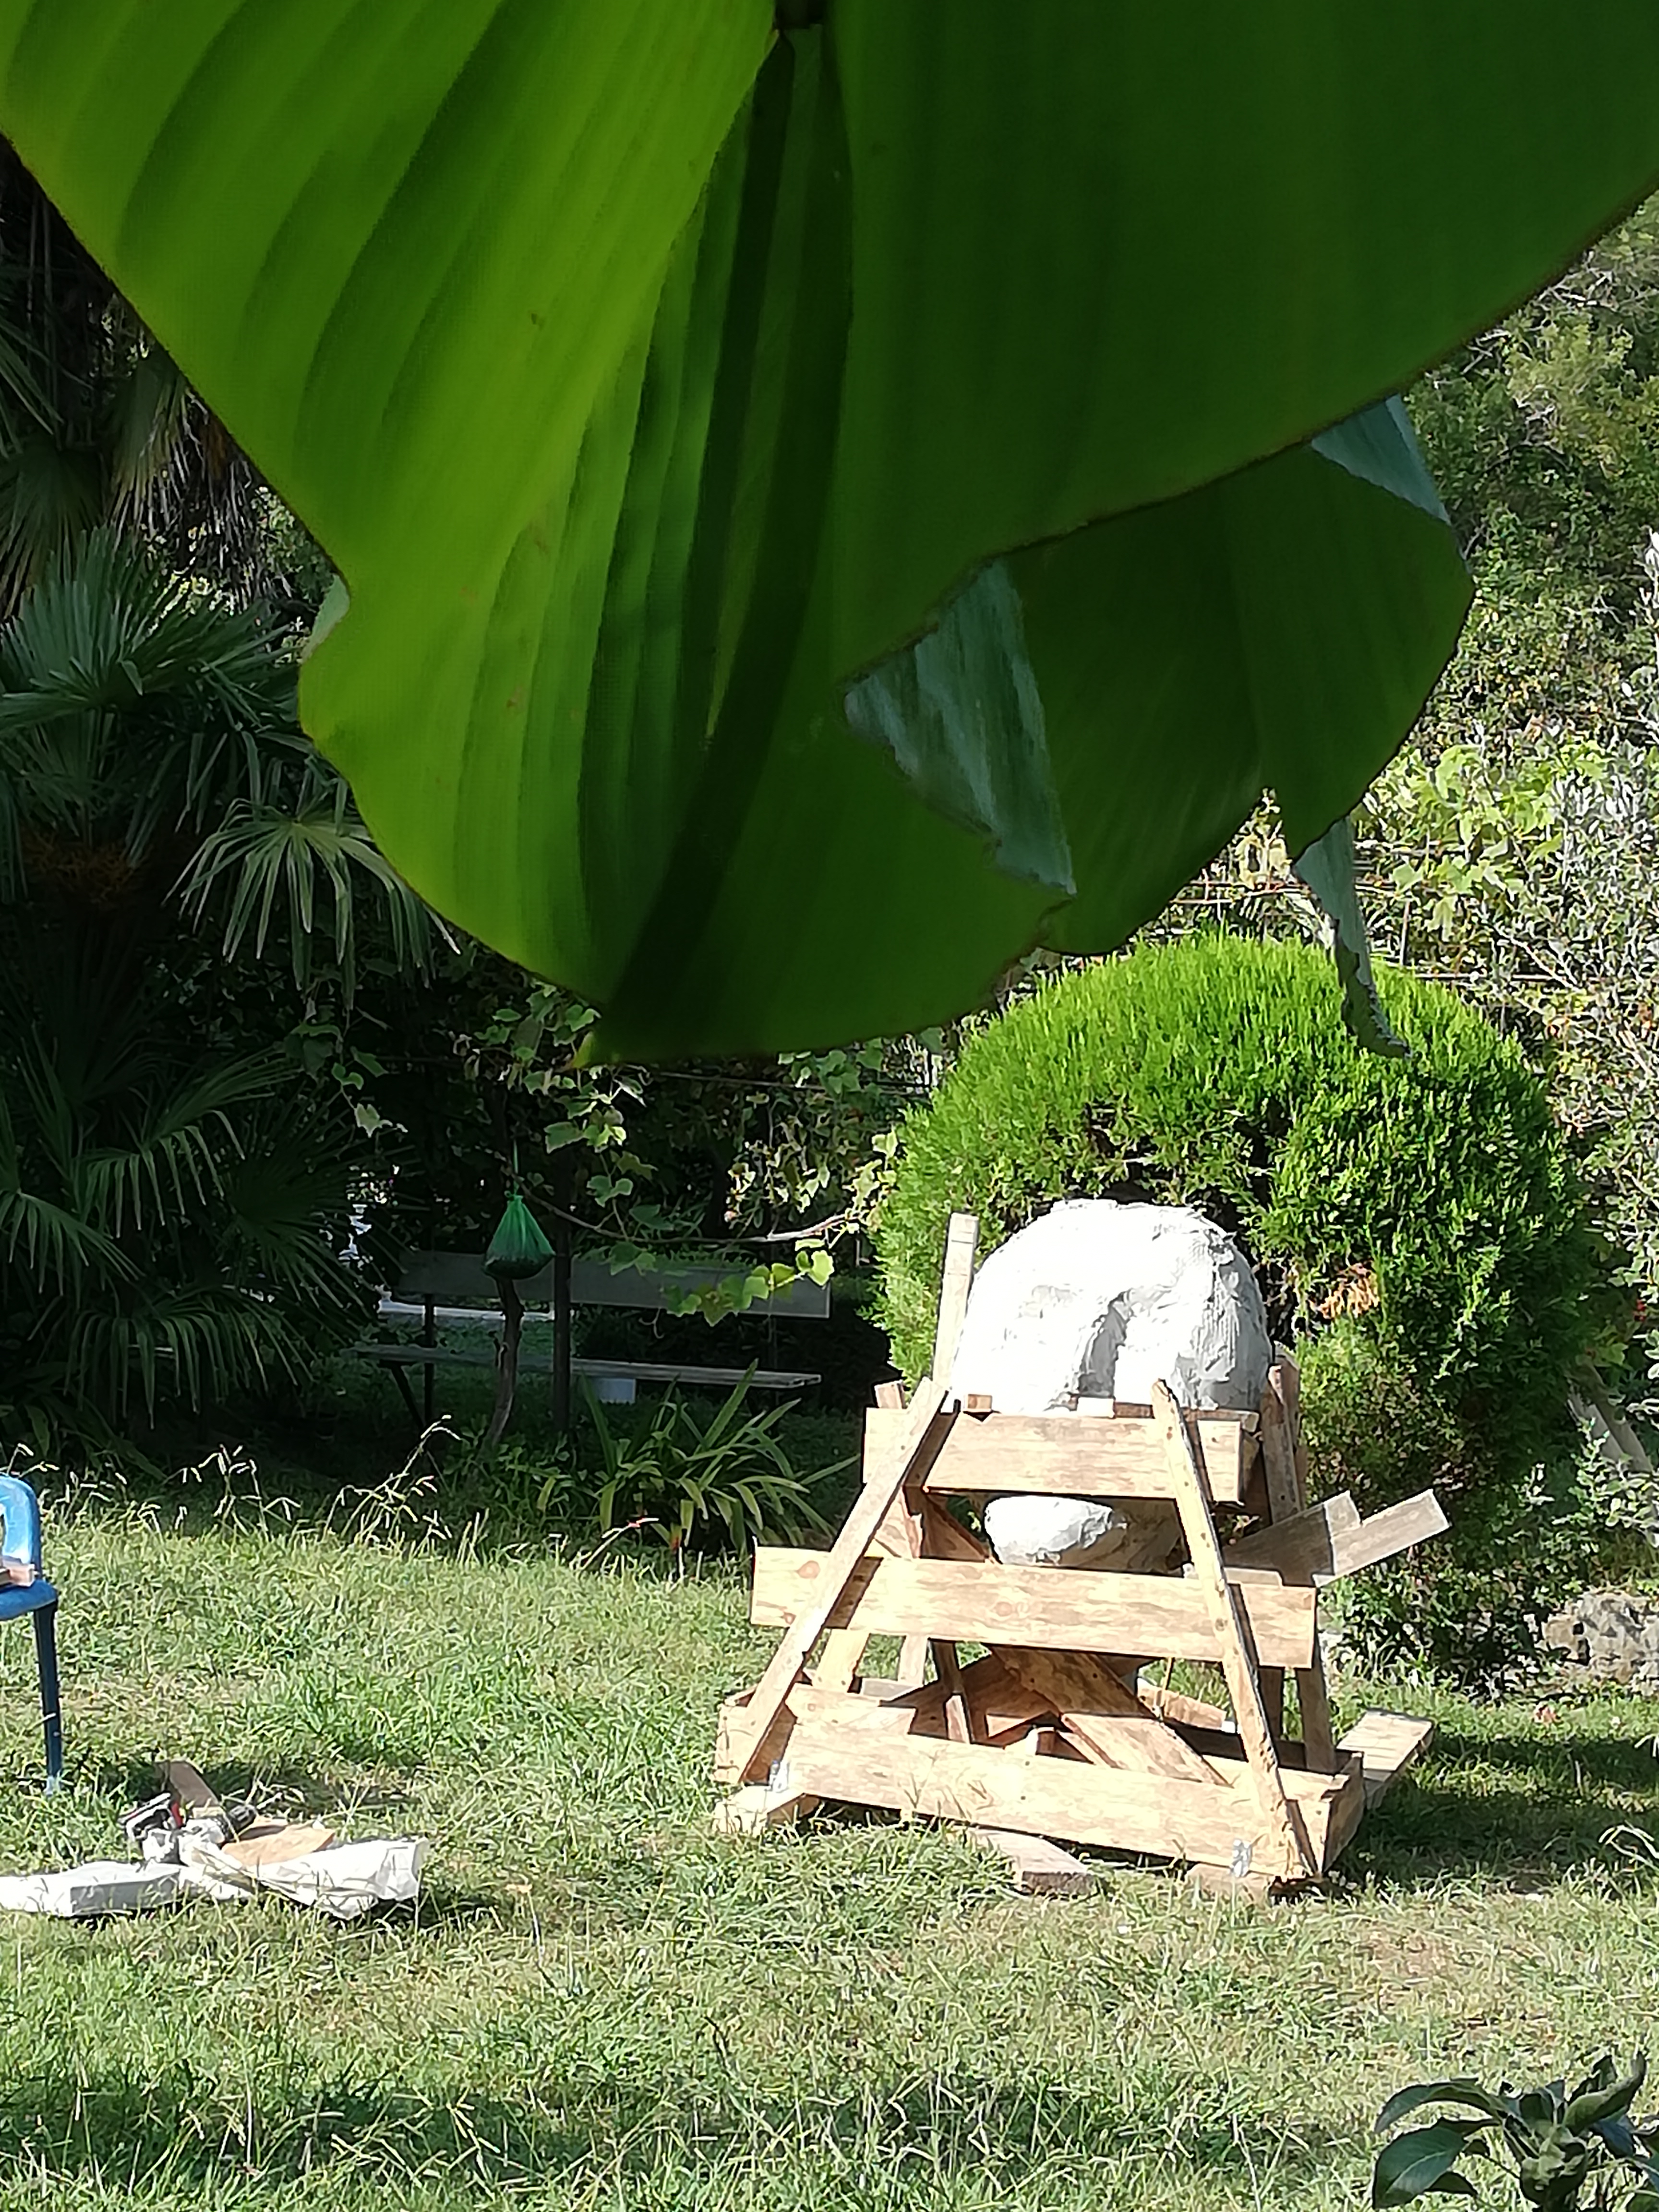
Support Frame & Stapel Installation
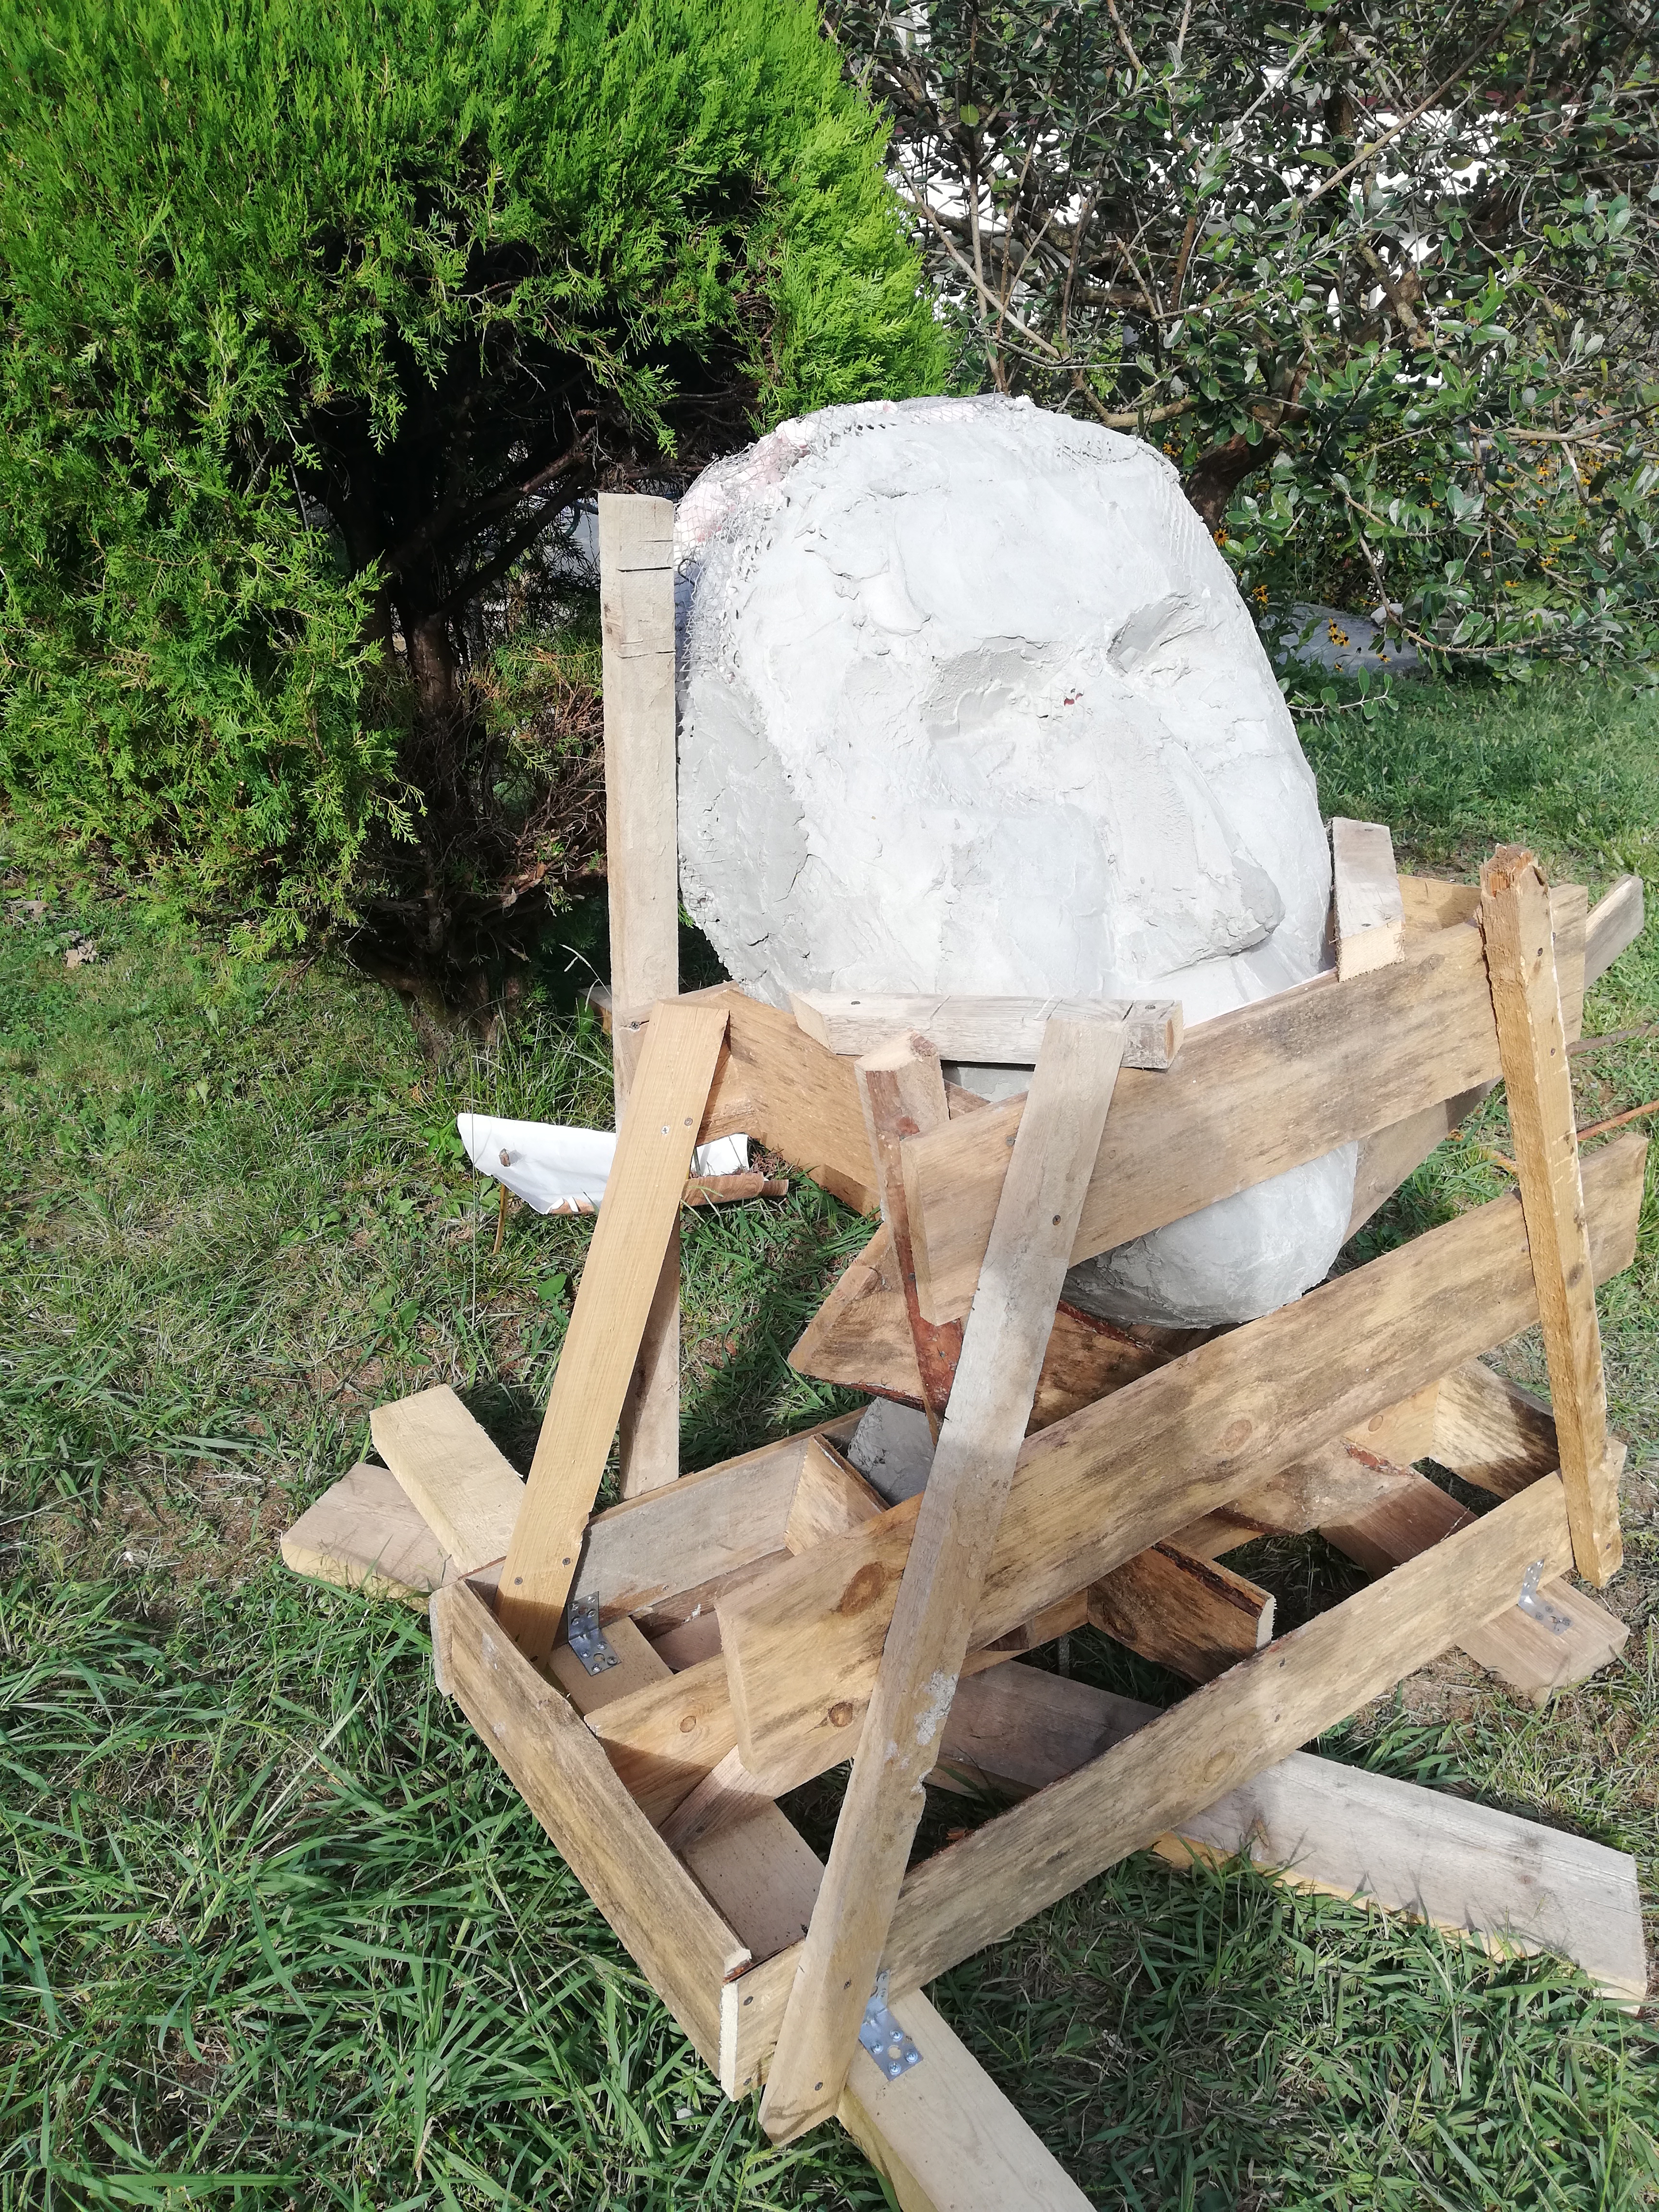
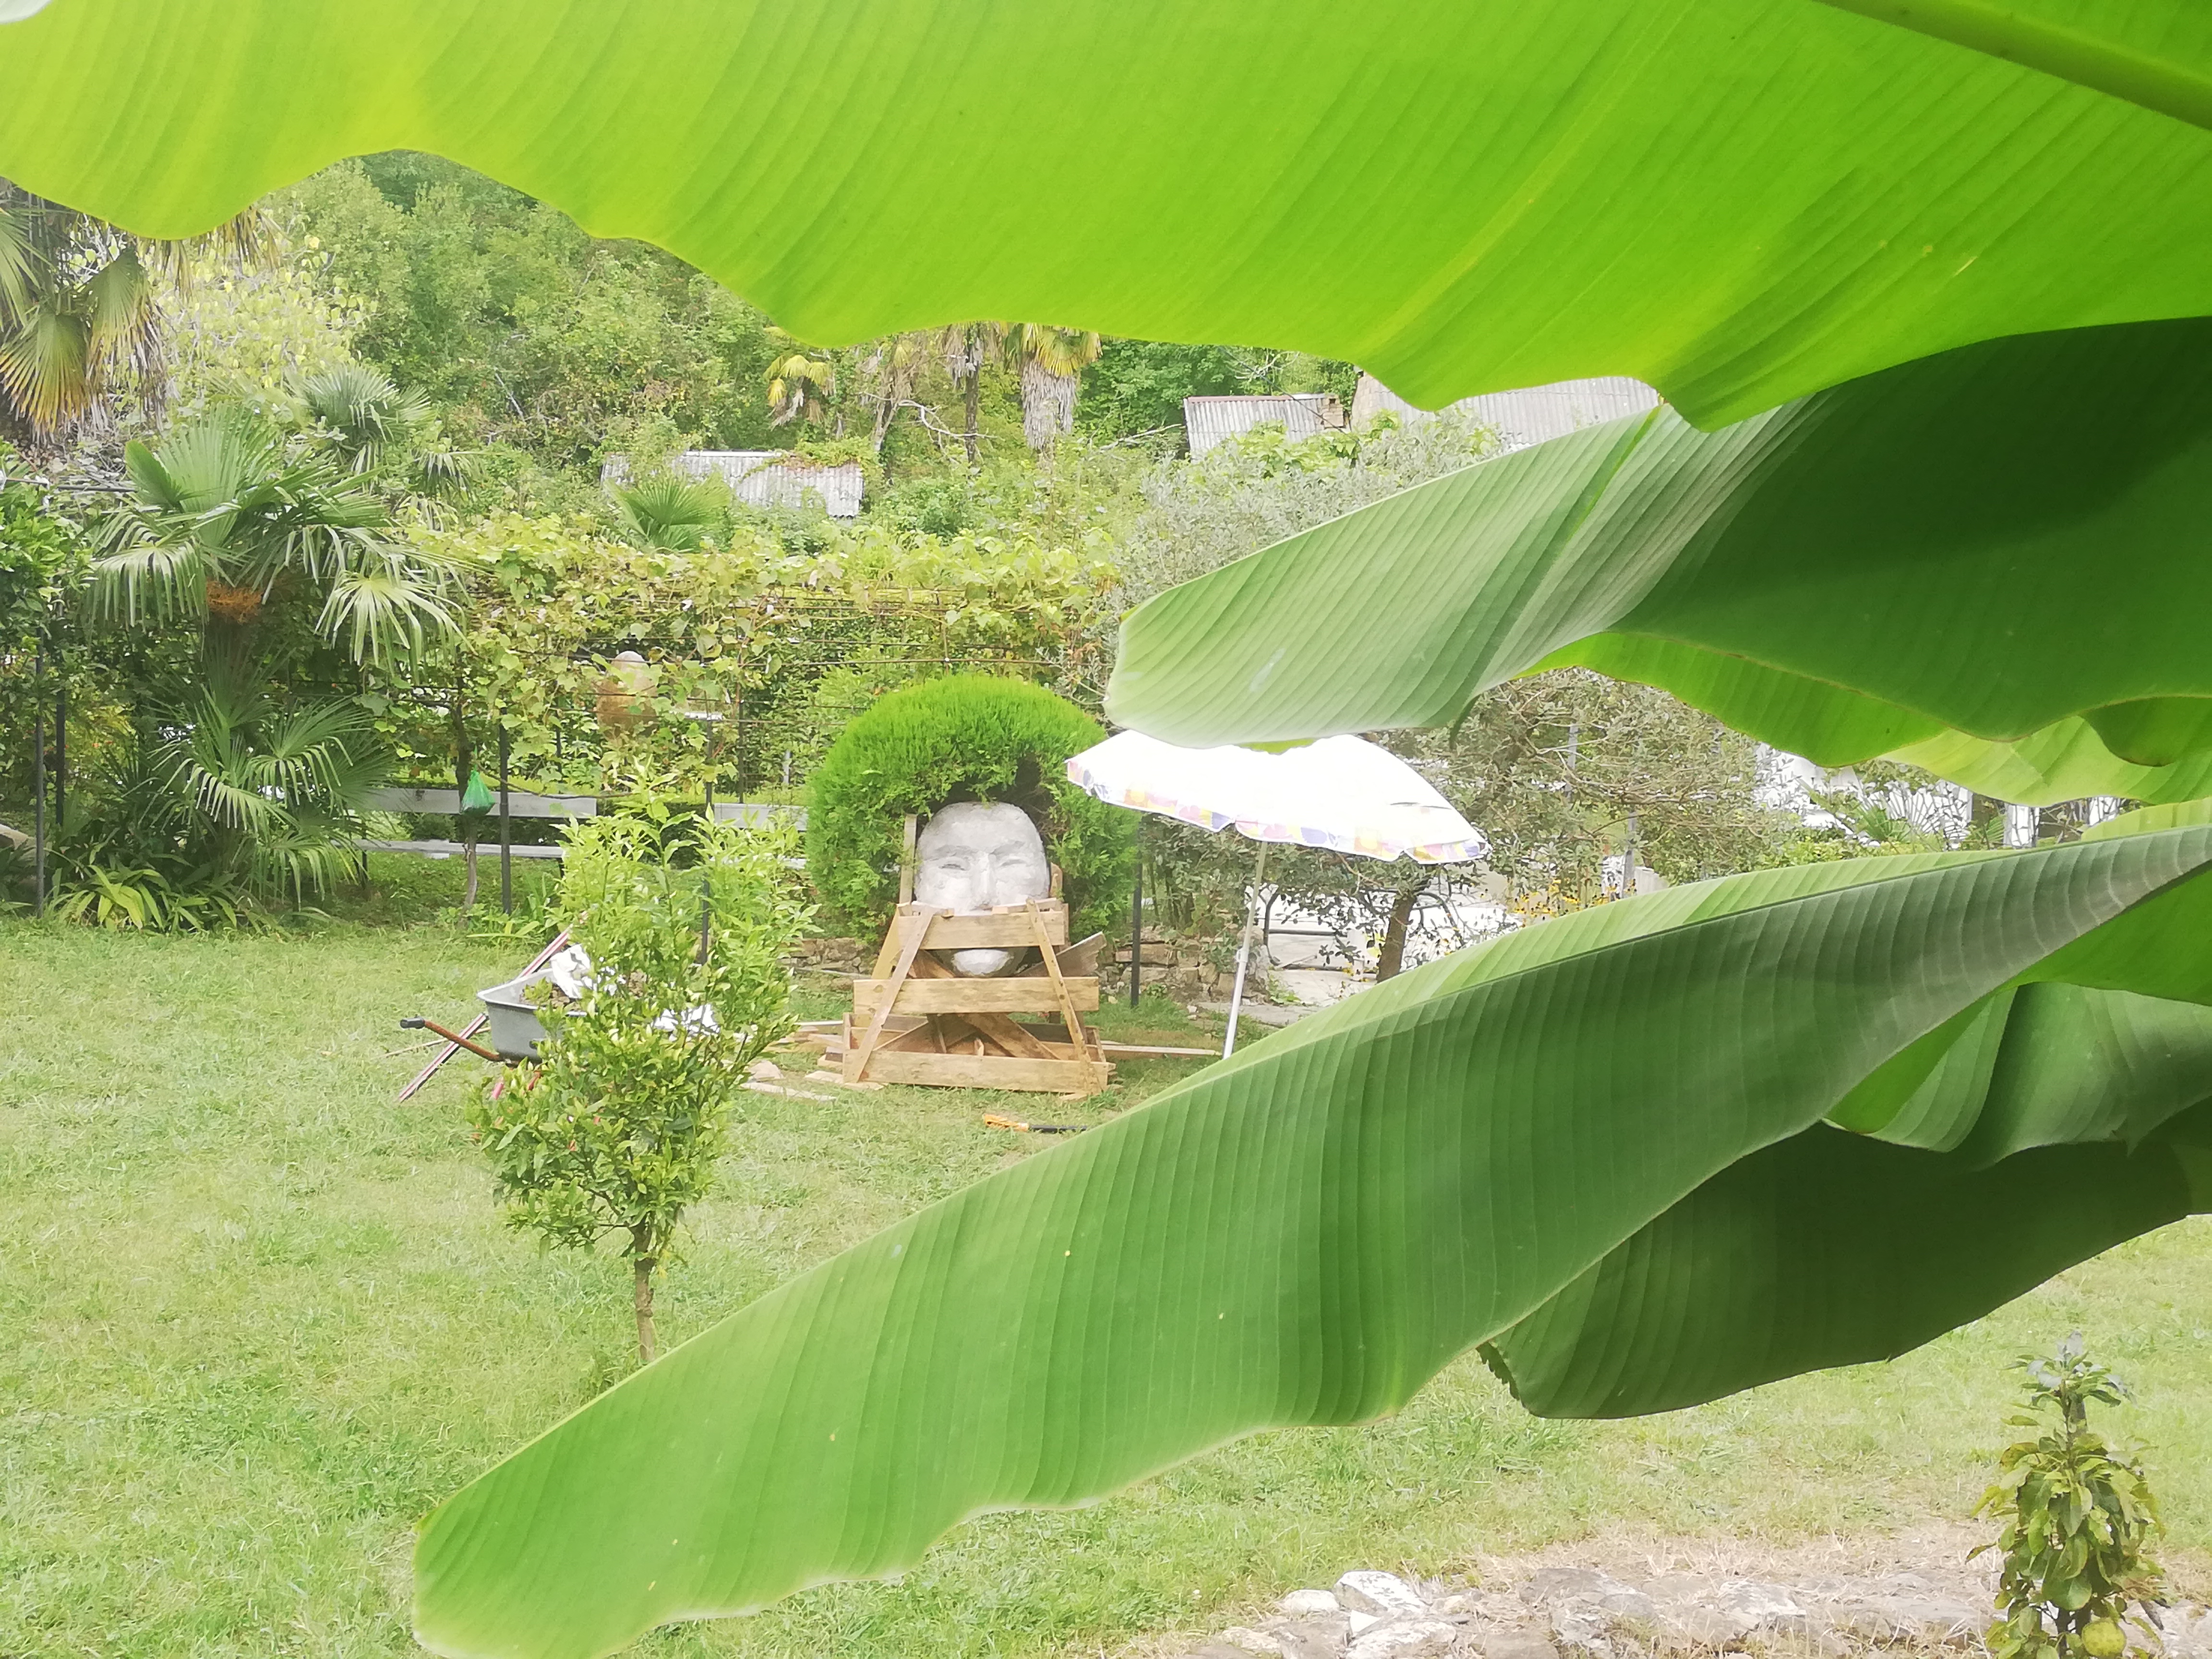
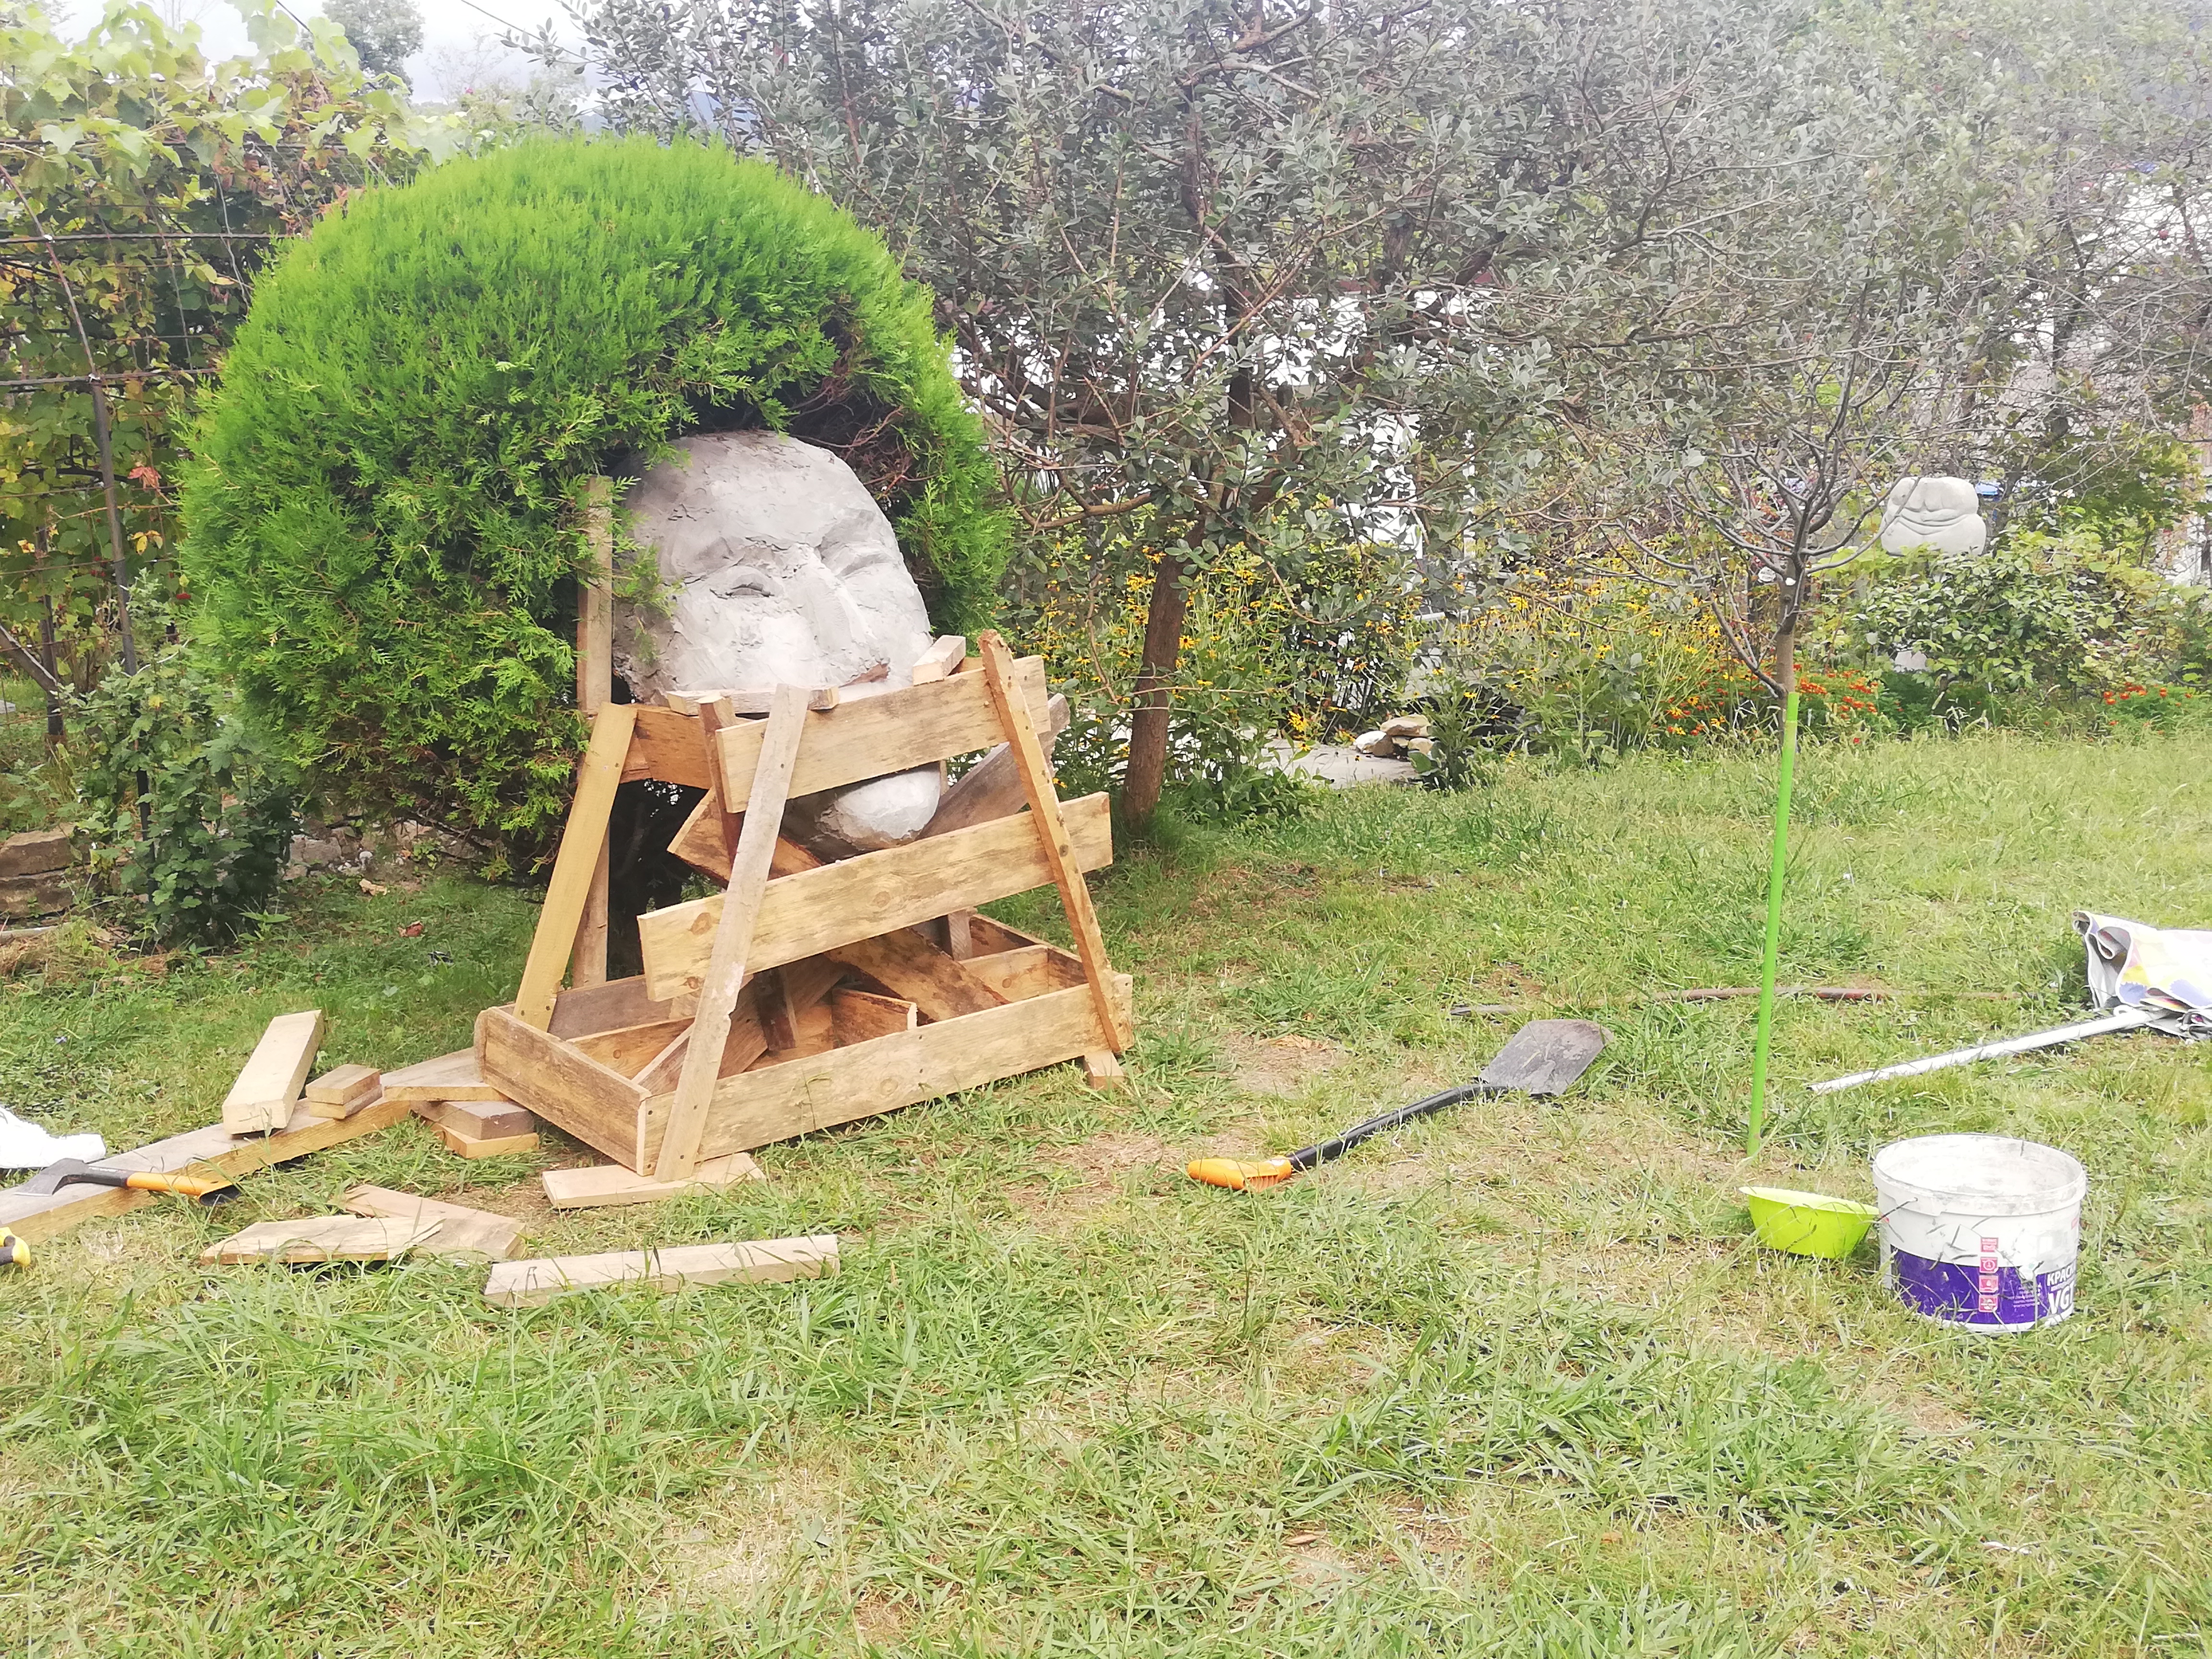
Fixing and clamping the sculpted assembly onto a heavy-duty wooden or structural metal frame (stapel). This temporary or permanent skeleton guarantees complete rigidity, preventing structural shifting during active modeling.
Base Mounting & Weight Balancing
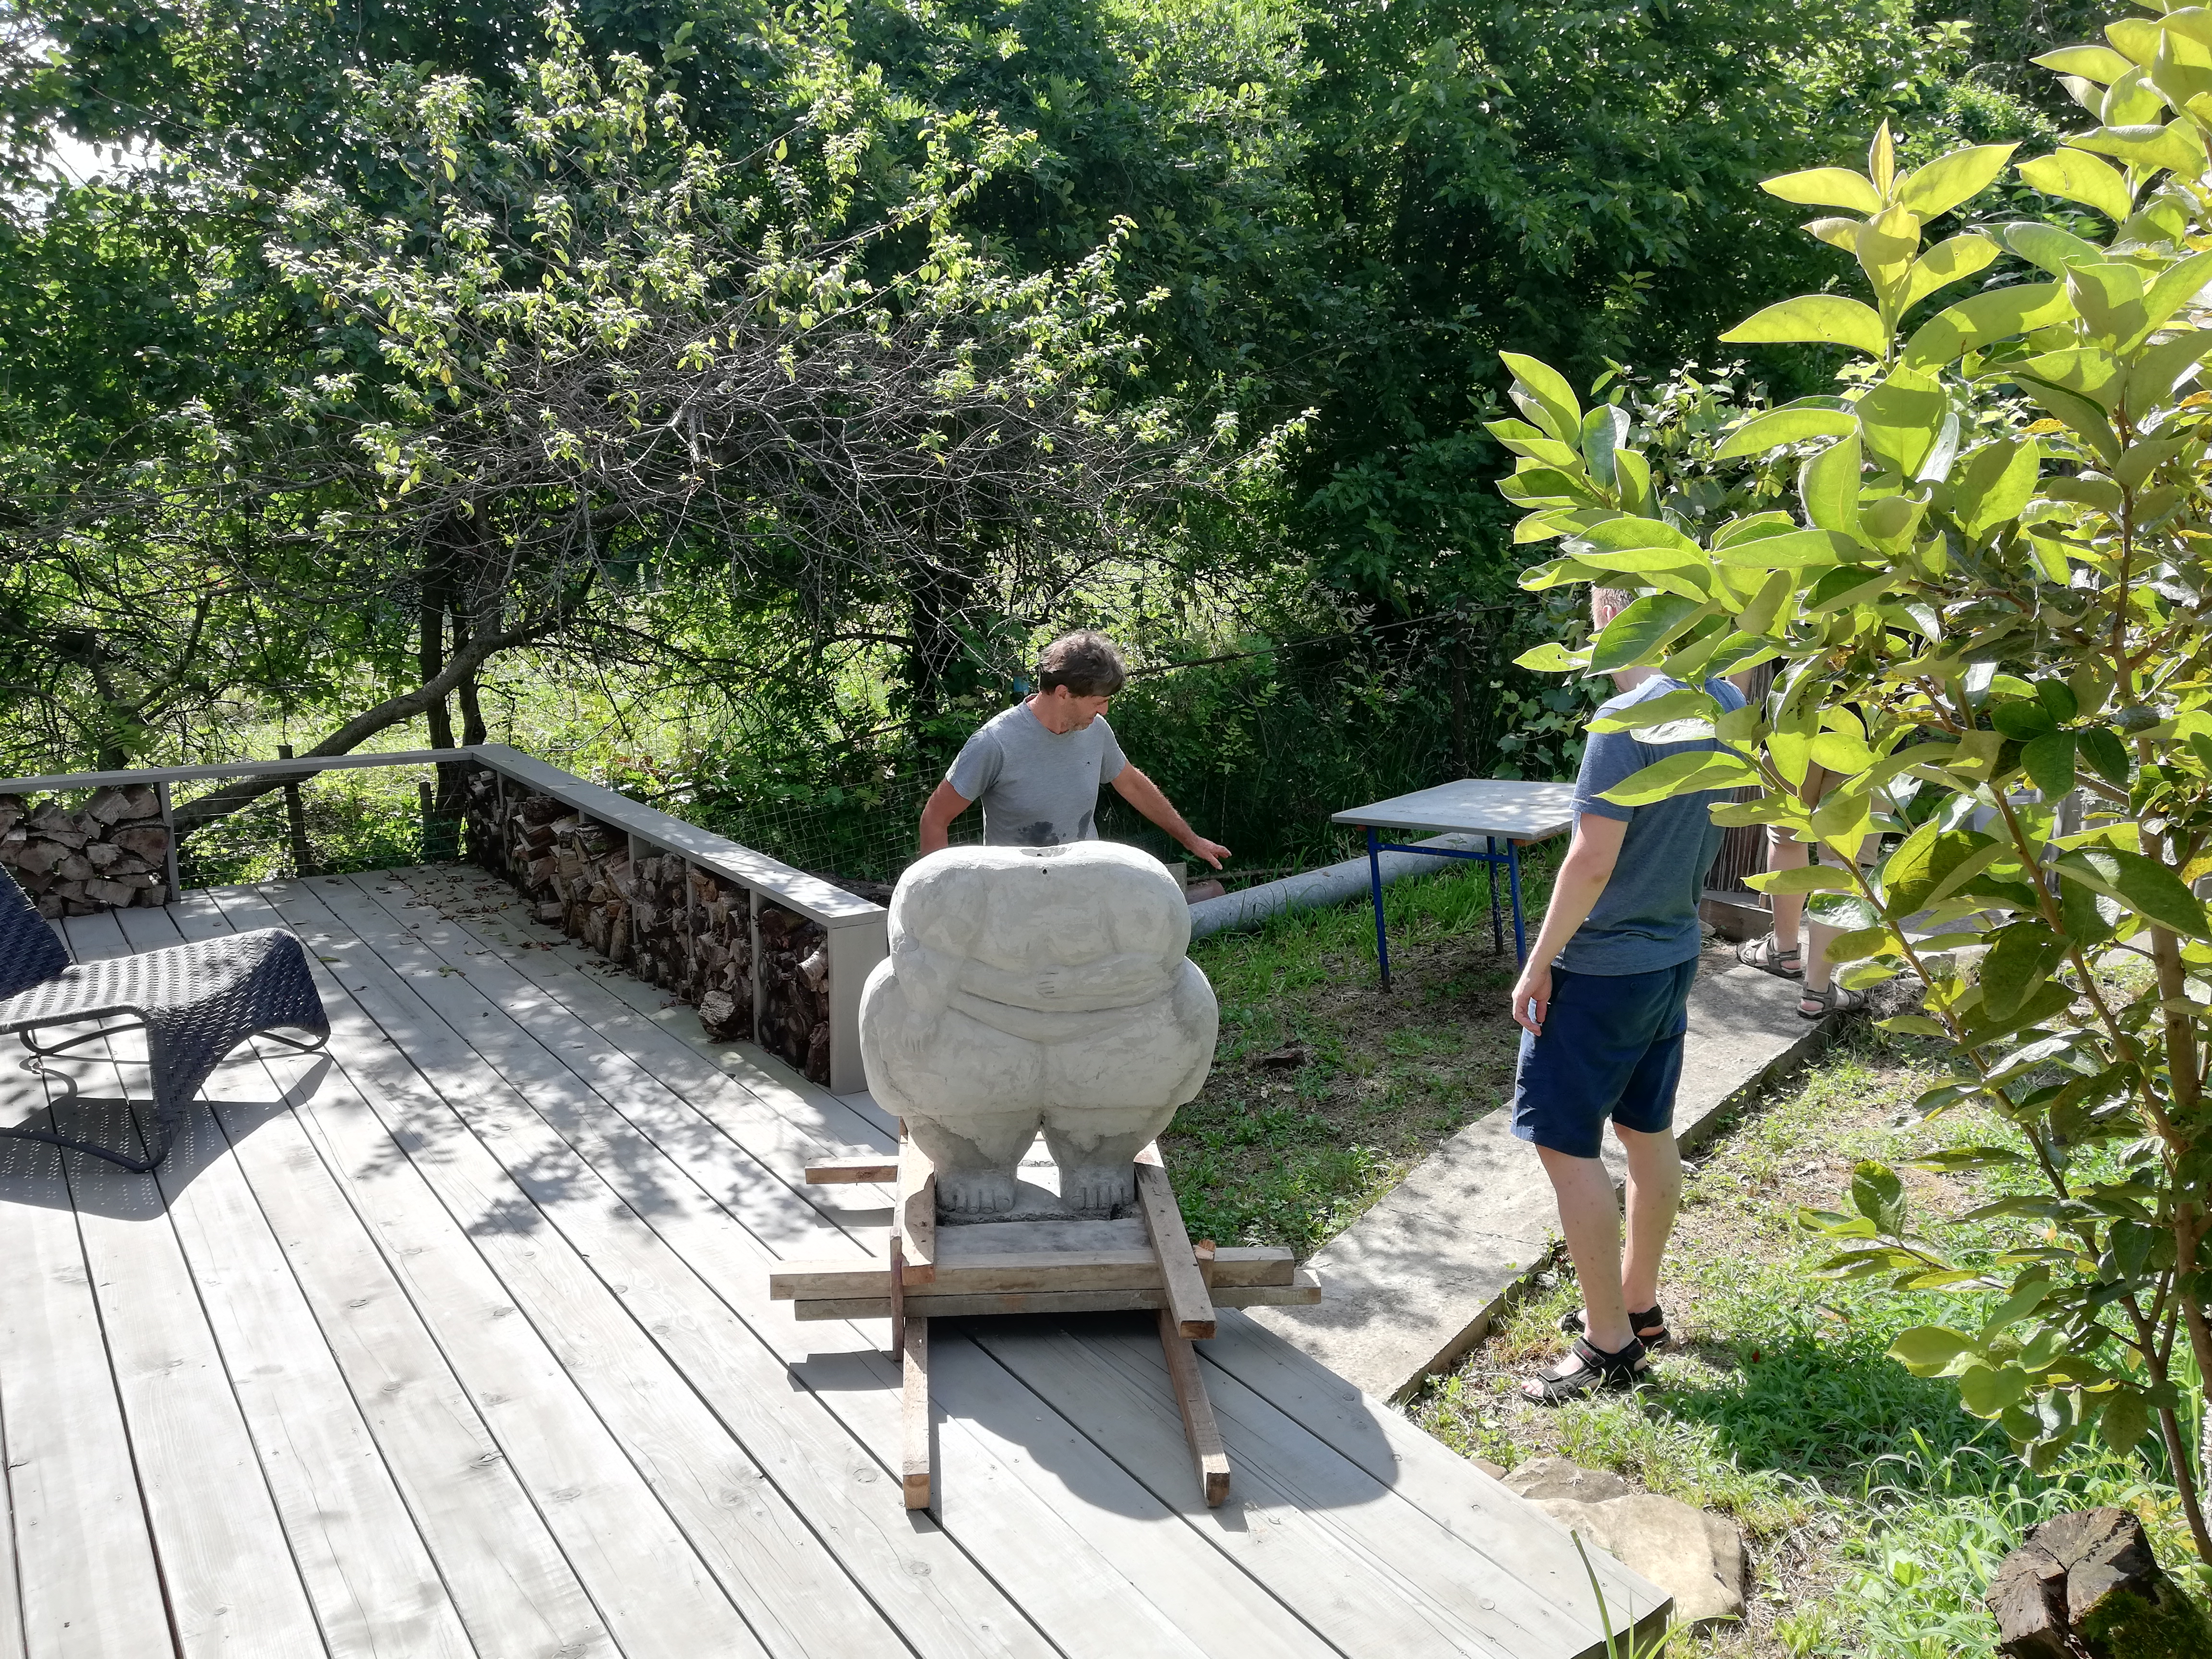
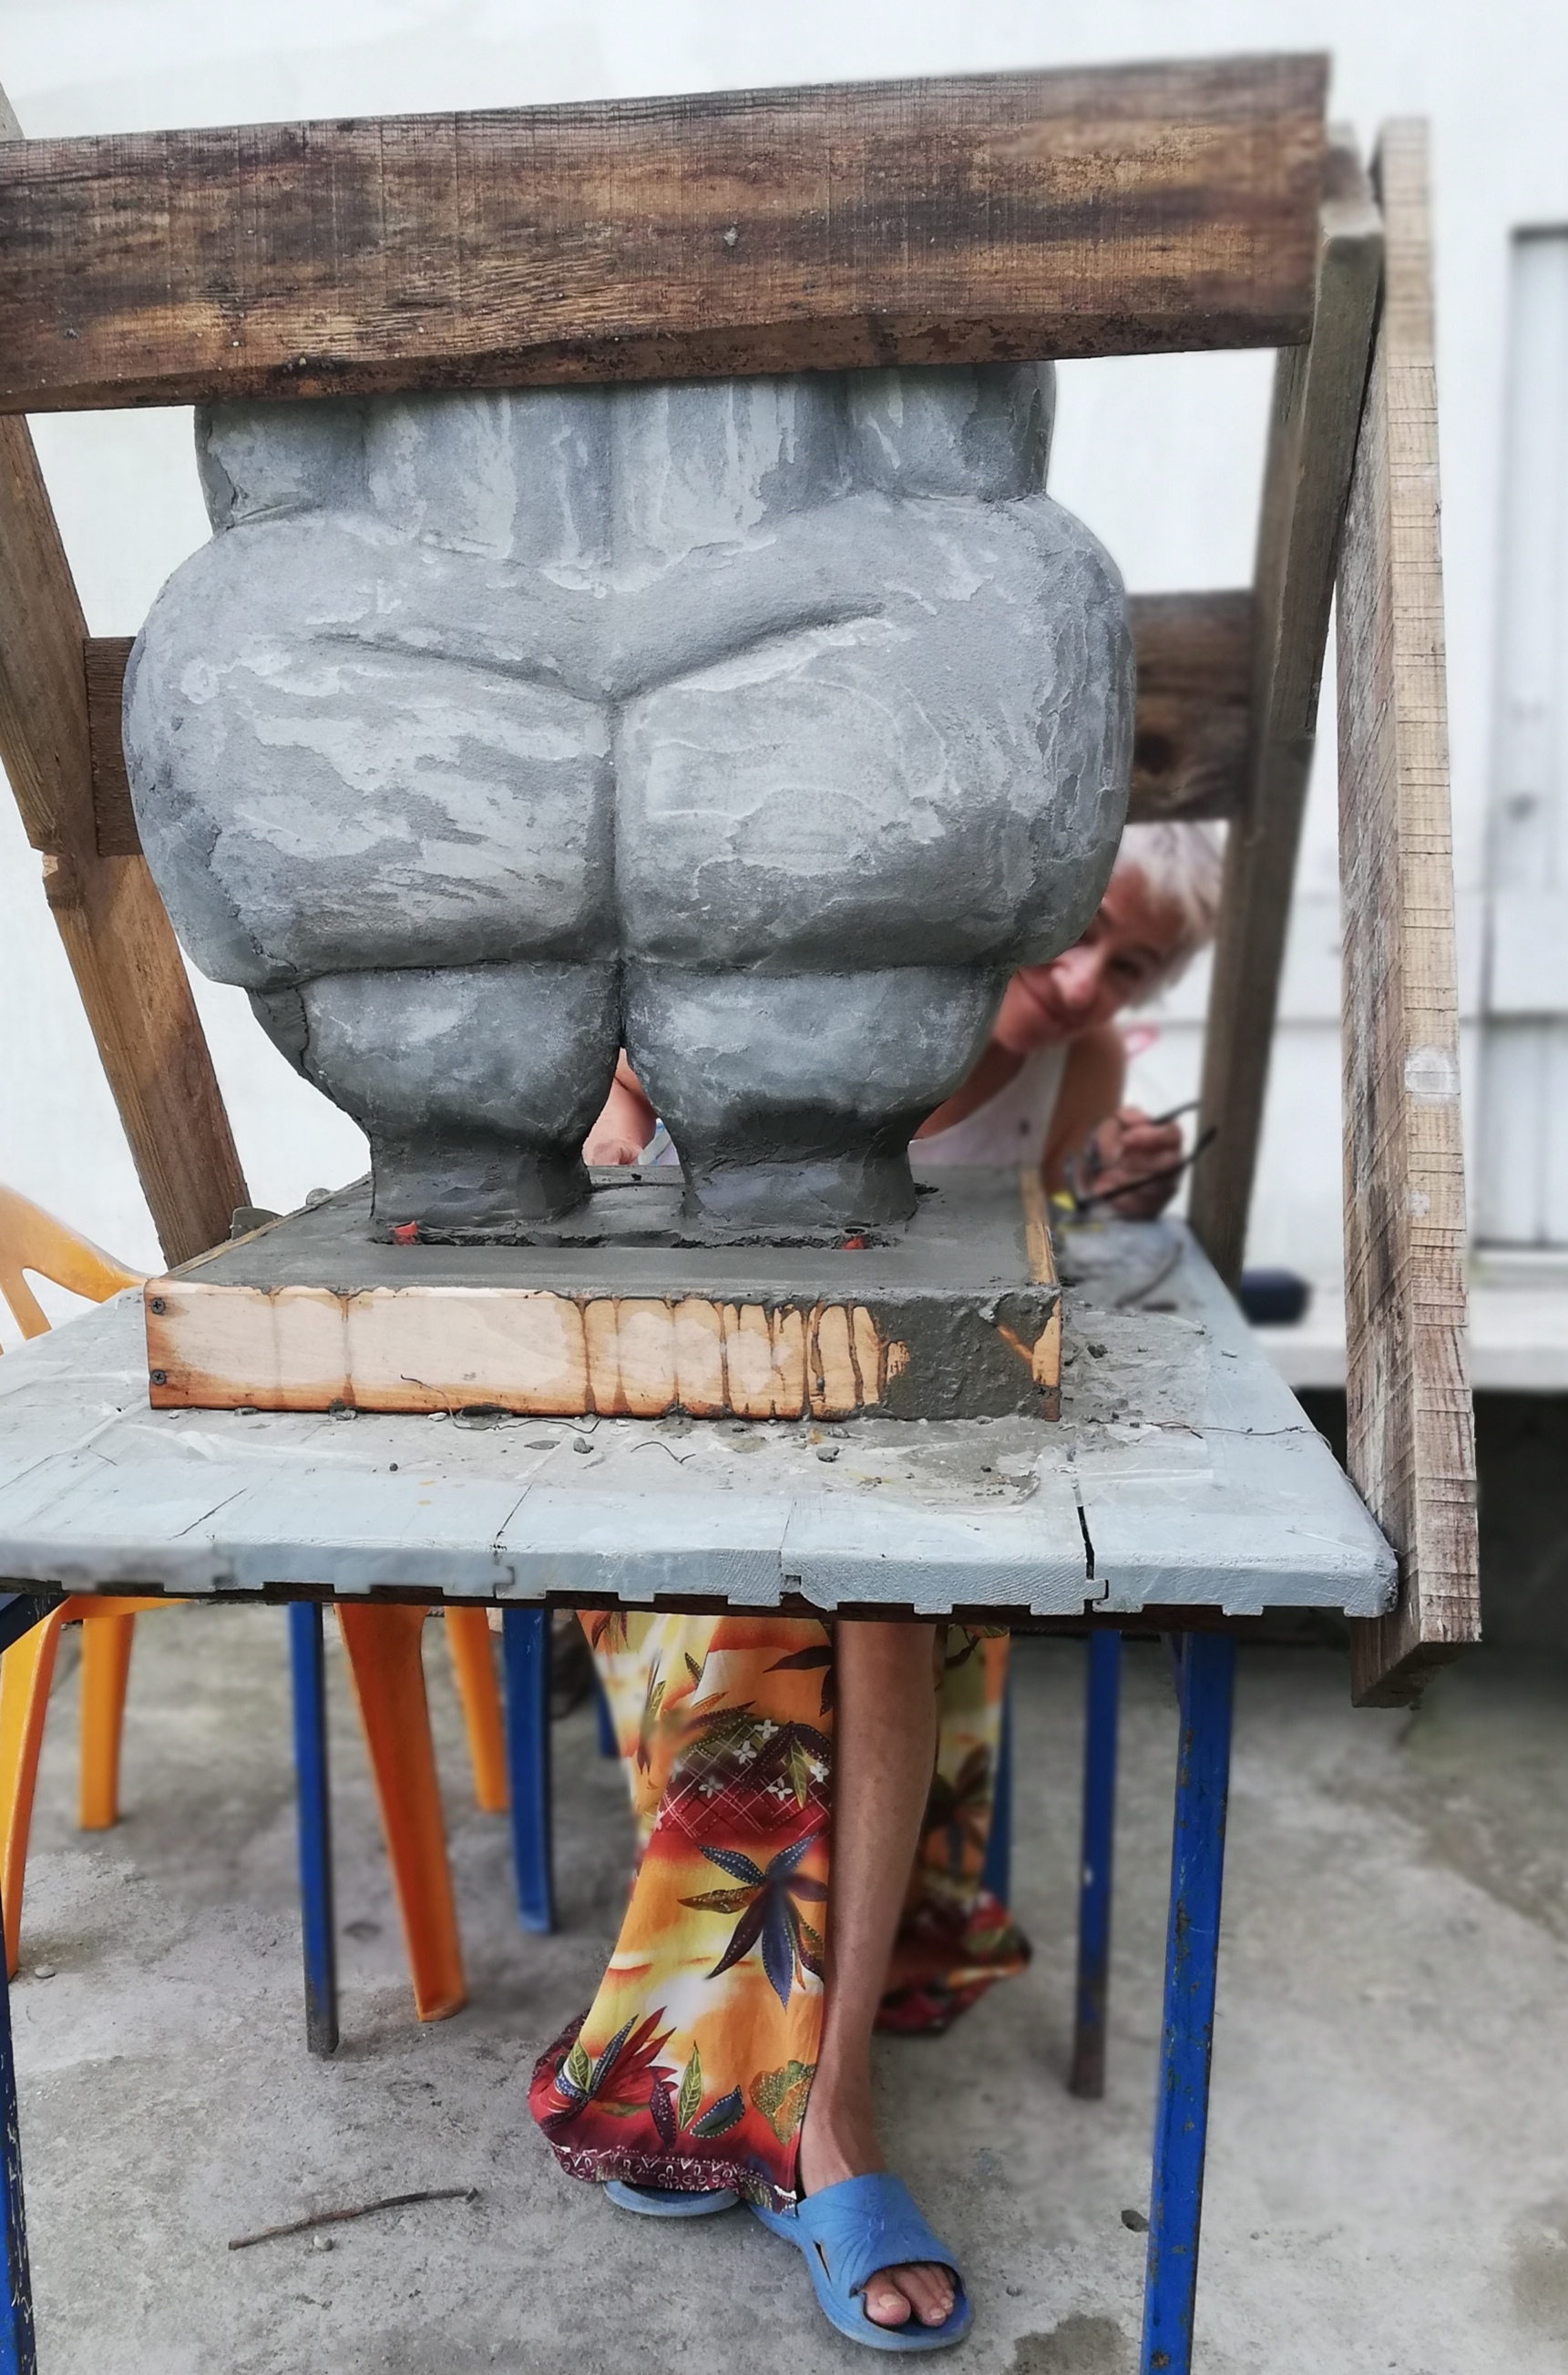
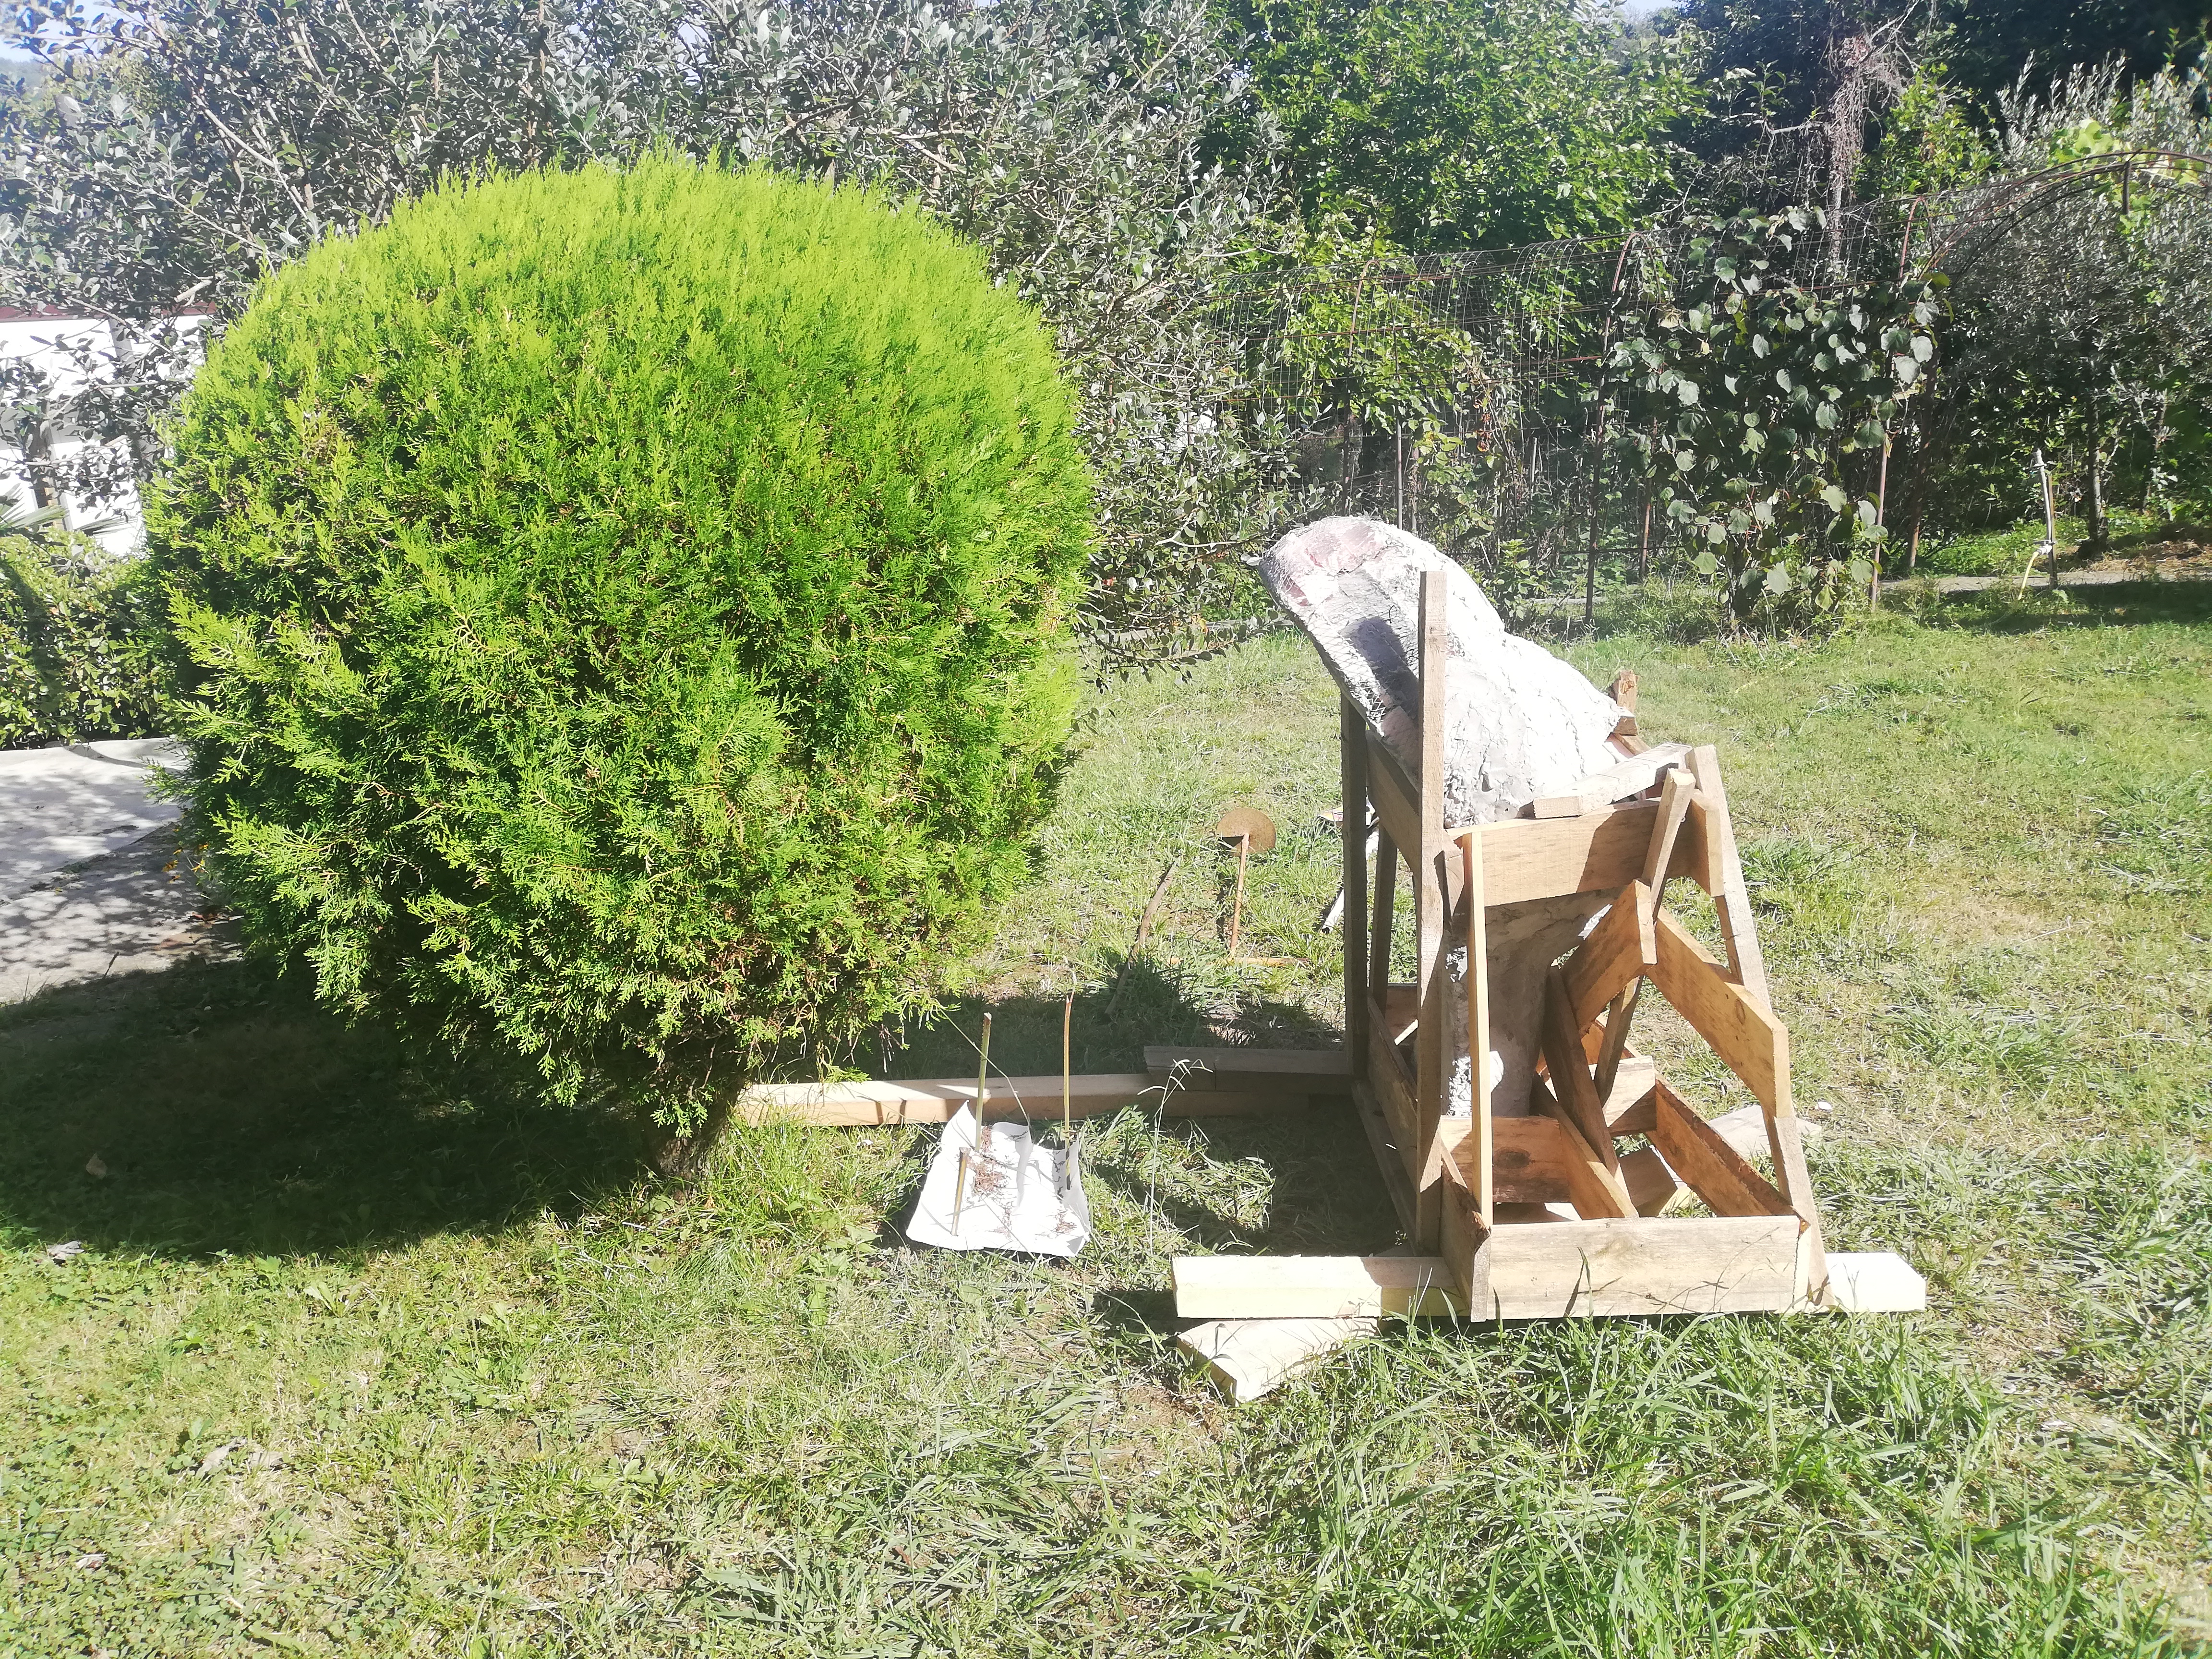
For large-scale works: Mounting is performed at this stage. A slightly inclined monolithic pit foundation is cast to counteract the tipping moment of a forward-leaning head.
Rebar outlets from the neck are inserted and grouted into this socket while scaffold supports remain active.
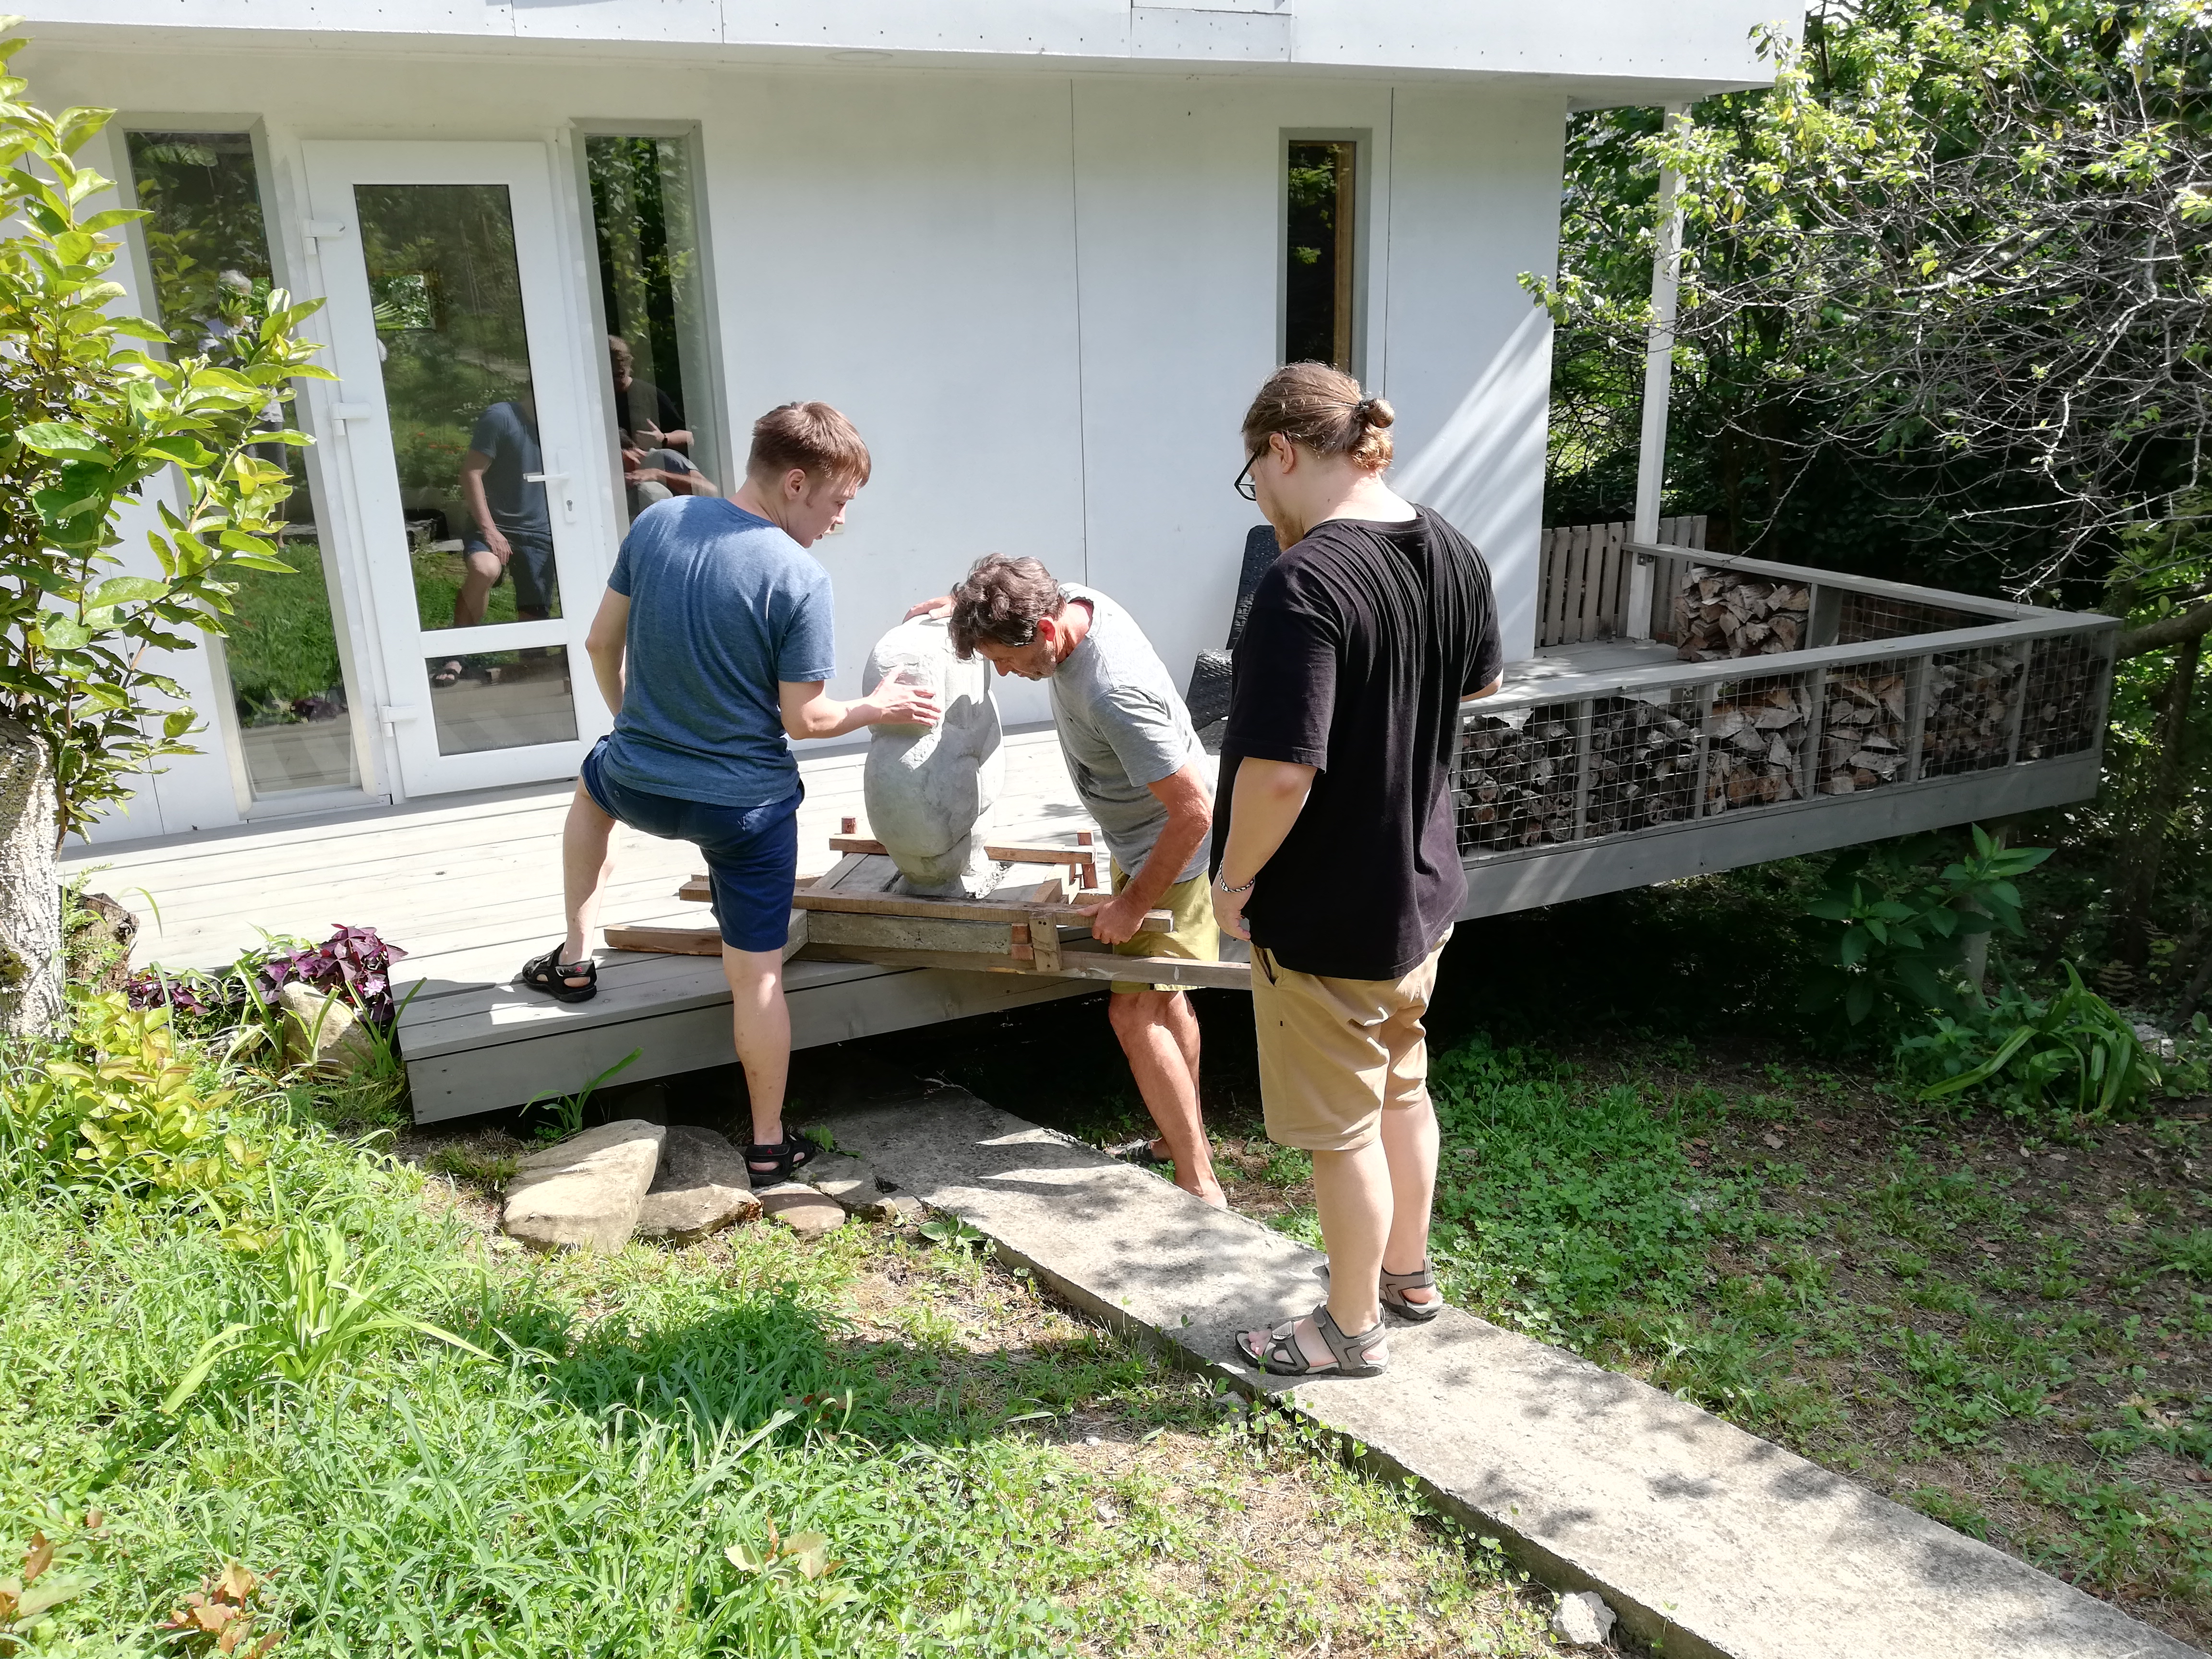
For compact pieces: Installation onto the base can occur after completion.
Mortar Application & Detailed Shaping
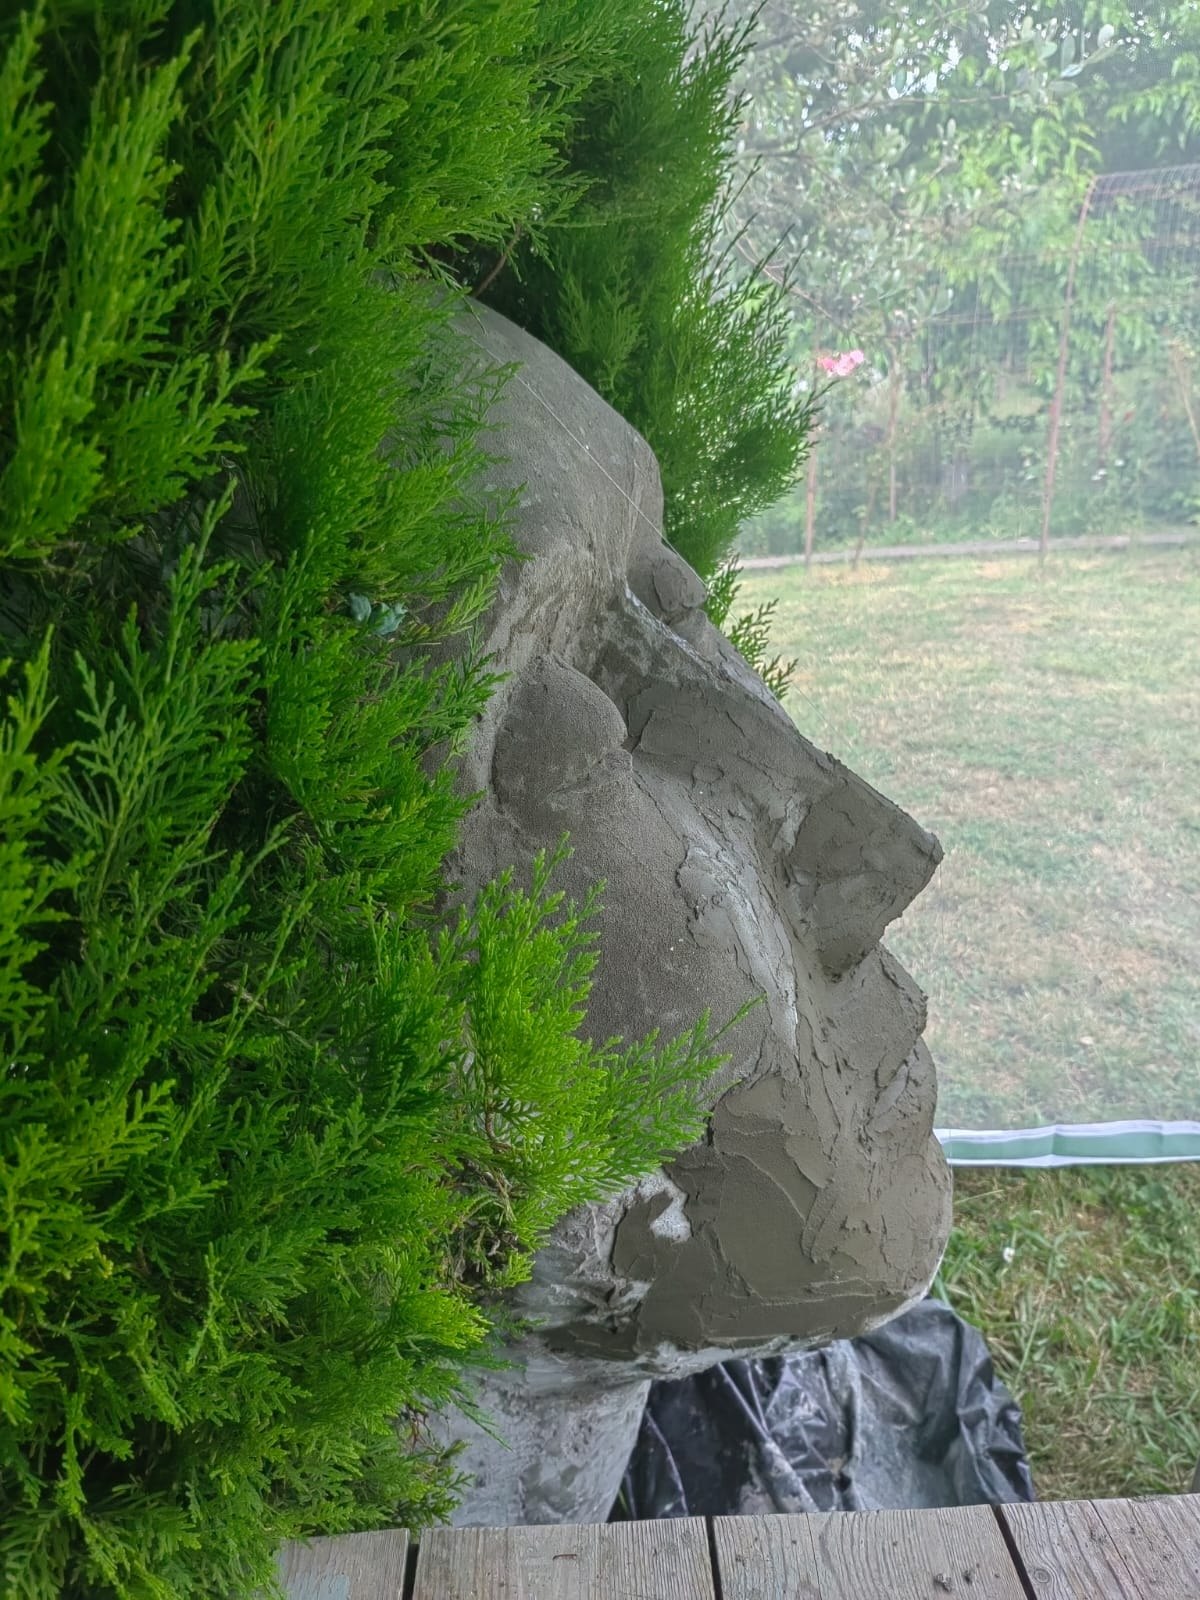
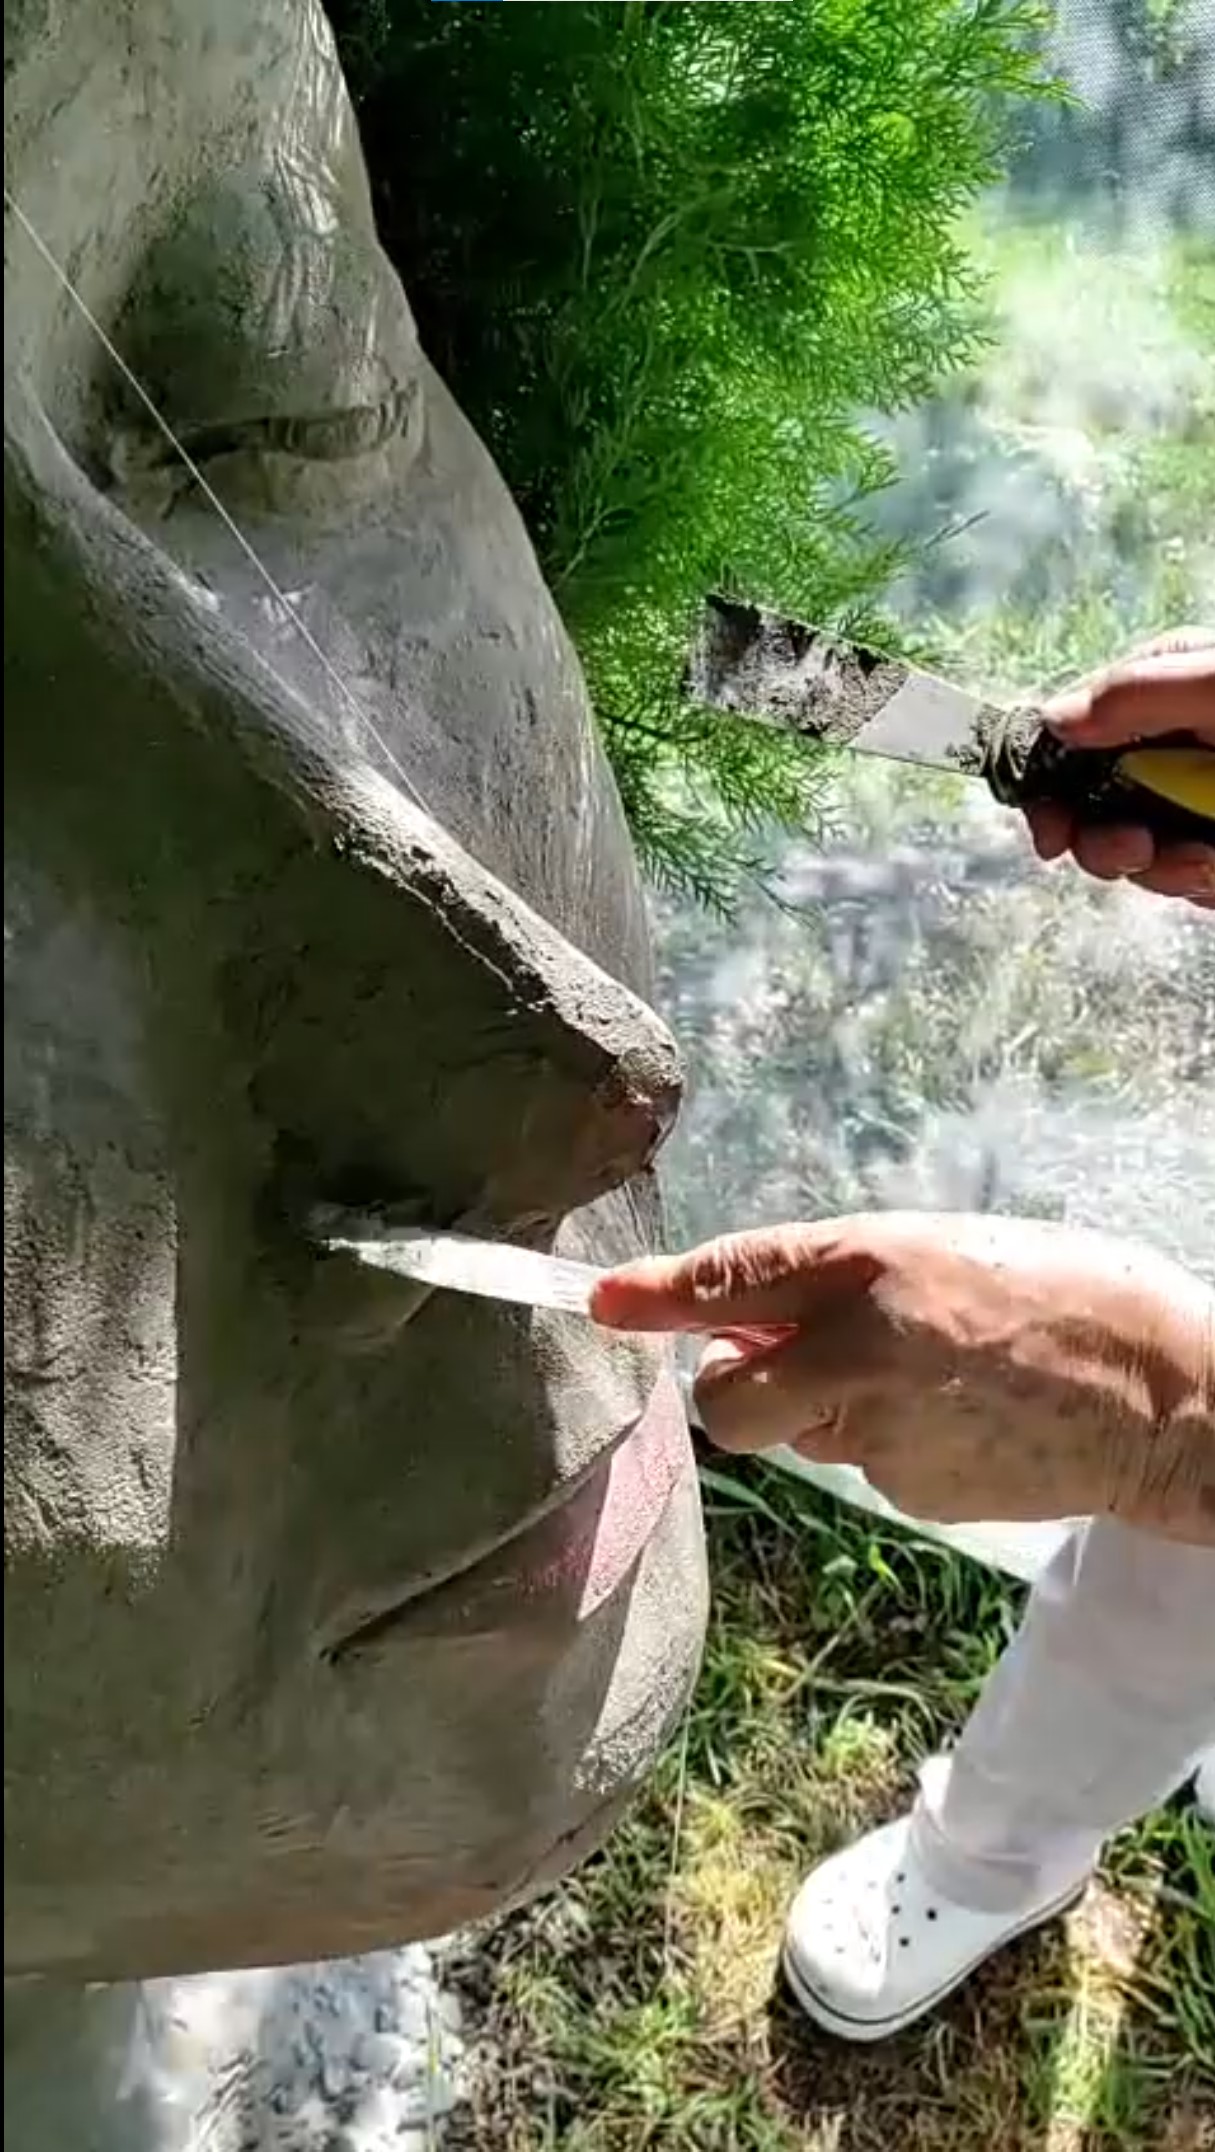
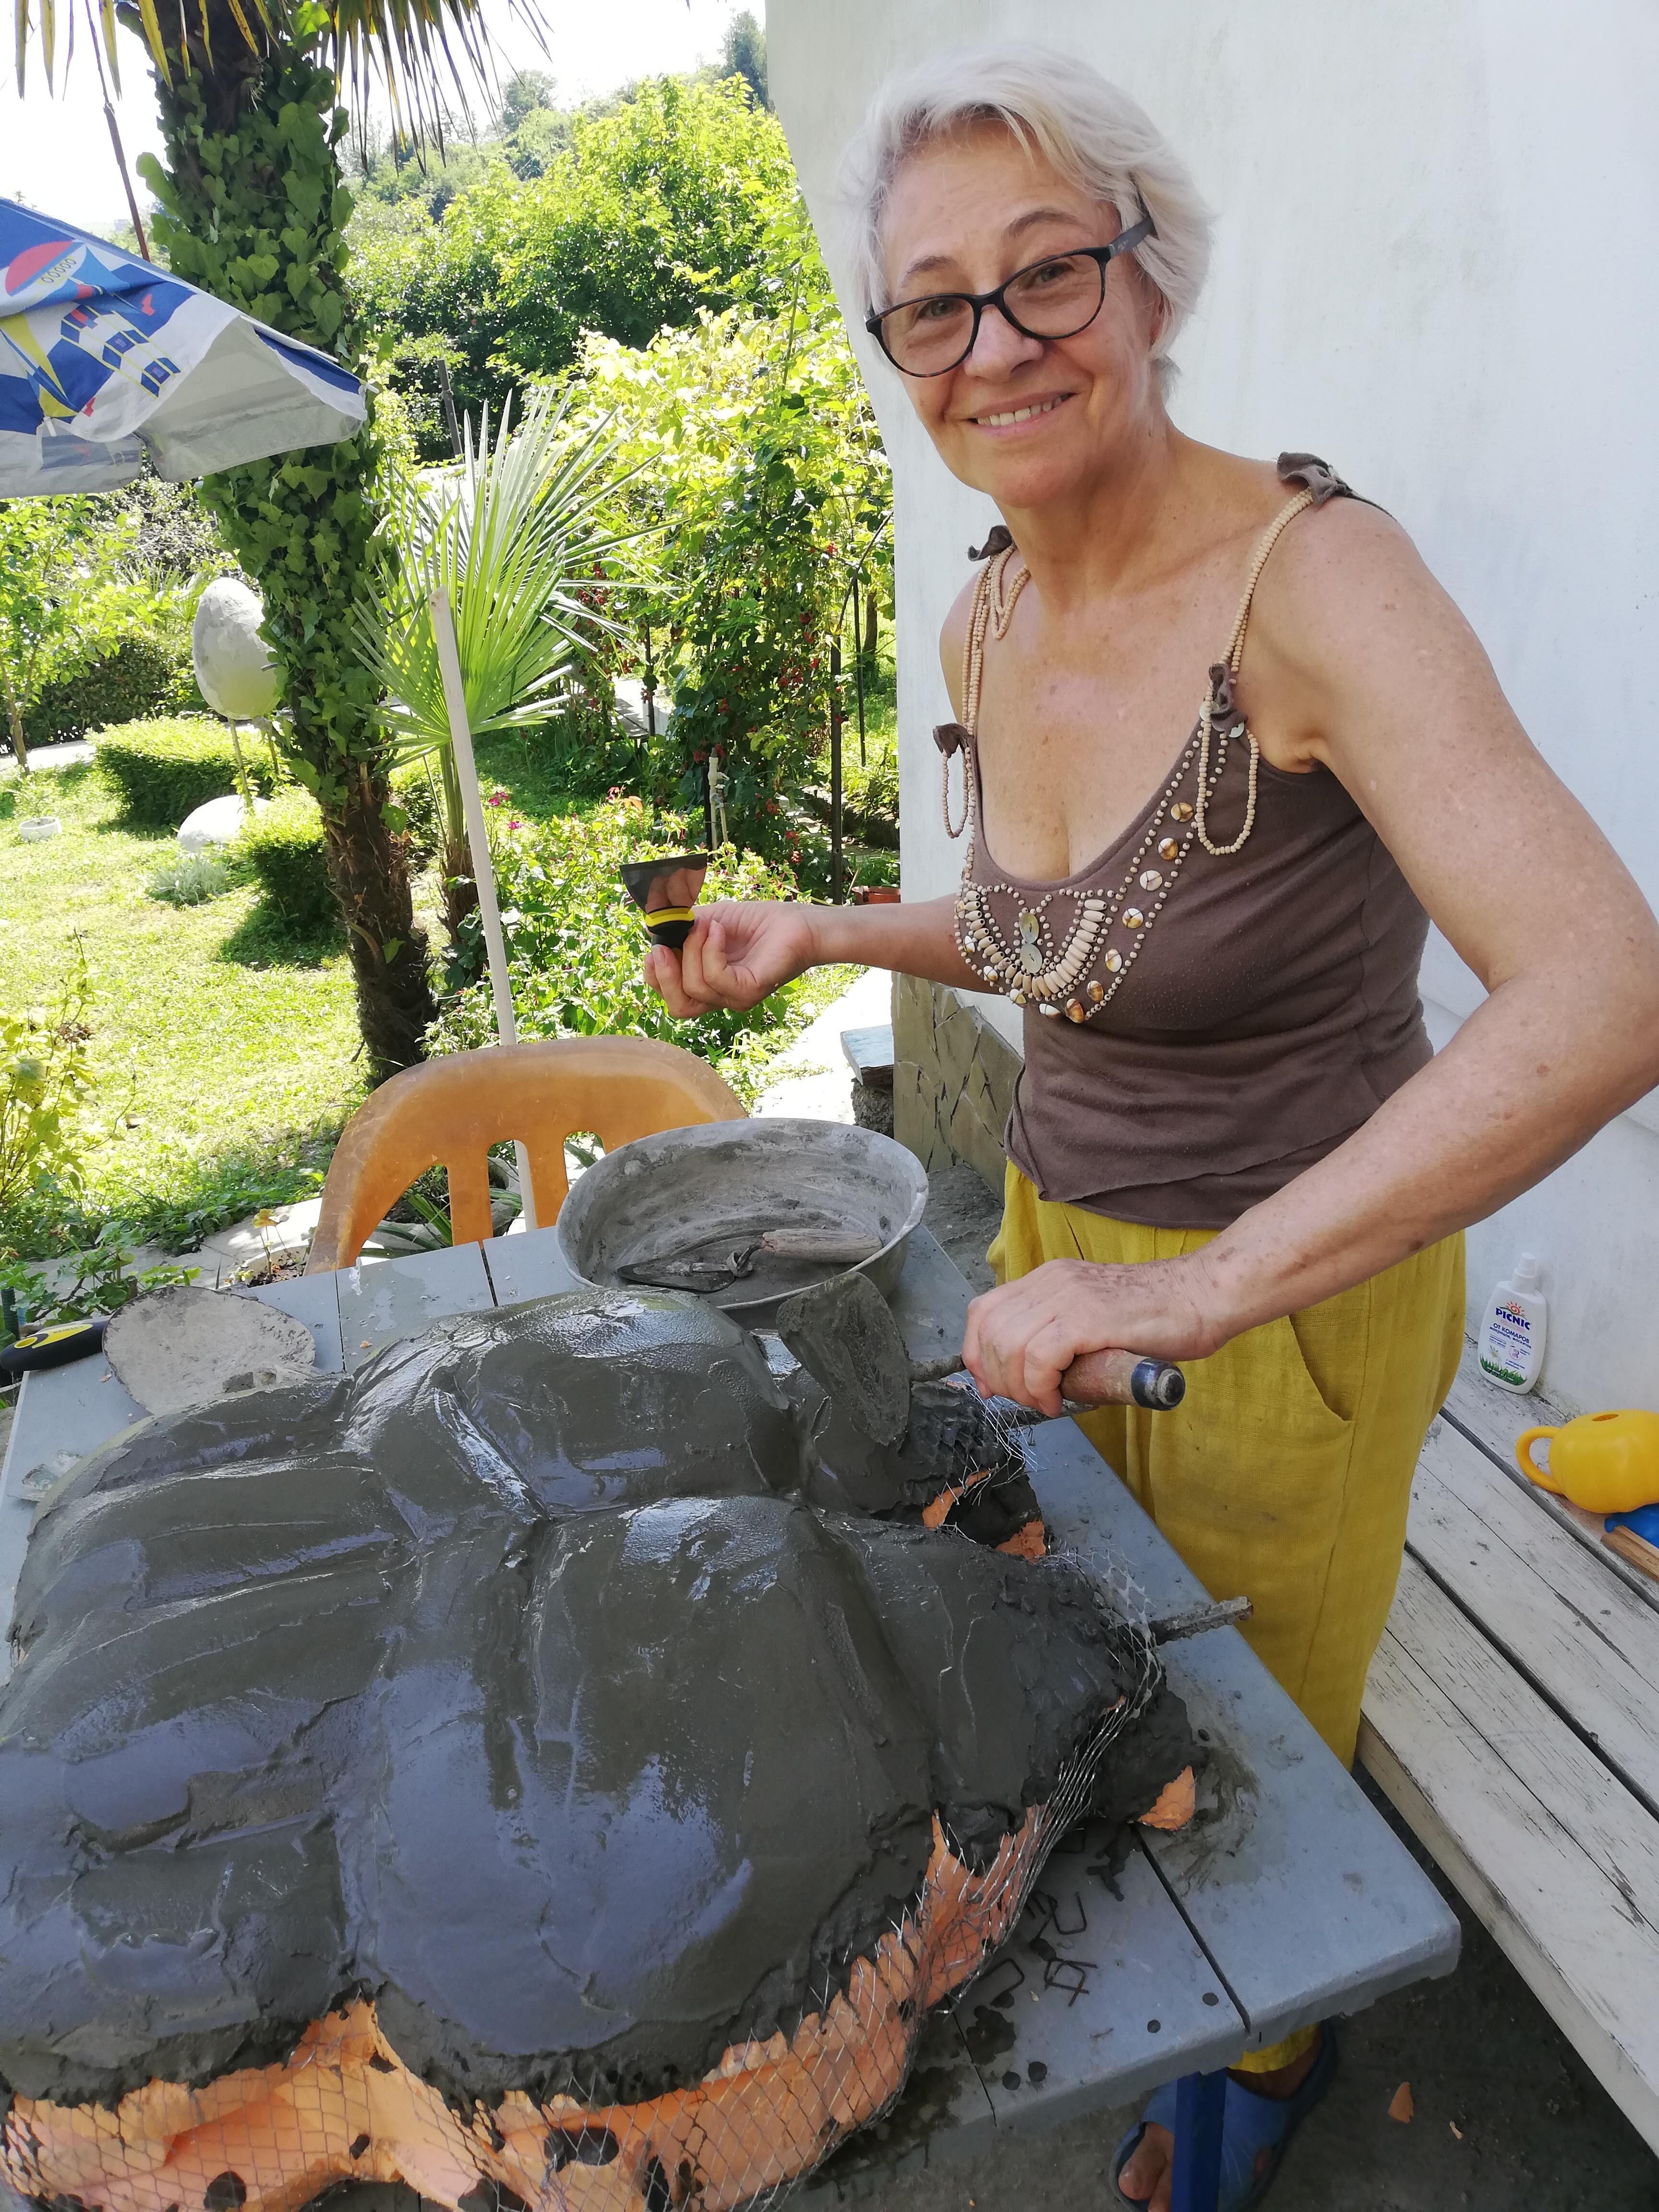
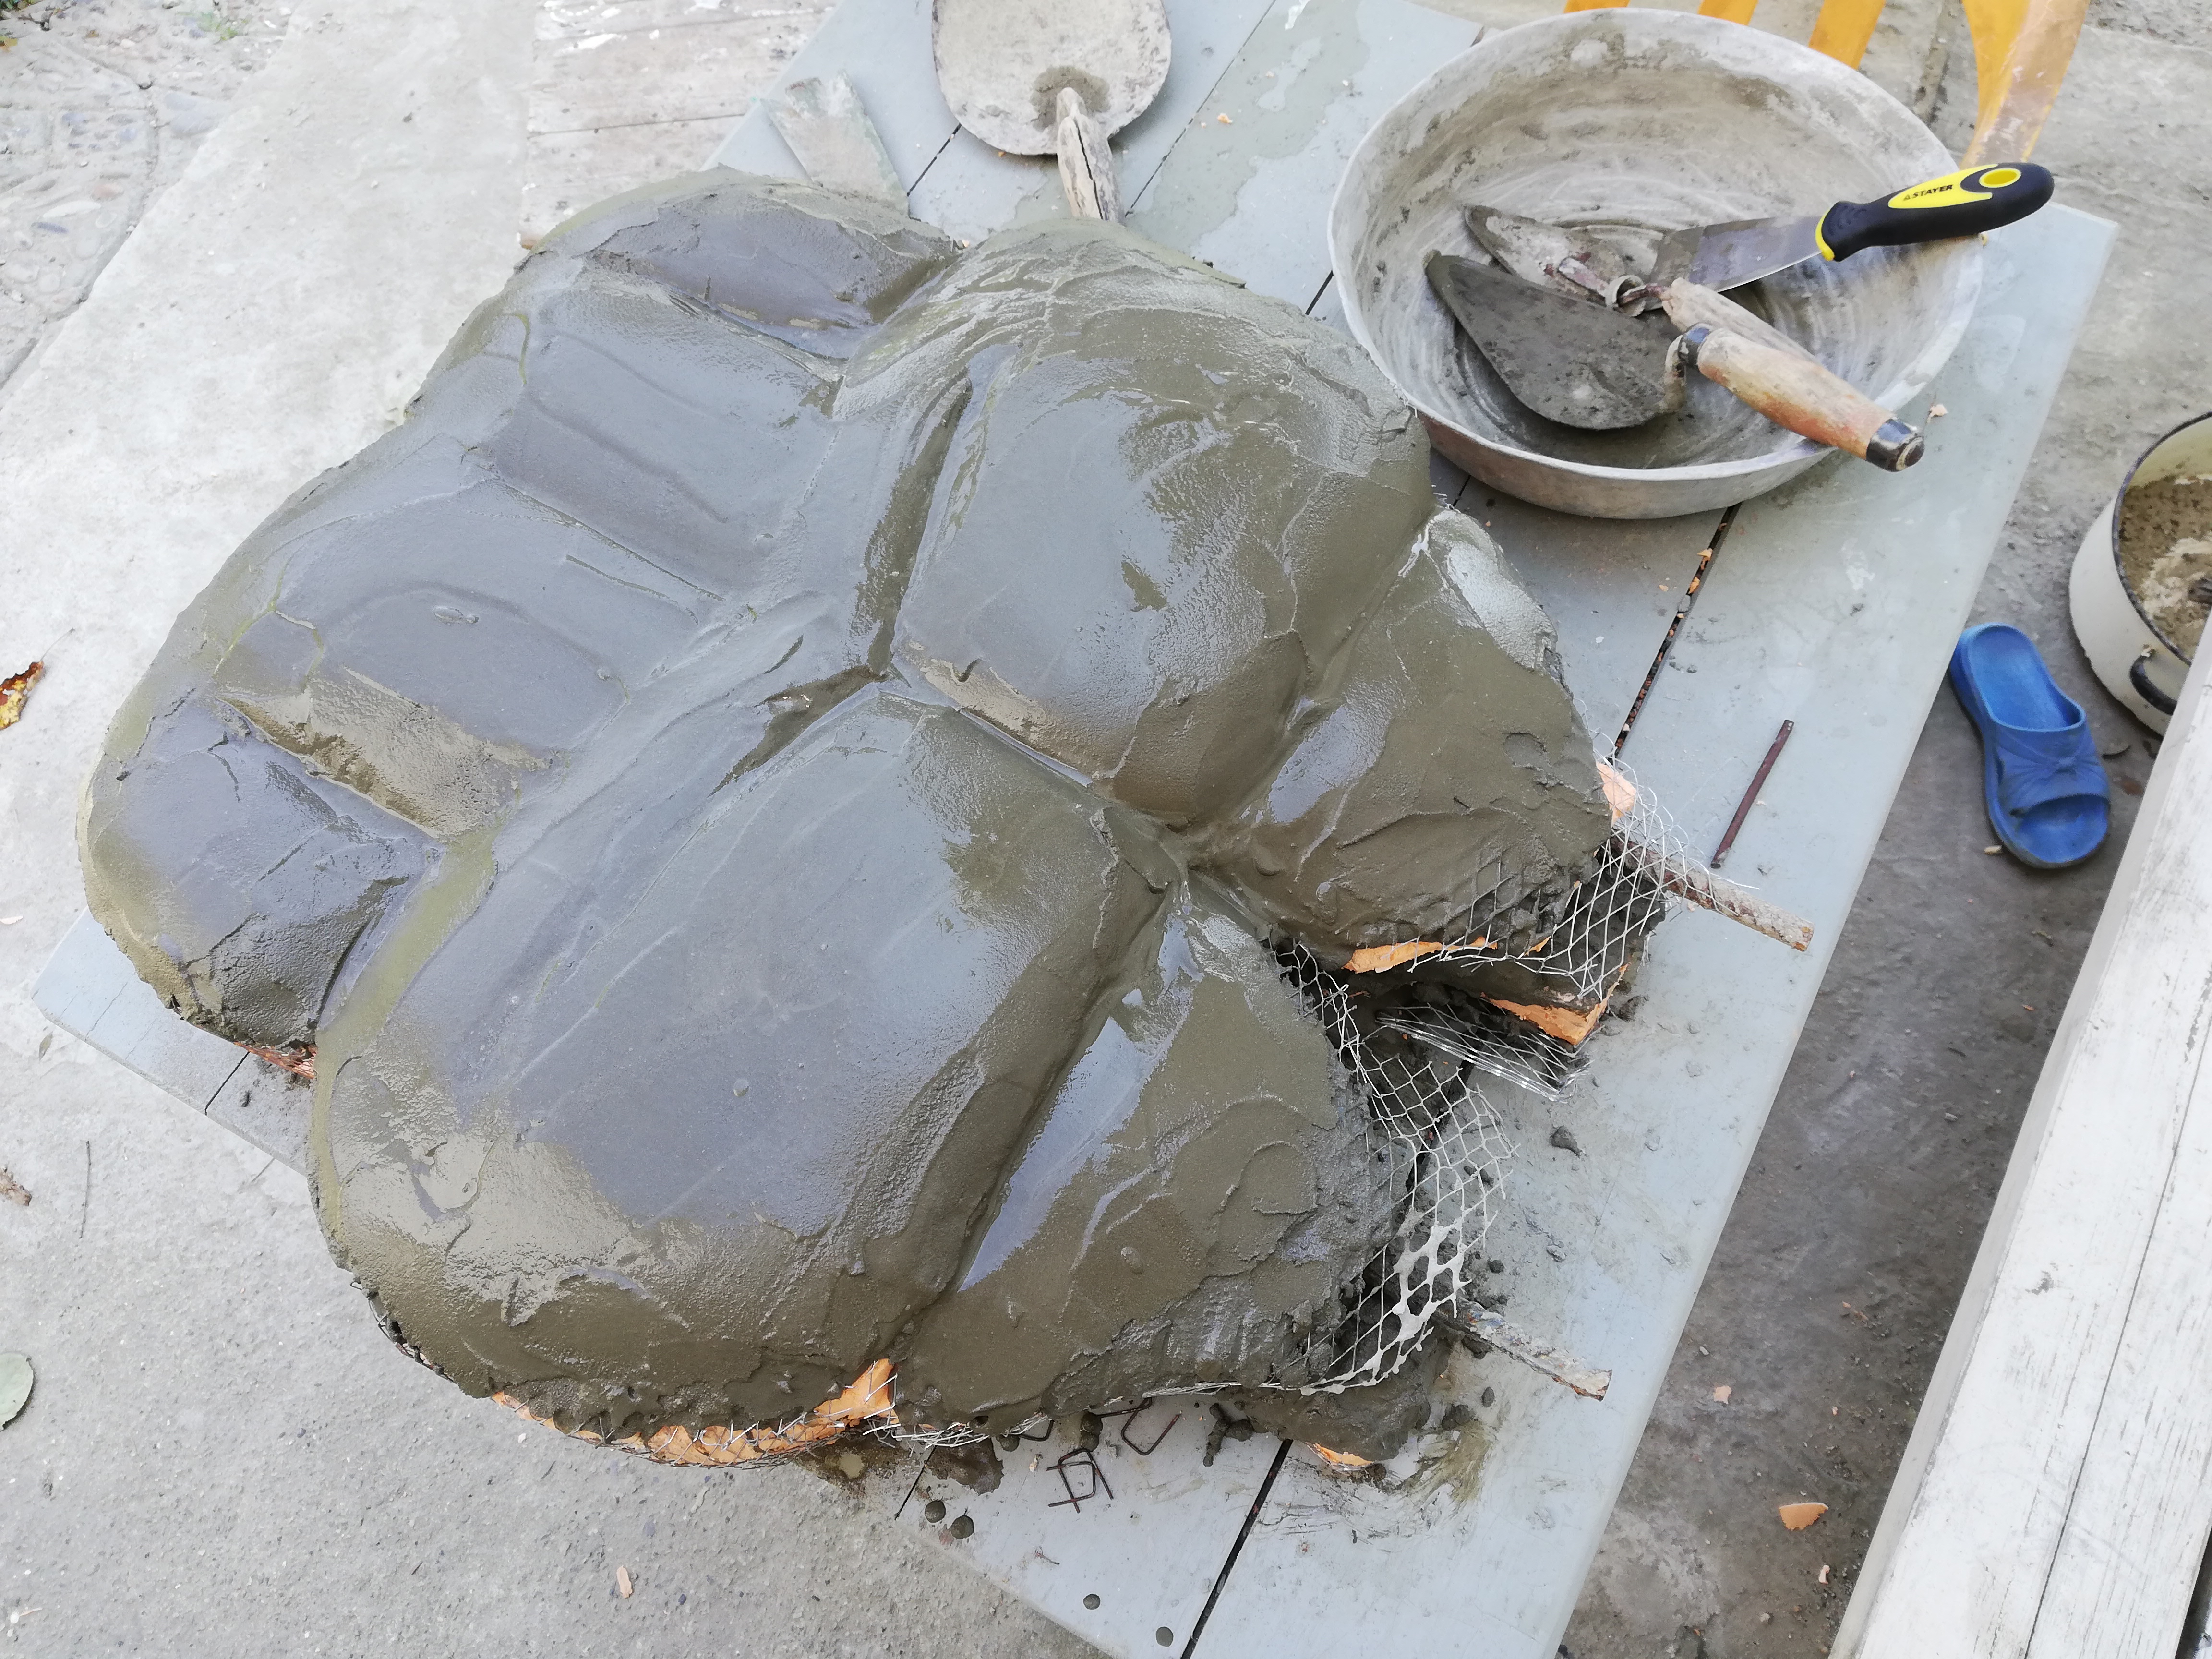
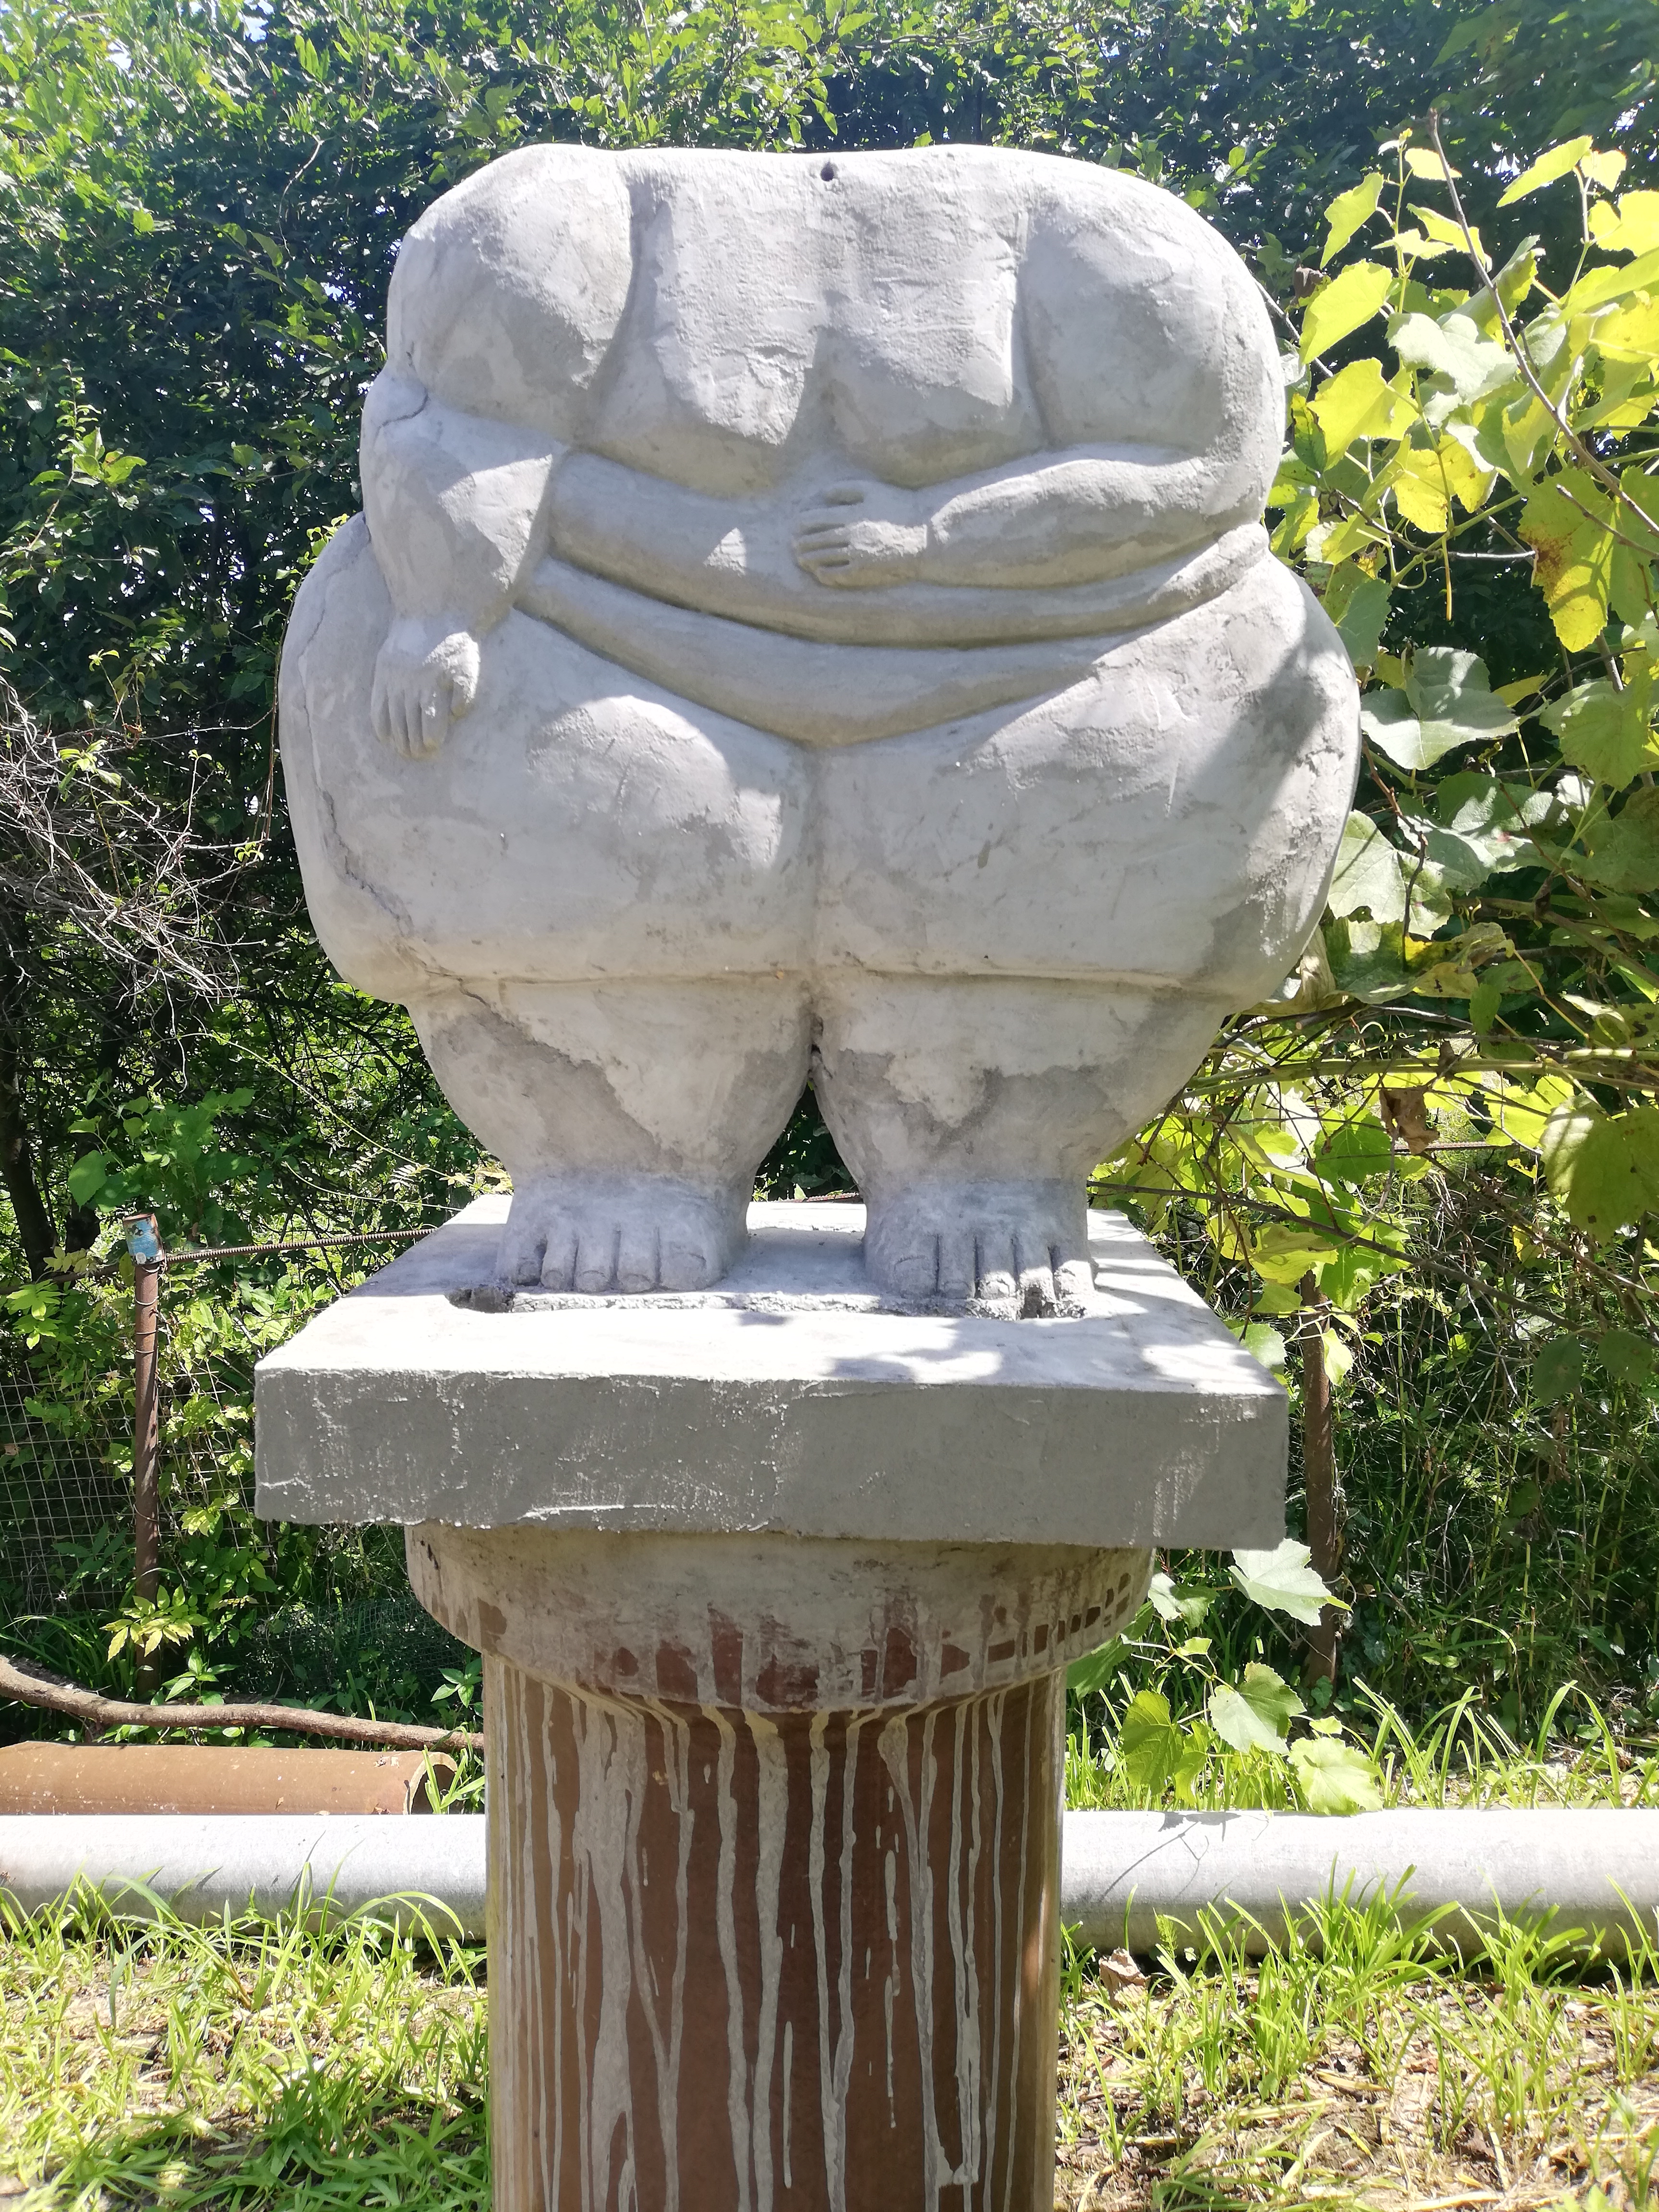
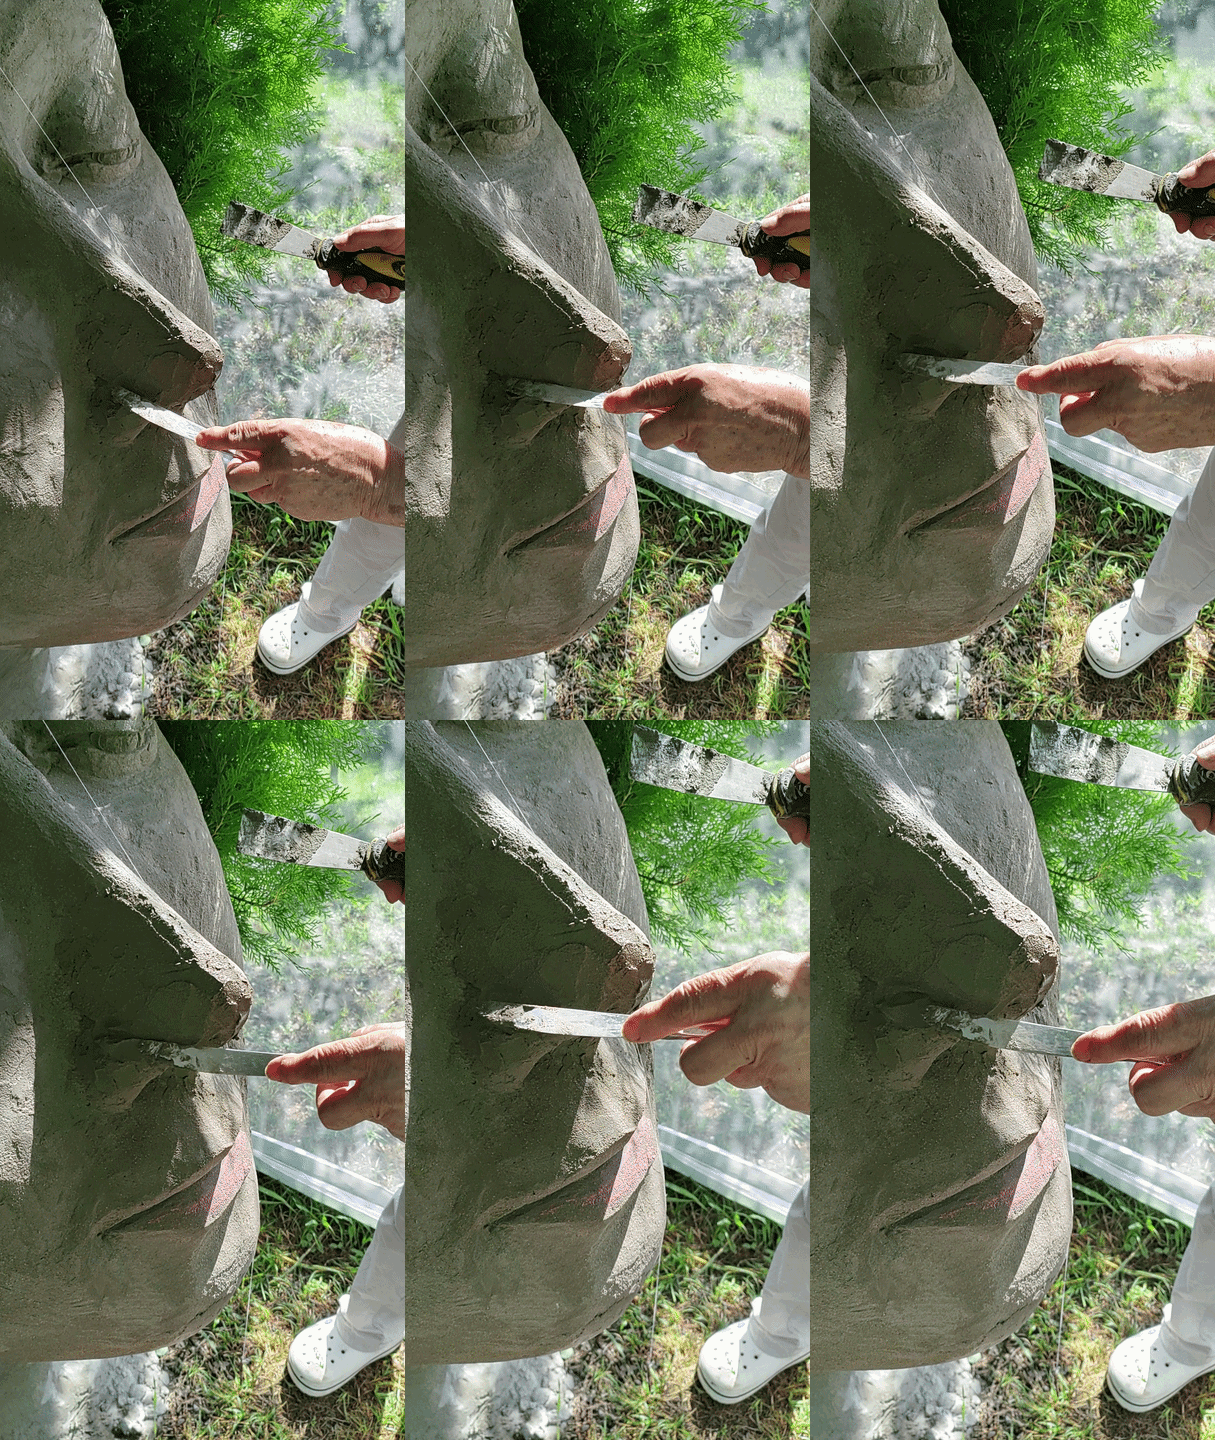
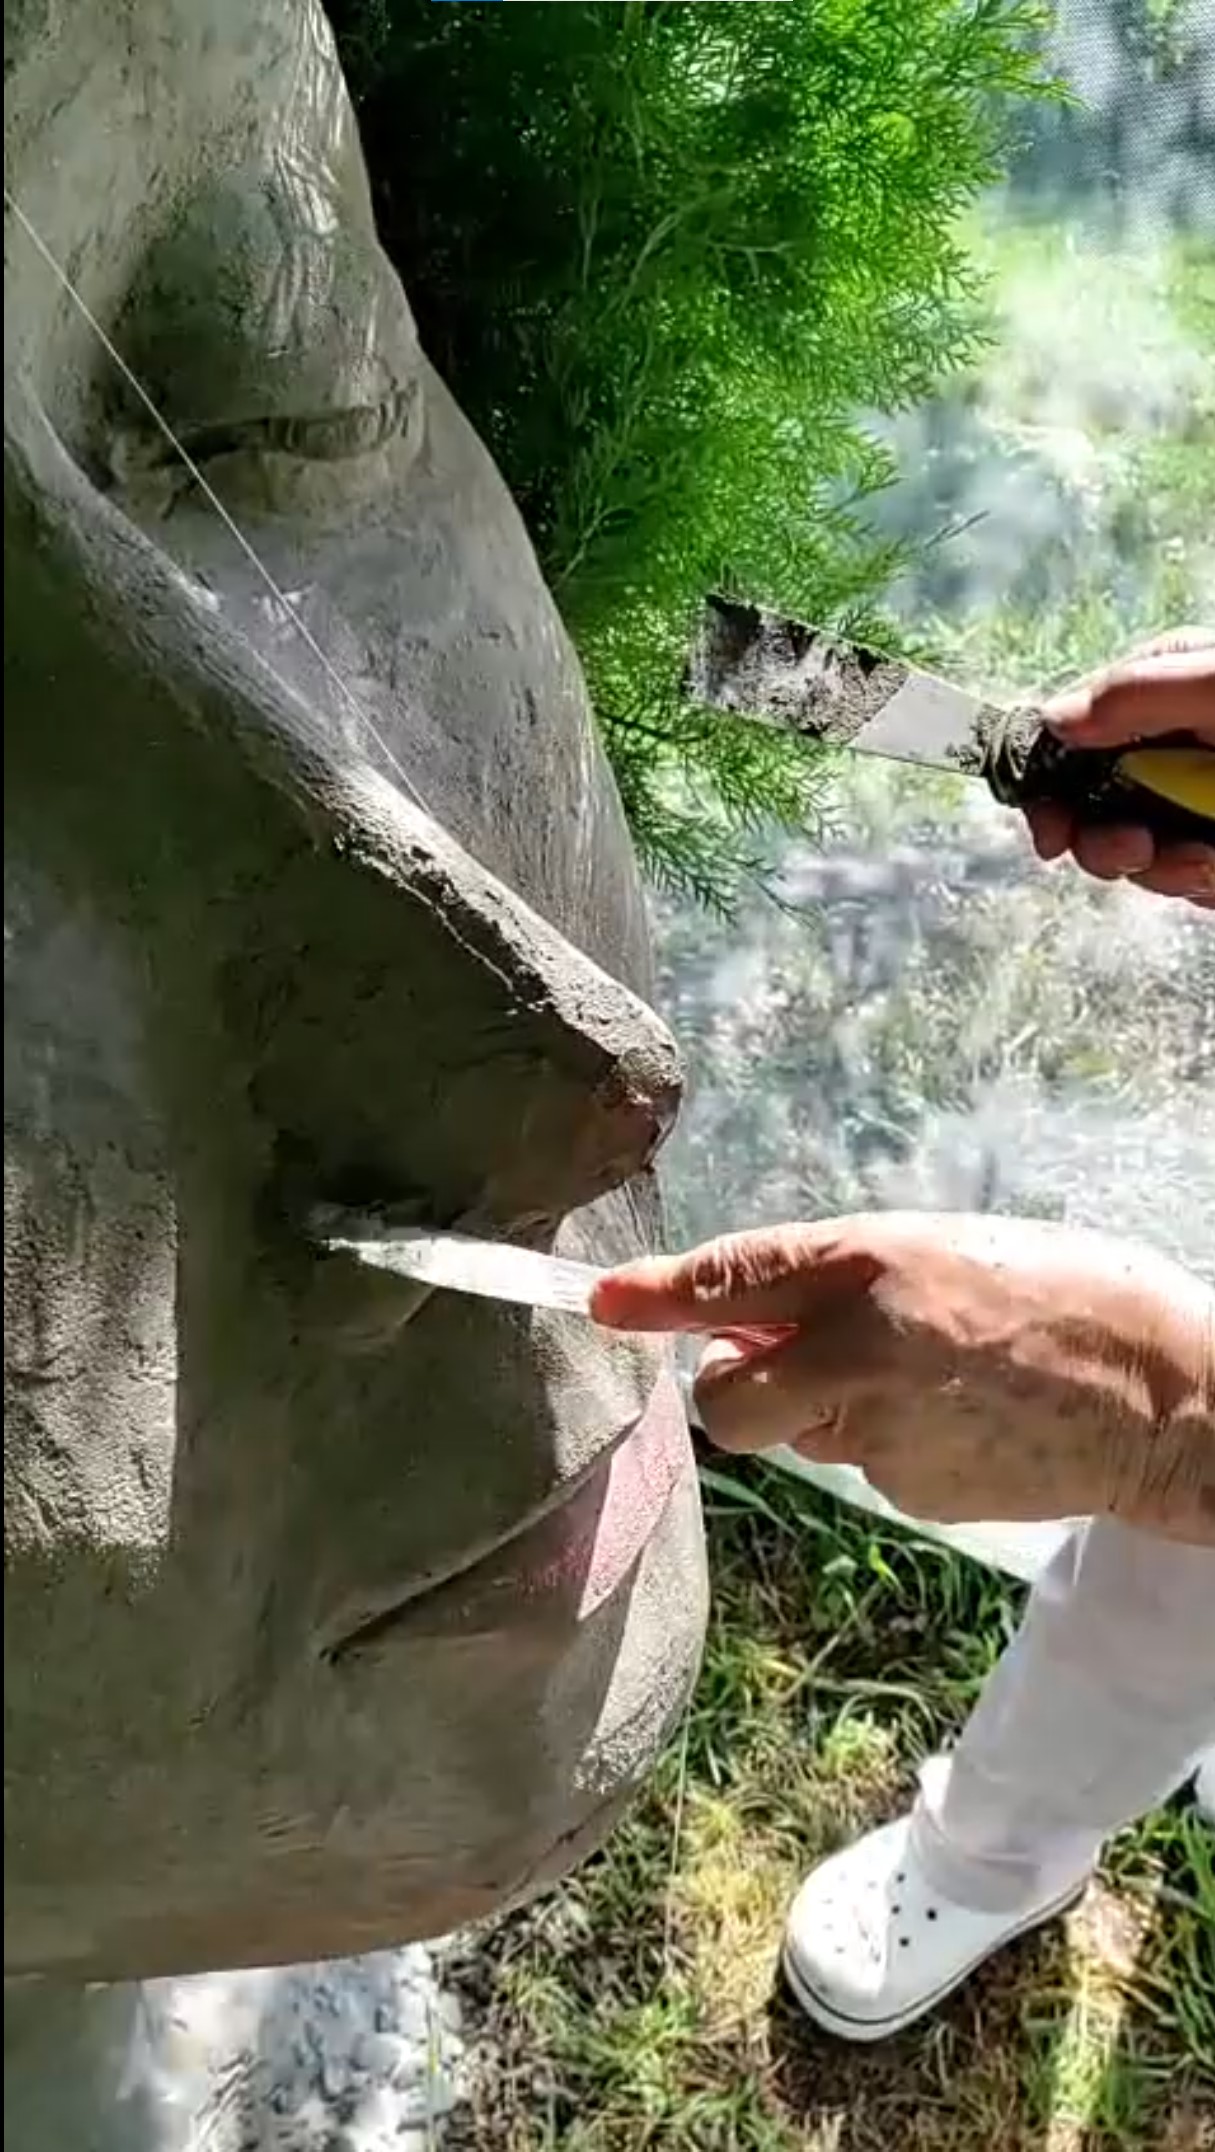
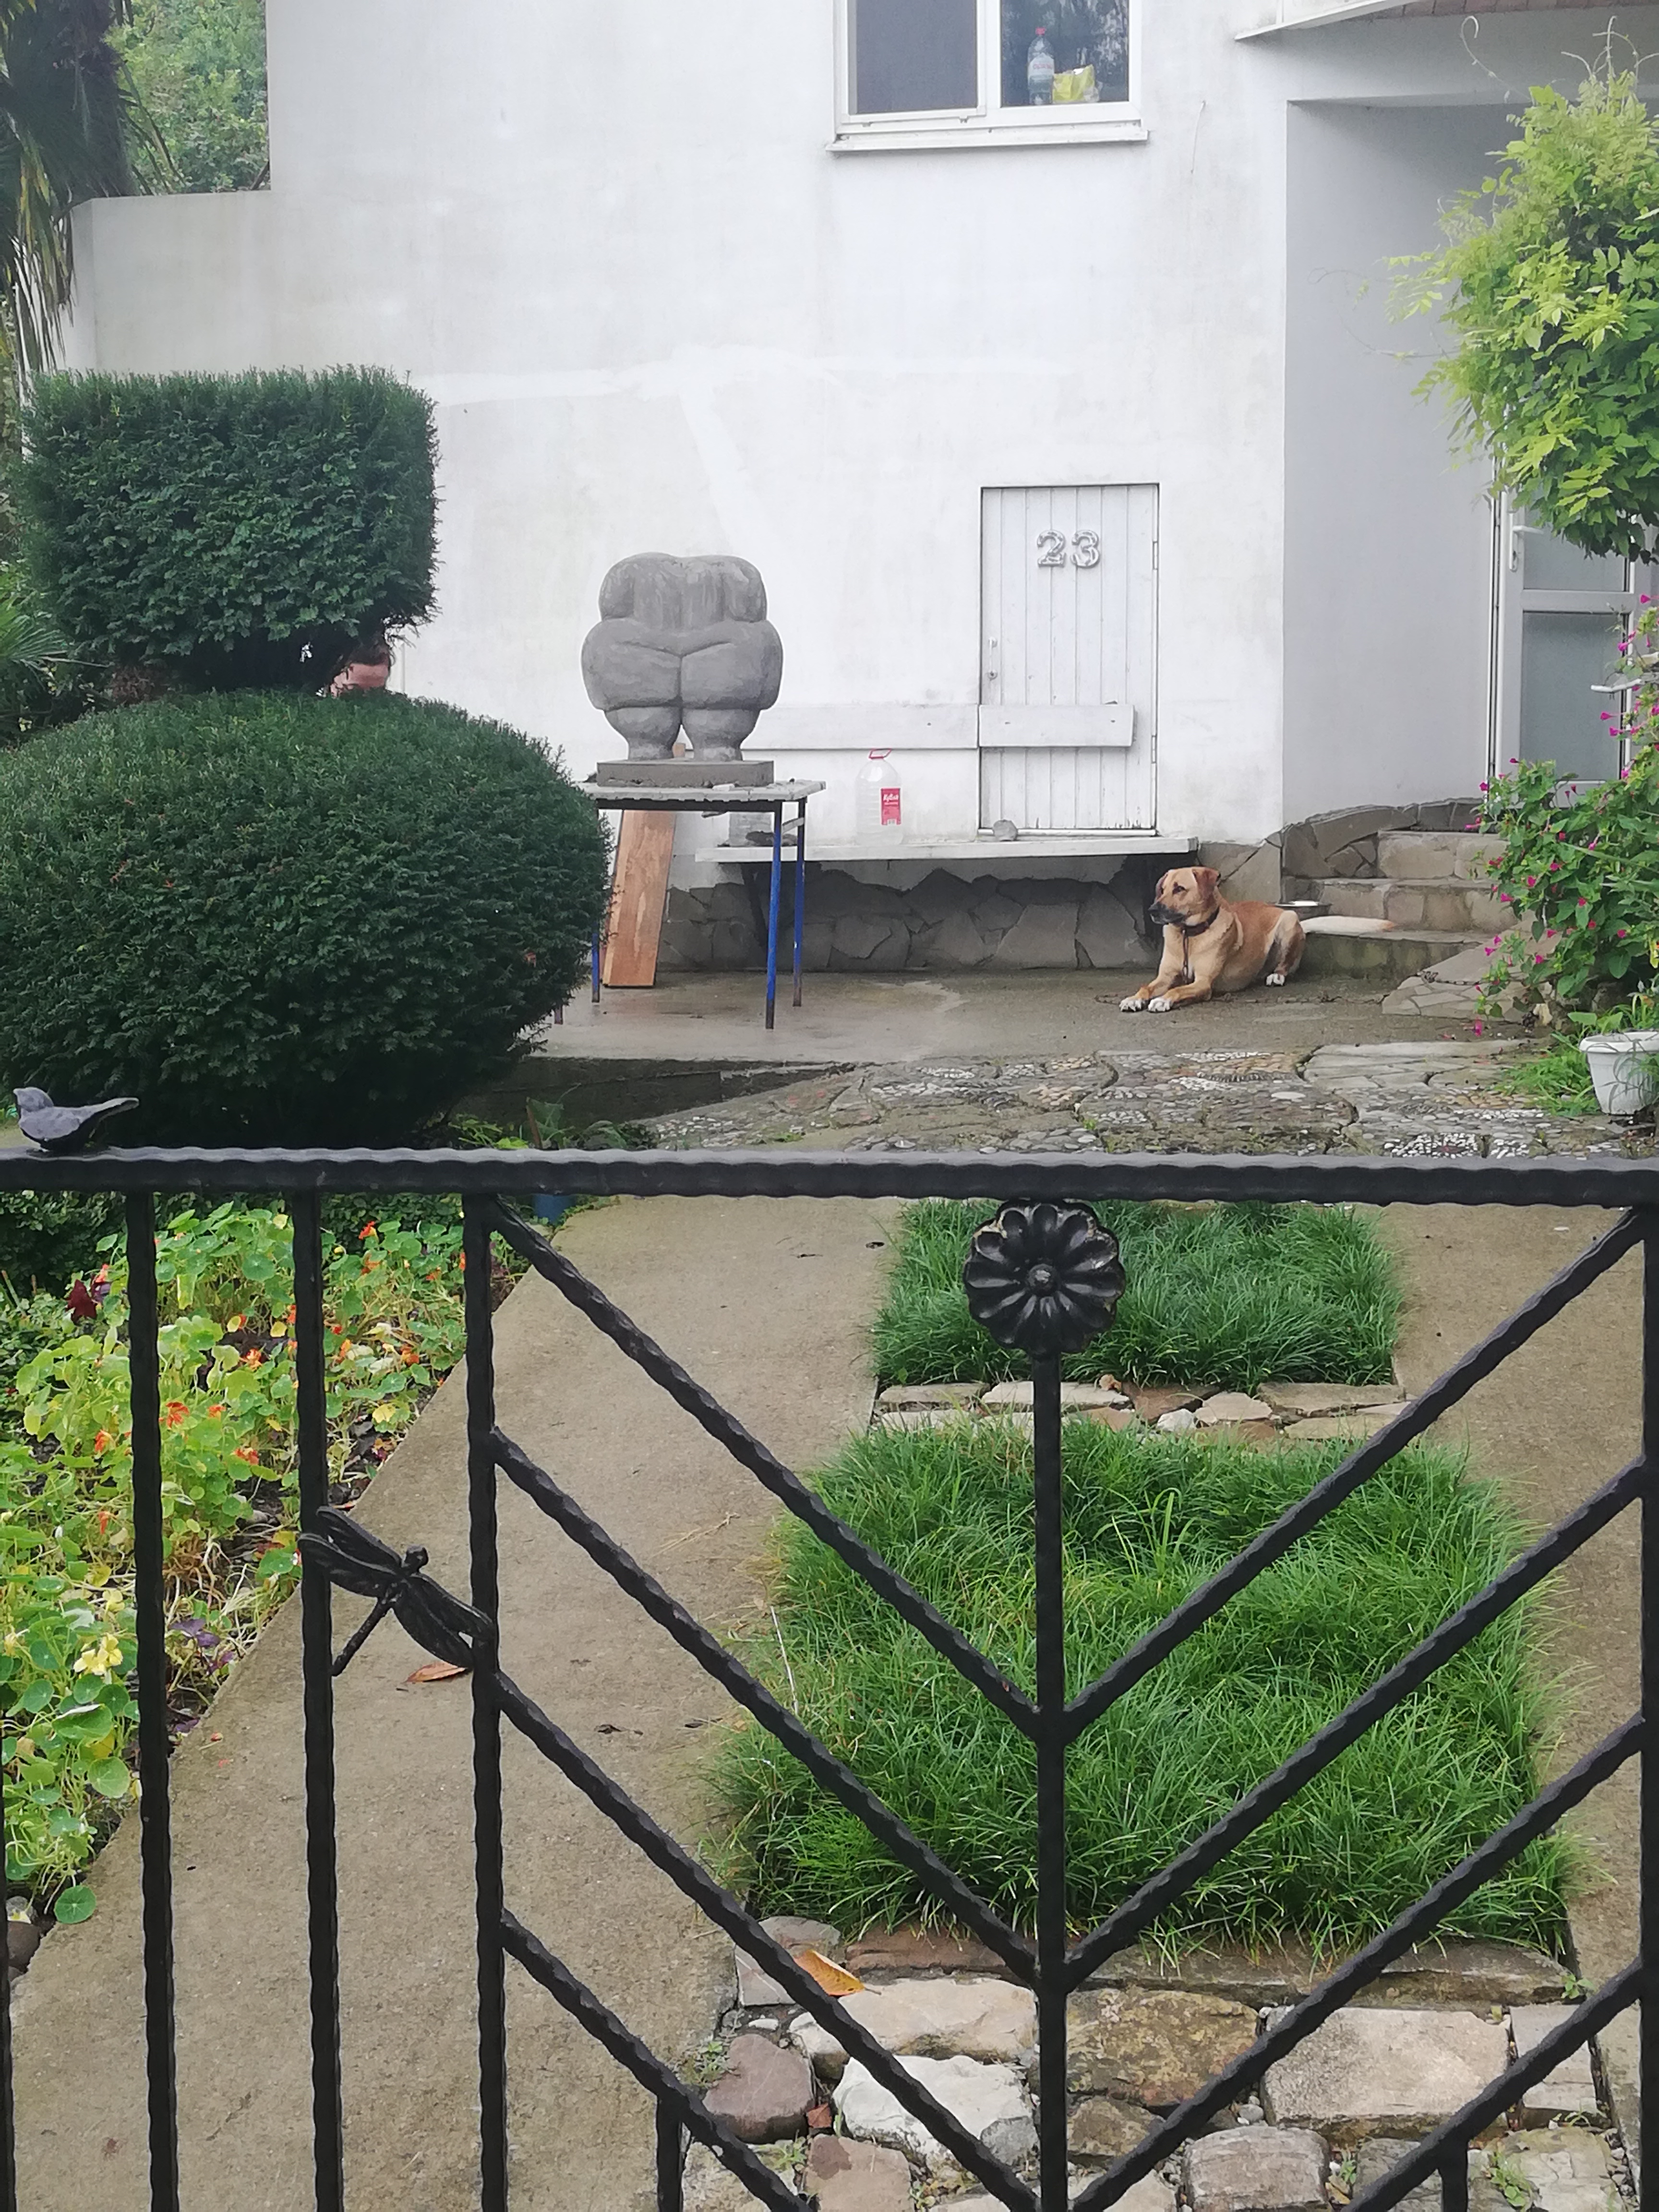
Systematic layer-by-layer hand application of high-strength cement-sand mortar (CPS) over the wire mesh. While the mortar cures and reaches optimal consistency, artists perform precise trimming, facial feature sculpting, and surface texturing using specialized trowels and palette knives.
Final Curing & Surface Protection
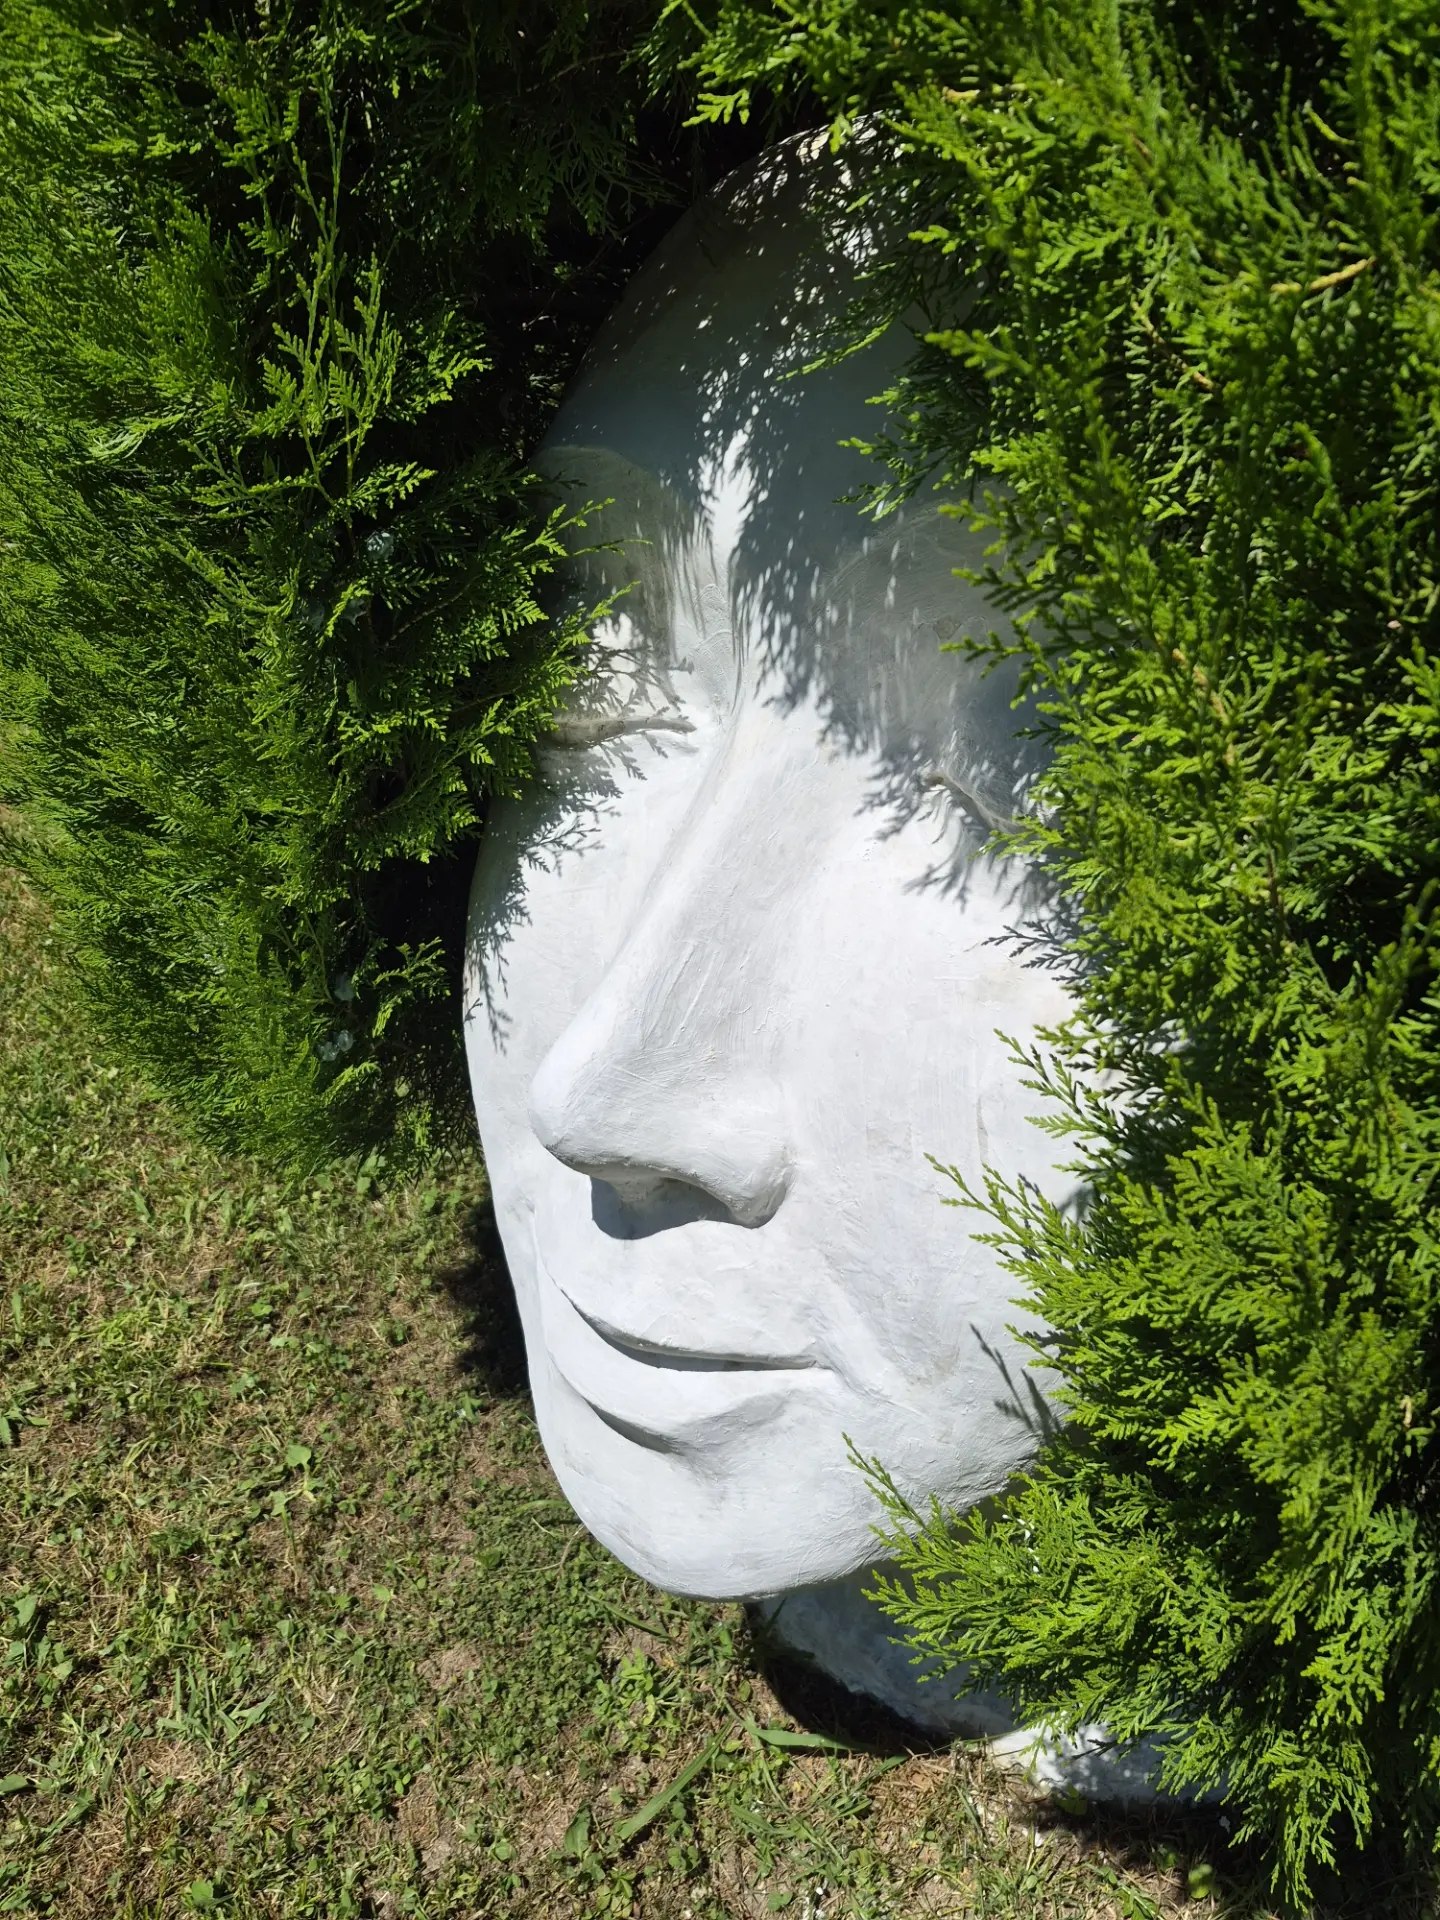
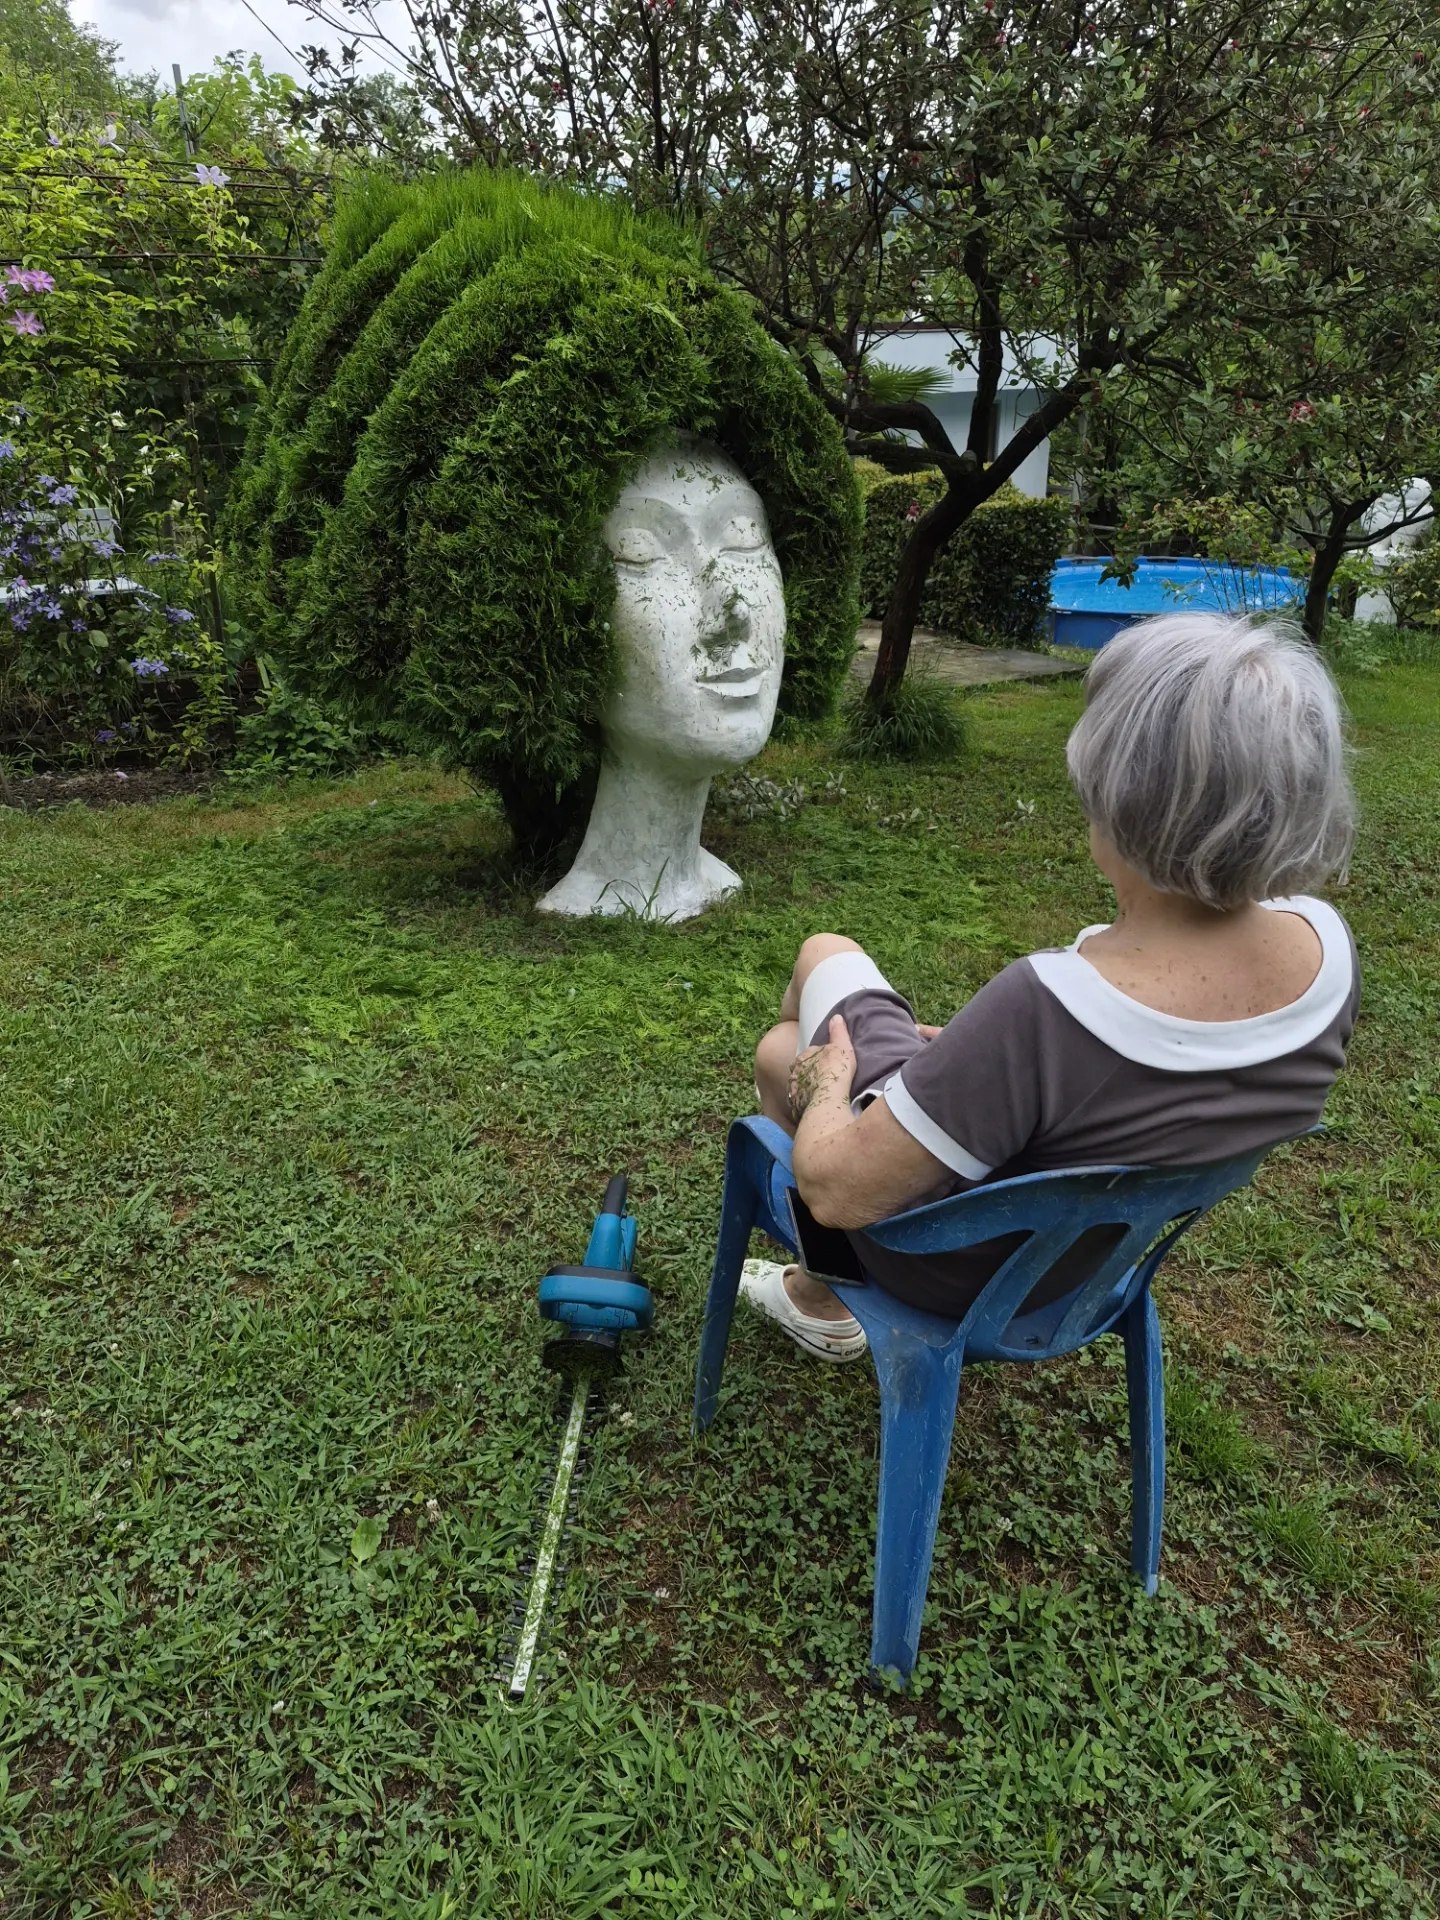
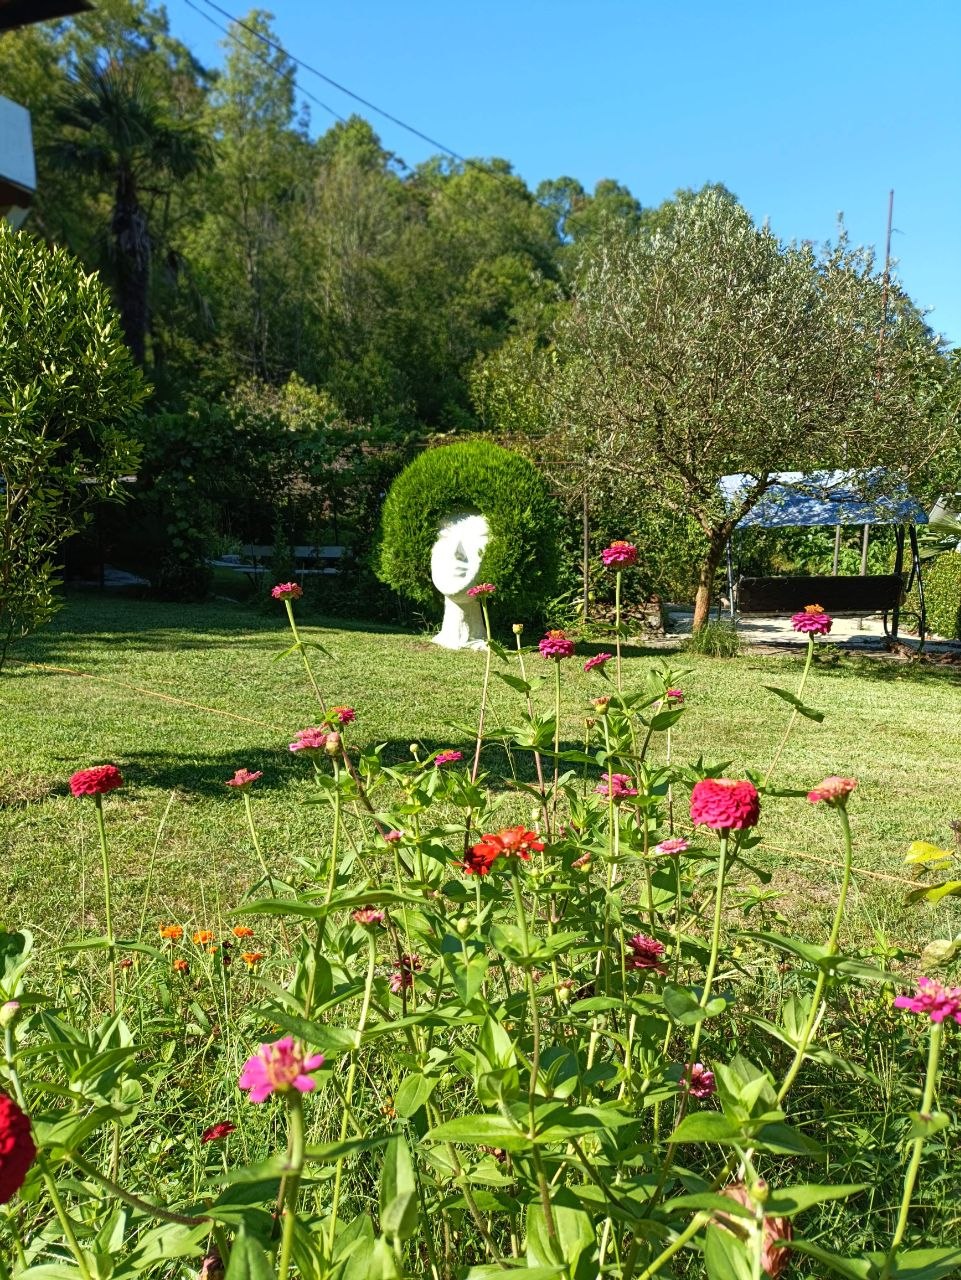
Regulated technological curing stages, moisture control, final surface smoothing, and protective impregnations. Prepares the completed durable sculpture for harsh outdoor weather exposure and seamless integration into exterior landscape architectures.